HTTP://WWW.FIXCLUB.COM.CN
Chapter 3
3-17
3.4 PICKUP AND FEEDING SYSTEM
3.4.1 Pickup Unit
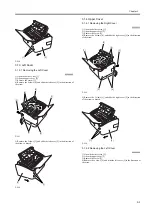
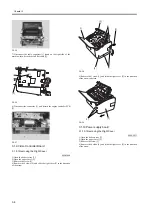
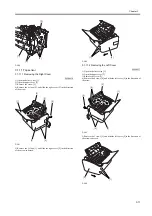
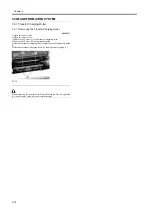
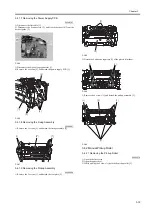
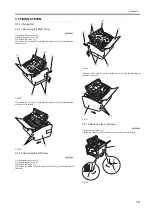
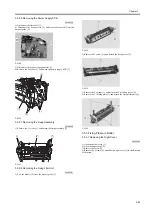
3.4.1.1 Removing the Transfer Charging Roller
0008-3559
1) Open the delivery tray.
2) Open the upper cover.
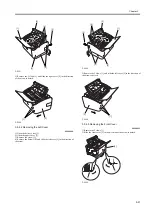
3) Remove the 2 claws [1] of the transfer charging roller.
4) Remove the 2 claws [2] of the transfer guide.
5) Detach the transfer charging roller [4] together with the transfer guide
[3].
6) Detach the transfer charging roller [4] from the transfer guide [3].
F-3-75
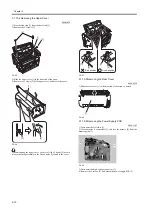
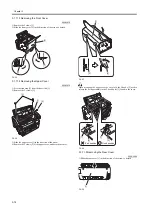
When removing the transfer roller from the machine, free its right side
([1] in the figure), and pull it out toward the right.
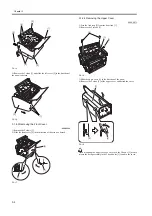
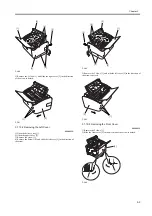
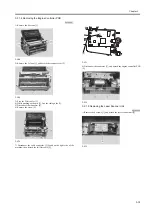
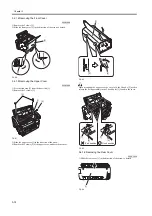
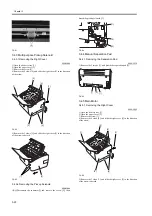
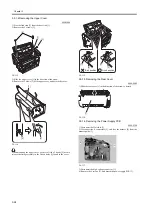
3.4.1.2 Removing the Right Cover
0008-3586
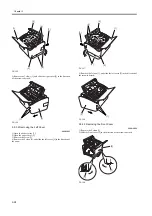
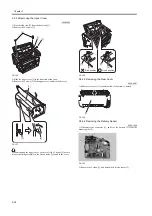
1) Open the delivery tray [1].
2) Open the upper cover [2].
3) Remove the screw [3].
4) Remove the 4 claws [4], and slide the right cover [5] in the direction
of the arrow.
F-3-76
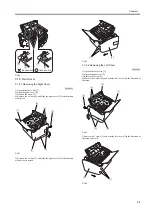
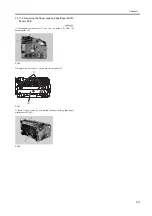
5) Remove the 3 claws [1], and slide the right cover [2] in the direction
of the arrow to detach.
F-3-77
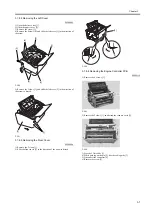
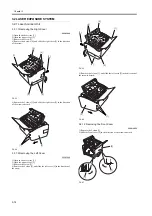
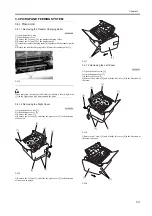
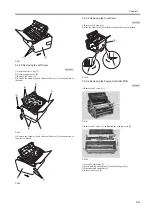
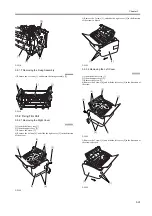
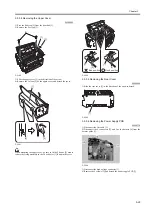
3.4.1.3 Removing the Left Cover
0008-3587
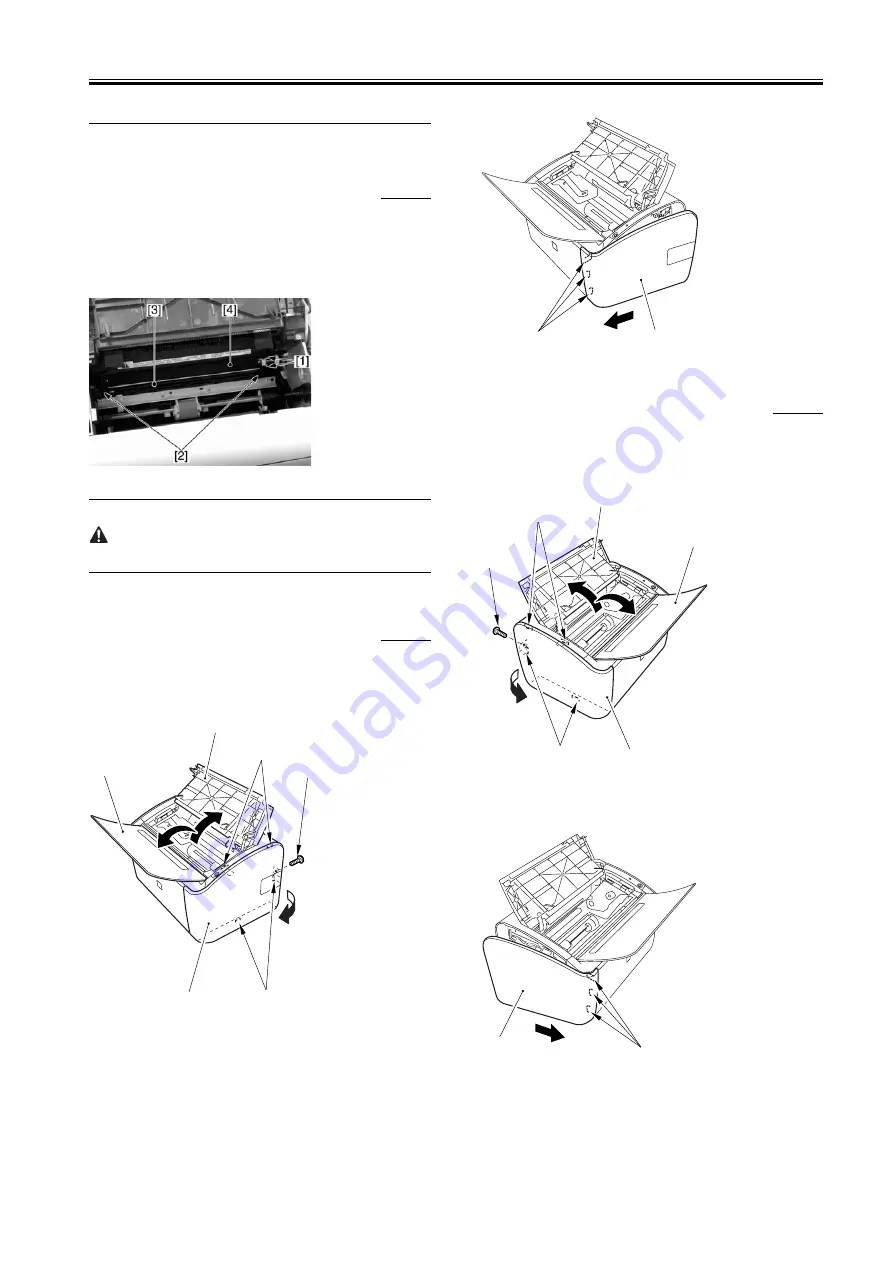
1) Open the delivery tray [1].
2) Open the upper cover [2].
3) Remove the screw [3].
4) Remove the 4 claws [4], and slide the left cover [5] in the direction of
the arrow.
F-3-78
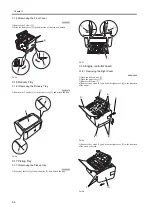
5) Remove the 3 claws [1], and slide the left cover [2] in the direction of
the arrow to detach.
F-3-79
[1]
[2]
[3]
[4]
[4]
[5]
[1]
[2]
[1]
[2]
[3]
[4]
[4]
[5]
[1]
[2]
Summary of Contents for LBP-3000
Page 1: ...H T T P W W W F I X C L U B C O M C N Mar 10 2005 Service Manual LBP3000 2900 Series LBP2900 ...
Page 2: ...H T T P W W W F I X C L U B C O M C N ...
Page 6: ...H T T P W W W F I X C L U B C O M C N ...
Page 12: ...H T T P W W W F I X C L U B C O M C N Contents ...
Page 13: ...H T T P W W W F I X C L U B C O M C N Chapter 1 PRODUCT DESCRIPTION ...
Page 14: ...H T T P W W W F I X C L U B C O M C N ...
Page 16: ...H T T P W W W F I X C L U B C O M C N ...
Page 23: ...H T T P W W W F I X C L U B C O M C N Chapter 2 TECHNICAL REFERENCE ...
Page 24: ...H T T P W W W F I X C L U B C O M C N ...
Page 44: ...H T T P W W W F I X C L U B C O M C N Chapter 2 2 18 ...
Page 51: ...H T T P W W W F I X C L U B C O M C N Chapter 3 DISASSEMBLY AND ASSEMBLY ...
Page 52: ...H T T P W W W F I X C L U B C O M C N ...
Page 87: ...H T T P W W W F I X C L U B C O M C N Chapter 3 3 33 F 3 161 ...
Page 88: ...H T T P W W W F I X C L U B C O M C N ...
Page 89: ...H T T P W W W F I X C L U B C O M C N Chapter 4 MAINTENANCE AND INSPECTION ...
Page 90: ...H T T P W W W F I X C L U B C O M C N ...
Page 92: ...H T T P W W W F I X C L U B C O M C N ...
Page 98: ...H T T P W W W F I X C L U B C O M C N ...
Page 99: ...H T T P W W W F I X C L U B C O M C N Chapter 5 TROUBLESHOOTING ...
Page 100: ...H T T P W W W F I X C L U B C O M C N ...
Page 102: ...H T T P W W W F I X C L U B C O M C N ...
Page 107: ...H T T P W W W F I X C L U B C O M C N Chapter 6 APPENDIX ...
Page 108: ...H T T P W W W F I X C L U B C O M C N ...
Page 110: ...H T T P W W W F I X C L U B C O M C N ...
Page 117: ...H T T P W W W F I X C L U B C O M C N Mar 10 2005 ...

