Configuring IEEE 802.1X Authentication
0U6X-098
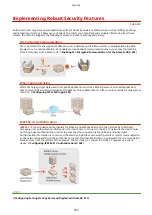
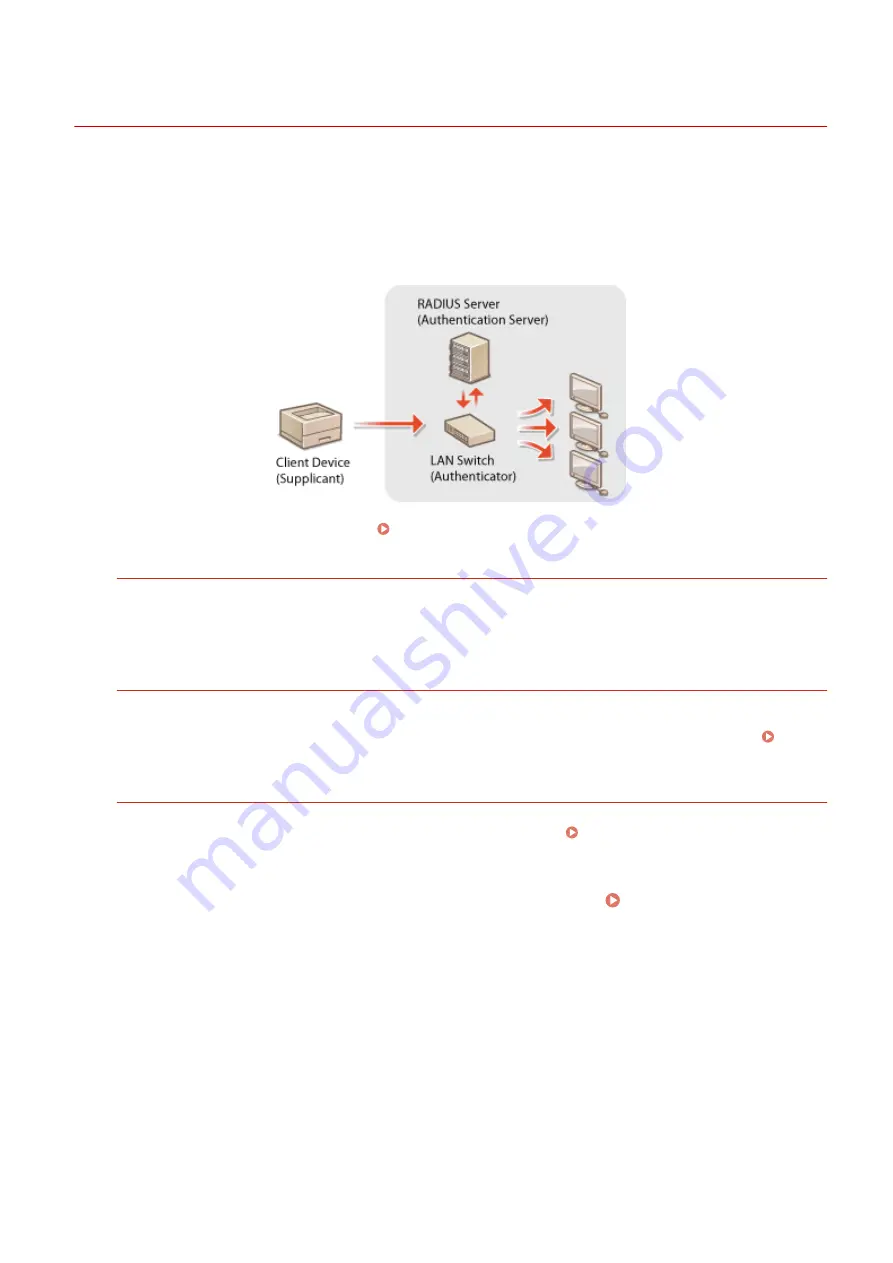
The machine can connect to an 802.1X network as a client device. A typical 802.1X network consists of a RADIUS server
(authentication server), LAN switch (authenticator), and client devices with authentication software (supplicants). If a
device tries to connect to the 802.1X network, the device must go through user authentication in order to prove that
the connection is made by an authorized user. Authentication information is sent to and checked by a RADIUS server,
which permits or rejects communication to the network depending on the authentication result. If authentication fails,
a LAN switch (or an access point) blocks access from the outside of the network.
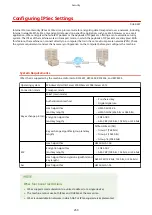
Select the authentication method from the options below. If necessary, install or register a key pair or CA certificate
before configuring IEEE 802.1X authentication ( Using CA-issued Key Pairs and Digital Certificates(P. 282) ).
TLS
The machine and the authentication server authenticate each other by mutually verifying their certificates. A
key pair issued by a certification authority (CA) is required for the client authentication (when authenticating the
machine). For the server authentication, a CA certificate installed via the Remote UI can be used in addition to a
CA certificate preinstalled in the machine. The TLS method cannot be used with TTLS or PEAP at the same time.
TTLS
This authentication method uses a user name and password for the client authentication and a CA certificate for
the server authentication. MSCHAPv2 or PAP can be selected as the internal protocol. TTLS can be used with
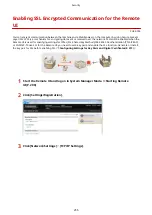
PEAP at the same time. Enable SSL for the Remote UI before configuring this authentication method (
Enabling SSL Encrypted Communication for the Remote UI(P. 255) ).
PEAP
The required settings are almost the same as those of TTLS. MS-CHAPv2 is used as the internal protocol. Enable
SSL for the Remote UI before configuring this authentication method ( Enabling SSL Encrypted
Communication for the Remote UI(P. 255) ).
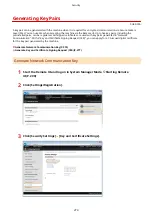
1
Start the Remote UI and log on in System Manager Mode. Starting Remote
UI(P. 290)
2
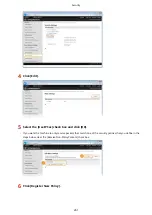
Click [Settings/Registration].
Security
268
Summary of Contents for LBP253 Series
Page 1: ...LBP253x User s Guide USRMA 0769 00 2016 06 en Copyright CANON INC 2015 ...
Page 79: ...Printing 73 ...
Page 121: ...LINKS Printing via Secure Print P 116 Printing 115 ...
Page 197: ...3 Click OK 4 Click Close LINKS Setting Up Print Server P 192 Network 191 ...
Page 381: ...Troubleshooting 375 ...
Page 467: ...For more information about this function see Basic Printing Operations P 74 Appendix 461 ...
Page 499: ...Appendix 493 ...
Page 506: ...Manual Display Settings 0U6X 0HF Appendix 500 ...

