background image

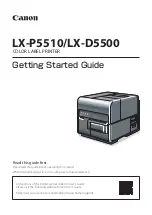
Read this guide first.

Please read this guide before operating this product.
When finished reading, store it in a safe place for future reference.
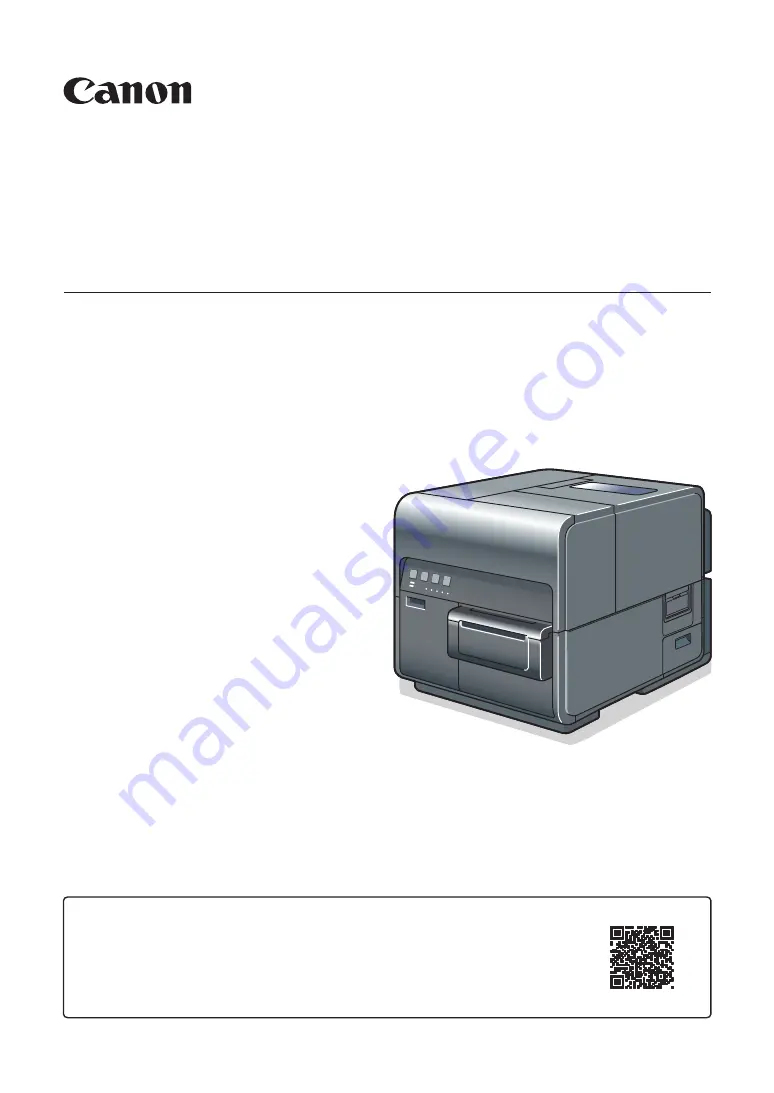
LX-P5510/LX-D5500

Getting Started Guide

COLOR LABEL PRINTER

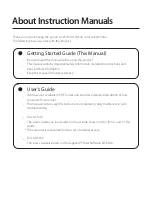
All functions of this printer are described in User's Guide. 

Please visit the following website to read User's Guide.

https://www.usa.canon.com/internet/portal/us/home/support/

Summary of Contents for LX-P5510

Page 1: ...ed reading store it in a safe place for future reference LX P5510 LX D5500 Getting Started Guide COLOR LABEL PRINTER All functions of this printer are described in User s Guide Please visit the following website to read User s Guide https www usa canon com internet portal us home support ...

Page 2: ...asic product information Keep this manual for future reference User s Guide This manual is available in PDF format and provides a detailed description of how to operate this product This manual contains specific instructions on operation daily maintenance and troubleshooting For LX P5510 The User s Guide can be viewed on the website shown on the front cover of this guide The customer is responsibl...

Page 3: ...egal Notice 2 Important Safety Instructions 4 Box Contents 11 Printer Part Names and Functions 12 Front Right Side View 12 Left Side View 13 Inside the Printer 14 Operation Panel 15 Installing Software 17 System Requirements 17 Installing the Printer Driver 18 Installing the User s Guide LX D5500 only 30 Loading Paper 33 ...

Page 4: ... product be sure to read these indications Note Instructions including notes for operation and additional explanations Indicates an operation that must not be performed Read these items carefully and make sure not to perform the described operations Sample Screens The sample LX D5500 printer driver screens displayed in this manual were created with Windows 10 Trademarks Canon and the Canon logo ar...

Page 5: ...rchase If you find any omissions or mistakes in this manual We can accept no responsibility for loss or damages resulting from the use of this printer or its software please accept this before you use the printer Legal Notice Legal Limitations on the Usage of Your Product and the Use of Images It is illegal to reproduce currency bills negotiable securities and other documents prohibited by law Rep...

Page 6: ...n If this equipment does cause harmful interference to radio or television reception which can be determined by turning the equipment off and on the user is encouraged to try to correct the interference by one or more of the following measures Reorient or relocate the receiving antenna Increase the separation between the equipment and receiver Connect the equipment into an outlet on a circuit diff...

Page 7: ...llation space D 588mm 23 1 inch Warning Do not place the following objects on the printer Necklaces and other metal objects Cups vases flowerpots and other containers filled with water or liquids If such an object is brought into contact with the electrical parts inside the printer this could cause a fire or electric shock If an object enters the inside of the printer turn the printer off immediat...

Page 8: ...is carried into a warm room on a cold day this could cause condensation inside the printer If this happens allow the printer to sit for at least 1 hour at room temperature to adapt to the ambient temperature and humidity Do not install under strong light This could cause a malfunction To ensure normal operation of the printer and avoid possible damage do not install the printer near large office e...

Page 9: ...e area around the power plug free of obstacles so you can unplug it easily This allows you to unplug the power cord quickly in an emergency Do not use any power outlet other than the one rated for the printer This printer is designed to be used in the region where you purchased it Also make sure that the power outlet can supply sufficient power for the printer This could cause a fire or serious el...

Page 10: ...g in personal injury It is dangerous to put your fingers deep inside the ink tank boxes There are pin sharp parts which may hurt you or alternatively you may cause damage that will lead to breakdown Keep the power cord cables gears belts rollers and electric parts inside the printer out of the reach of children Otherwise a personal injury or printer failure could result Do not directly paste label...

Page 11: ...ed CAUTION Hot surface Do not touch Class II equipment Moving parts Keep body parts away from moving parts There are sharp edges Keep body parts away from sharp edges NOTE Some of symbols shown above may not be affixed depending on the product Moving Warning Call your place of purchase for advice before you ship the printer a long distance or move the printer by car or truck where it may be subjec...

Page 12: ...ng or shipping the printer without taking necessary measures could cause ink leak inside the printer resulting in a fire electric shock or printer failure Important To prevent machine failures do not relocate or transport this printer with the upper unit open Maintenance and Inspections Warning To avoid a fire hazard occasionally disconnect the power cord from the printer and the power supply and ...

Page 13: ...r be sure to turn it off and remove the power plug from the power outlet Otherwise a fire or electric shock could result Ink Tank and the Maintenance Cartridge D Caution Always store these items out of the reach of small children This prevents accidents If a child accidentally swallows ink seek medical attention immediately If ink gets into your eyes wash it out with flowing water immediately If i...

Page 14: ...are CD ROM containing the printer driver and User s Guide LX D5500 Only Getting Started Guide this manual Warranty sheet Installation Procedure Other documents Keep those items untouched as technical representatives will use them at printer installation Note USB cable and LAN cable are not included Because starter ink tanks only have a small amount of ink early purchase of replacement ink tanks is...

Page 15: ... for operation and lamps to indicate the state of printer are provided on this panel When using the manual cutter open this cover 3 Ink tank door 8 Maintenance cartridge door Open this door when replacing ink tanks or opening the upper unit Open this door when replacing the maintenance cartridge 4 Paper delivery slot 9 Manual cutter Printed paper is delivered through this slot Use this cutter to c...

Page 16: ...Rating plate 5 USB port A serial number for identifying the printer is shown on this plate The serial number is required when you contact customer support or require any sort of printer repairs Connect a USB cable here to connect to the computer 6 LAN port Connect a LAN cable here to connect to the computer 3 RS232C port 7 Power socket Connect a barcode reader to this port Connect the power cord h...

Page 17: ... Upper unit open lever 6 Maintenance cartridge Opens the upper unit Ink used to clean the print head is collected here 3 Jam release lever 7 Cleaning stick Pull down this lever when paper is jammed Use this cleaning stick when cleaning the transport section 4 Transport guide Right 8 Roll holder This guide is used to transport paper straight and detect the width of paper This holder is used to set ...

Page 18: ...sly feeds the paper backwards The possible back feed length is 300 mm 11 81 inch or less accumulated total When the auto cutter is installed it is 330 mm 12 99 inch or less accumulated total 2 Pause key 5 Ink warning lamp Bk C M Y Pressing this key suspends printing Pressing this key restarts printing These lamps indicate the remaining amounts of Black Bk Cyan C Magenta M and Yellow Y inks Lit The...

Page 19: ...leaning etc Off Instructions and print data cannot be received from the computer offline mode or Sleep mode 7 Error lamp Lights when an error occurs Lit An operator call error has occurred Blink A service call error has occurred Important Opening the ink tank door or maintenance cartridge door during printing will cause an error and suspend printing Do not open the ink tank door or maintenance car...

Page 20: ...driver and User s Guide require a personal computer with the following system requirements Operating system OS For LX P5510 Windows 11 Windows 10 32bit 64bit For LX D5500 Windows 10 32bit 64bit Windows 8 1 32bit 64bit Windows 7 SP1 32bit 64bit Hard disk space Printer driver 50 MB or more User s Guide 10 MB or more Installing Software ...

Page 21: ...ng link https www usa canon com internet portal us home support Using the Printer via a USB Cable Important This printer is USB 2 0 High Speed compatible A USB cable does not come with this printer Use a commercially available USB cable that is compatible with your computer Do not connect the USB cable before installing the printer driver After starting installation of the printer driver connect t...

Page 22: ...an be downloaded from the Canon USA web site https www usa canon com internet portal us home support 2 Open the decompressed file double click CFSETUP EXE Important A user account control dialog box may appear In this case click Yes When installing the printer driver using the supplied CD ROM 1 Insert the Printer Software CD ROM into the computer 2 Click Run autoplay exe Note A user account contro...

Page 23: ...printer is selected and click OK 5 Read the software license agreement select Agree and then click Next 6 Read the Cautions and then click Next 7 Select Connect via USB or existing port and then click Next 8 To change the printer name enter a new printer name in Printer name ...

Page 24: ...you would like to select the connection destination by yourself click Select manually and select the connection port Important The USB cable is hot swappable However it should be noted that the USB cable should not be connected or disconnected in the following cases When the computer is being booted before the desktop appears When the printer is printing When the printer driver is being installed ...

Page 25: ...2 Click Finish Note If the printer driver was installed in a computer to be used as a print server click Server Client Registration The server client can be registered after completion of installation of the printer driver 1 Run the installer according to step 4 on page 19 2 Select Server Client Registration 3 Click OK To delete the server client registration perform procedure above server client ...

Page 26: ...ompatible with your computer Use a Category 5e or better twisted pair Ethernet cable Connection to a corporate LAN must be made by a network administrator If several printers will be connected to the same network configure the printers one at a time If several printers are turned on and configured at once the default IP address assigned to each printer will overlap and will prevent the use of the ...

Page 27: ...ck Find If no printer name is displayed again there may be a problem in the network environment Contact the network administrator Possible causes are as follows This printer and the computer are installed on different networks and therefore the computer cannot find this printer If the IP address necessary for network operation is not set connection to the network could fail If no printer name is d...

Page 28: ...ed Click Find with specified address button on the screen in step 7 Select Find the printer specified address radio button on the screen that appears and then enter MAC address or IP address The MAC address and IP address can be confirmed with the output setting value For more details refer to Checking Setting Values in User s Guide If the IP address is automatically assigned by a DHCP server the ...

Page 29: ...s Guide 10 Change IP address and then click Next Note IP address shown now is the default IP address When there is a device having DHCP server function on the network Checking Have an IP address automatically checkbox gets IP address automatically Important When there is no device having DHCP server function on the network note the following If there are two or more identical printers this printer...

Page 30: ...NC checkbox then click Install 1 1 Confirm the network settings which are shown on the screen and then click Next 1 2 Click Next Important The network utility is a tool for configuring network settings for the printer The network utility is required when changing IP address Be sure to install it do not uncheck Install network Utility checkbox For how to use the network utility refer to About the N...

Page 31: ...ter to be used as a print server click Server Client Registration The server client can be registered after completion of installation of the printer driver 1 Run the installer according to step 4 on page 19 2 Select Server Client Registration 3 Click OK To delete the server client registration perform procedure above server client registration procedure A confirmation message of the service delet...

Page 32: ...supplied CD ROM is used remove it 20 Click Yes Rebooting of the computer starts automatically Note When No is selected be sure to restart Windows prior to using the printer Installation of the printer driver via a LAN cable is completed ...

Page 33: ...r driver installation Have Anti virus programs and other resident programs closed before starting printer driver installation 1 Set the Printer Software CD ROM in the computer 2 Click Run autoplay exe Note A user account control dialog box may appear In this case click Yes The installation start window may not appear depending on the CD ROM drive auto run setting In this case go through the follow...

Page 34: ...t icon created on the desktop If shortcut is not created follow the procedure below Windows 10 From Start menu select All apps Canon LX D5500 Read the User s Guide Windows 8 1 1 Move the mouse pointer to the lower right corner or upper right corner of the window to show the Charms bar and click Start 2 On the Start screen move the mouse pointer and click the down arrow that appears at the bottom l...

Page 35: ...ftware Note When reading User s Guide stored on CD ROM follow the procedure below 1 Start CD ROM 2 Click Read the User s Guide 3 Confirm this printer selected and click OK The folder containing the User s Guide appears ...

Page 36: ...oll paper as shown below insert the roll holder Insert it firmly until the roll touches the flange of the roll holder leaving no gap Holder stopper 3 Insert the holder stopper in the roll holder and then tighten the fixing screw while lightly pressing it against the paper 1 2 4 Open the roll cover Loading Paper ...

Page 37: ...ight and slide it as shown until it stops 1 2 7 Mount the roll holder in the printer 8 Set paper Insert paper along the left guide under the transport guide left until it stops at the roller in the feeder slot Paper stopping at the roller in the feeder slot is automatically pulled in a little 1 2 ...

Page 38: ...e the transport guide right to lock it 11Slowly push the paper guide down until it clicks locks When it locks paper is transported automatically 12 Close the roll cover Important Be sure to close the roll cover before printing Note If there is a large slack in the paper roll remove the roll and tighten the paper When using tag paper do not fold perforations Auto cutter may cut at wrong position 4Y...

Page 39: ...CANON FINETECH NISCA INC 2022 PRINTED IN JAPAN One Canon Park Melville NY 11747 U S A www usa canon com CANON U S A INC 4Y8 8214 010 ...

Reviews: