


Summary of Contents for mageRUNNER ADVANCE C255iF
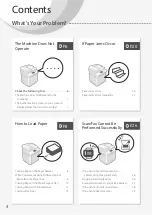
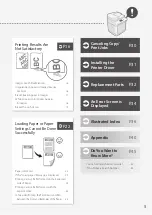
Page 1: ...FAQ Guide English P 3 Español P 47 What is Your Question ...
Page 2: ......
Page 46: ......
Page 90: ......
Page 91: ......
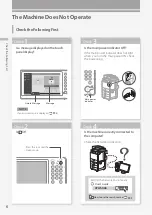
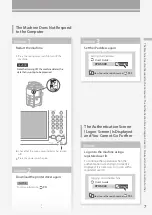
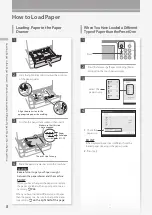
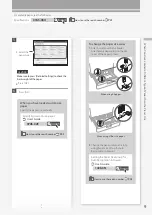
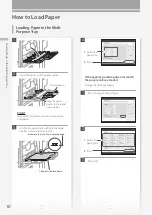
The Canon mageRUNNER ADVANCE C255iF is a versatile office printer that combines high-quality printing, scanning, and copying capabilities. Our "Getting Started" manual provides a comprehensive guide for new users to set up and maximize the printer's features. Download this manual for free from our website, 88.208.23.73:8080, and unlock the full potential of your Canon mageRUNNER ADVANCE C255iF.
Page 1: ...FAQ Guide English P 3 Español P 47 What is Your Question ...
Page 2: ......
Page 46: ......
Page 90: ......
Page 91: ......


