4
4
4-49
4-49
Disassembly/Assembly > Document Exposure/Feeder System > Removing the DADF Solenoid Unit
Disassembly/Assembly > Document Exposure/Feeder System > Removing the DADF Solenoid Unit
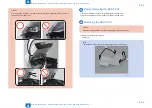
Caution:
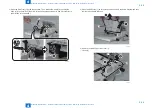
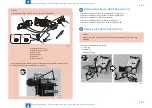
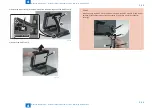
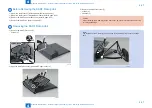
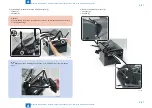
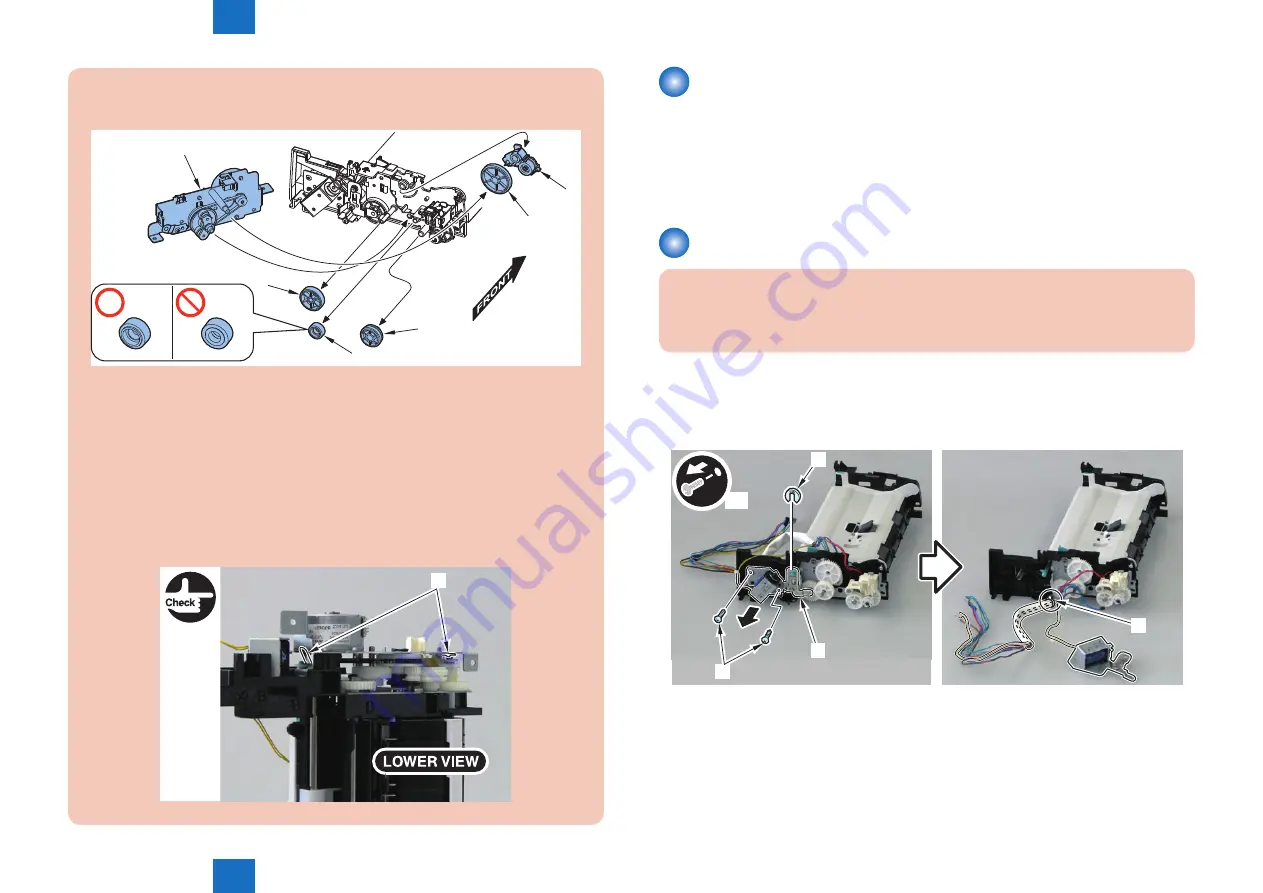
When assembling the DADF motor unit, follow the below steps.
[1]
[2]
[3]
[4]
[5]
[6]
[1] Separation swing arm
[2] Separation gear 21T/42T
[3] Gear 17T/51T
[4] Gear 23T/46T
[5] Gear 20T
[6] DADF motor unit
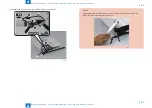
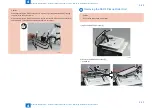
When assembling the DADF motor unit, ensure that both the DADF pickup unit and
DADF motor unit contact points [A] are in contact.
[A]
F-4-91
F-4-92
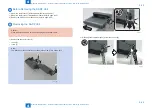
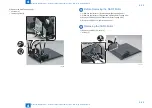
Before Removing the DADF Solenoid Unit
1) Remove the left cover. (Duplex models) (Refer to page 4-31)
2) Remove the DADF unit and reader unit. (Refer to page 4-40)
3) Remove the DADF unit. (Refer to page 4-42)
4) Remove the DADF pickup unit. (Refer to page 4-44)
5) Remove the DADF pickup motor unit. (Refer to page 4-48)
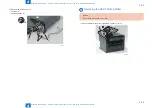
Removing the DADF Solenoid Unit
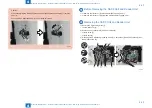
Caution:
Gently remove the DADF solenoid unit to prevent the gear phase from becoming
displaced.
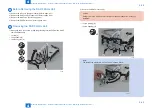
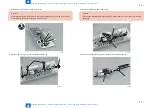
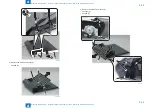
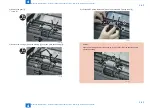
1) Remove the DADF solenoid unit [1].
• 1 e-ring [2]
• 2 screws [3]
• 1 harness band [4]
x2
[1]
[2]
[3]
[4]
F-4-93
Summary of Contents for MF4500 Series
Page 222: ...5 5 Adjustment Adjustment Mechanical Adjustment ...
Page 224: ...6 6 Trouble Shooting Trouble Shooting Test Print Trouble Shooting Items Version Upgrade ...
Page 230: ...7 7 Error Codes Error Codes Overview Error Codes ...
Page 234: ...8 8 Service Mode Service Mode Overview COPIER FEEDER FAX TESTMODE ...
Page 251: ... Service Tools Solvent Oil List General Circuit Diagram General Timing Chart Appendix ...


