

English
English
PUB.DIE-216
PAL
Introduction
Basic
Functions
Advanced
Functions
Editing
Using a
Memory Card
Direct Printing
Transferring
Images
Additional
Information
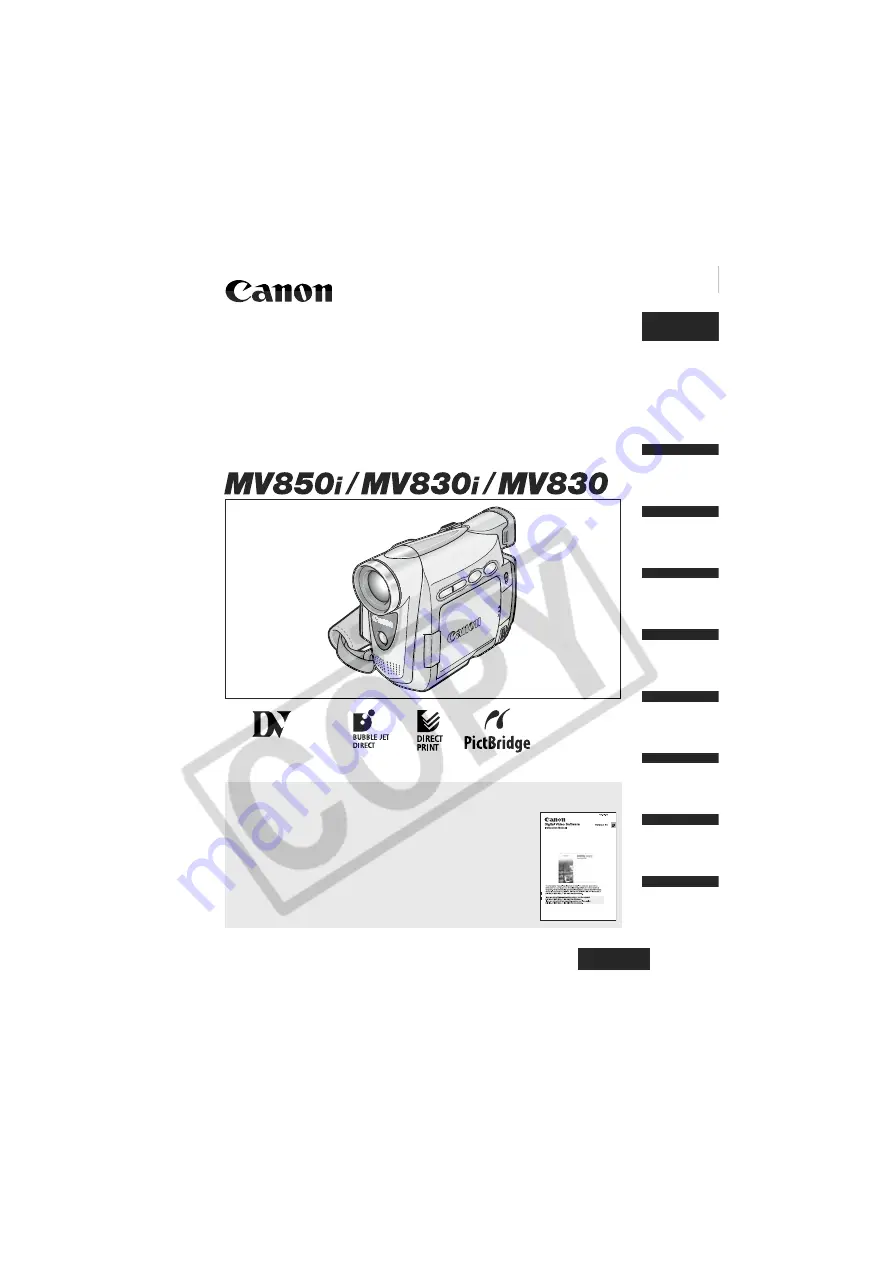
Digital Video Camcorder
Instruction Manual
Mini
Digital
Video
Cassette
Please read also the following instruction manual.
• Digital Video Software


