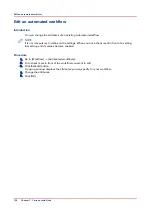
Add an automated workflow
Introduction
The Settings Editor contains 1 factory default automated workflow. However, it can be beneficial
for your productivity to add more automated workflows.
NOTE
It is not compulsory to define all the settings. When you put a check mark in front of a setting,
that setting and its values become enabled.
Procedure
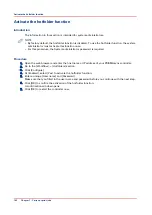
1.
Go to [Workflow] -> [Automated workflows].
2.
Click the [Add] button.
A pop-up window displays the attributes you can specify for the new workflow.
3.
Put a check mark in front of the attributes you want to define.
4.
Specify or select the values of the attributes.
5.
Click [OK].
Add an automated workflow
Chapter 7 - Carry out print jobs
137
Summary of Contents for Oce VarioPrint 6000+ Series
Page 1: ...Operation guide Océ VarioPrint 6000 Line ...
Page 7: ...Chapter 1 Preface ...
Page 11: ...Chapter 2 Introduction ...
Page 13: ...Chapter 3 Power information ...
Page 19: ...Chapter 4 Main parts ...
Page 31: ...Chapter 5 Adapt printer settings to your needs ...
Page 49: ...Chapter 6 Media handling ...
Page 85: ...Chapter 7 Carry out print jobs ...
Page 162: ...Exchange all setups between printers 162 Chapter 7 Carry out print jobs ...
Page 163: ...Chapter 8 Remote Service ORS optional ...
Page 166: ...Remote Service 166 Chapter 8 Remote Service ORS optional ...
Page 167: ...Chapter 9 Remote Monitor optional ...
Page 169: ...Chapter 10 Optional finishers and other devices ...
Page 189: ...Chapter 11 Counters ...
Page 194: ...Find the meter readings 194 Chapter 11 Counters ...
Page 195: ...Chapter 12 Keeping the printer running ...
Page 209: ...Appendix A Miscellaneous ...
Page 212: ...Product specifications 212 Appendix A Miscellaneous ...
Page 220: ...Index 220 ...
Page 221: ......


