(11/23)
2-3. Special Notes on Servicing
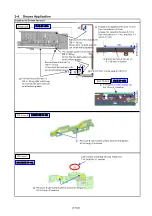
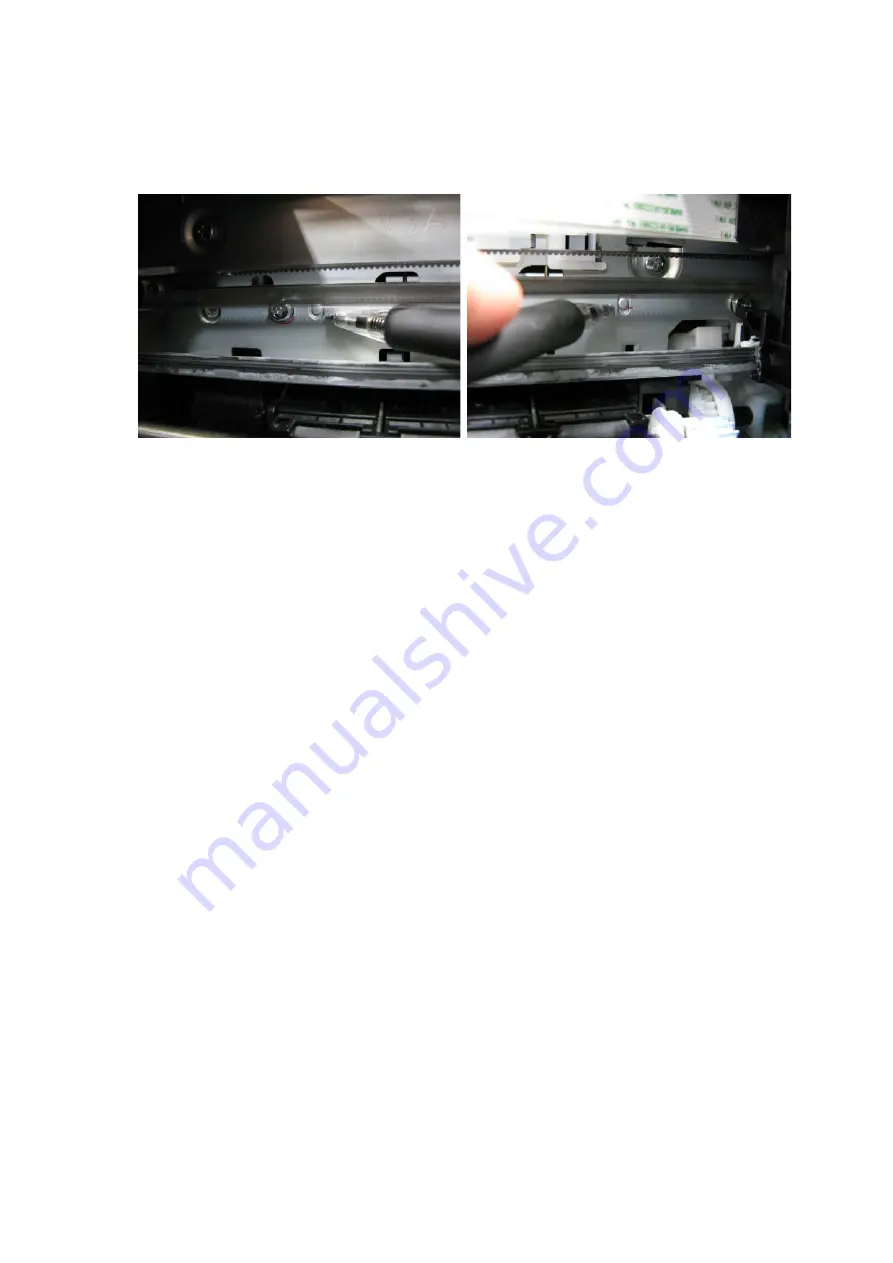
(1) Carriage rail and main chassis adjustment
< Carriage rail >
Perform the following adjustments when attaching the carriage rail:
1) Before loosening the screws, mark their positions on the rail.
2) In attaching the carriage rail, make sure that the screws fit to the marks made in step 1)
respectively, then fasten the screws.
3) Be sure to perform the confirmation test detailed below; confirm that the print quality is
proper and the print head is not contacting the paper.
< Main chassis >
After the main chassis is attached, be sure to perform the confirmation test detailed below;
confirm that the print quality is proper and the print head is not contacting the paper.
< Confirmation test >
Using Photo Paper Pro Platinum, print an image and confirm that the print quality is proper, and
the print head is free from contacting the paper.
If the print quality is not proper, or the print head contacts the paper, adjust the head-to-paper
distance in the following procedures:
< How to adjust the head-to-paper distance >
1) Mark the current position of the screws at the both ends of the chassis. (See the step 1 of
the carriage rail adjustment above.)
2) Loosen the screws, and adjust the head-to-paper distance.
- To prevent the print head from contacting the paper, raise the carriage rail from the
current position.
- To improve the print quality, lower the carriage rail from the current position.
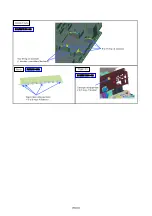
(2) AC adapter replacement
When installing the AC adapter, if the DC harness cables (between the AC adapter and the logic
board) are pushed into the bottom frame, an extra portion of the harness cables can enter the drive
unit, preventing paper feeding or resulting in breakage of the cable.
Arrange the DC harness cables in the following procedures at replacement of the AC adapter:


