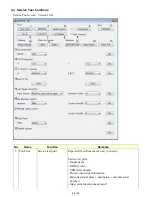
Note: After replacement of the ink absorber, reset the ink absorber counter (or set the appropriate
counter value) in the service mode. For details, see
3-3. Adjustment and Settings in Service Mode
.
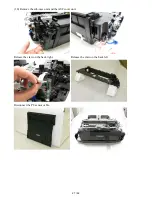
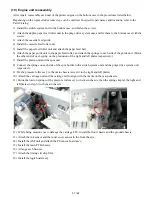
3) Release the ground harness ass'y from the bottom case, and slowly lift the print unit to separate it
from the bottom case. Be cautious of the PictBridge chassis.
4) Replace the ink absorber.
Confirm that the replaced new ink absorber completely fits in place and is not lifted or
dislocated.
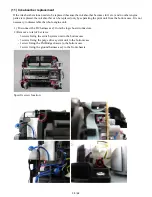
5) While being cautious of the ink tube and each harness location, return the print unit to the
bottom case, and fasten the 8 screws (removed in step 2).
6) Properly arrange and connect the harnesses, and attach the external housing.
<2-2. Disassembly & Reassembly Procedures>
39 / 62
Summary of Contents for PIXMA MG5220 Series
Page 29: ...8 Remove the scanner unit Disconnect two harnesses and one FFC Remove one core 25 62 ...
Page 55: ...51 62 ...
Page 60: ...4 2 Integrated Inspection Pattern Print Print sample 56 62 ...
Page 61: ...4 3 Ink Absorber Counter Value Print Print sample 4 VERIFICATION AFTER REPAIR 57 62 ...
Page 64: ...60 62 ...


