45
3
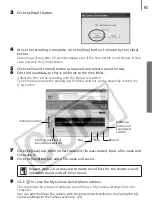
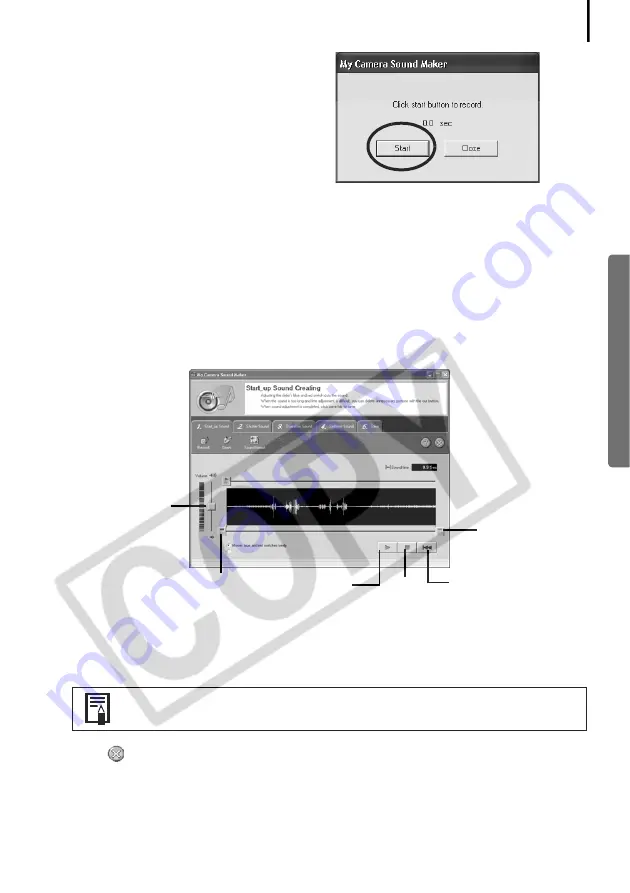
Click the [Start] button.
4
When the recording is complete, click the [Stop] button, followed by the [Close]
button.
Recording will stop after 30 seconds elapses even if the Stop button is not clicked. In that
case, just click the [Close] button.
5
Click the [Sound Format] button as required and select a sound format.
6
Edit the sound data so that it conforms to the time limits.
Adjust the time of the recording with the blue or red switch.
The extra data outside the starting and finishing switches can be erased by clicking the
[Cut] button.
7
Click the [Save] tab, confirm that the sound file was created, input a file name and
then save it.
8
Click the [Save] button, add a file name and save it.
9
Click
to close the My Camera Sound Maker window.
This concludes the process of adding a sound file as a My Camera settings file to the
computer.
You can add the file to the camera with the procedures described in the
Saving the My
Camera Settings to the Camera
section (p. 43).
Repeats steps 2-8 as required to create sound files for the shutter sound,
operation sound and self-timer sound.
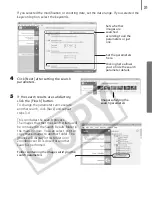
Volume Control
Starting position of
sound (blue switch).
Play
Stop
Rewind
Finishing
position of
sound (red
switch)
Summary of Contents for PowerShot A400
Page 9: ...5 Download images to the computer Print the images Connect the camera to the computer...
Page 109: ...105 MEMO...
Page 110: ...106 MEMO...
Page 111: ...107 MEMO...
Page 112: ...108 MEMO...
Page 113: ...109 MEMO...
Page 114: ...110 MEMO...

