99
ImageBrowser Software User Guide
Appendices
3.
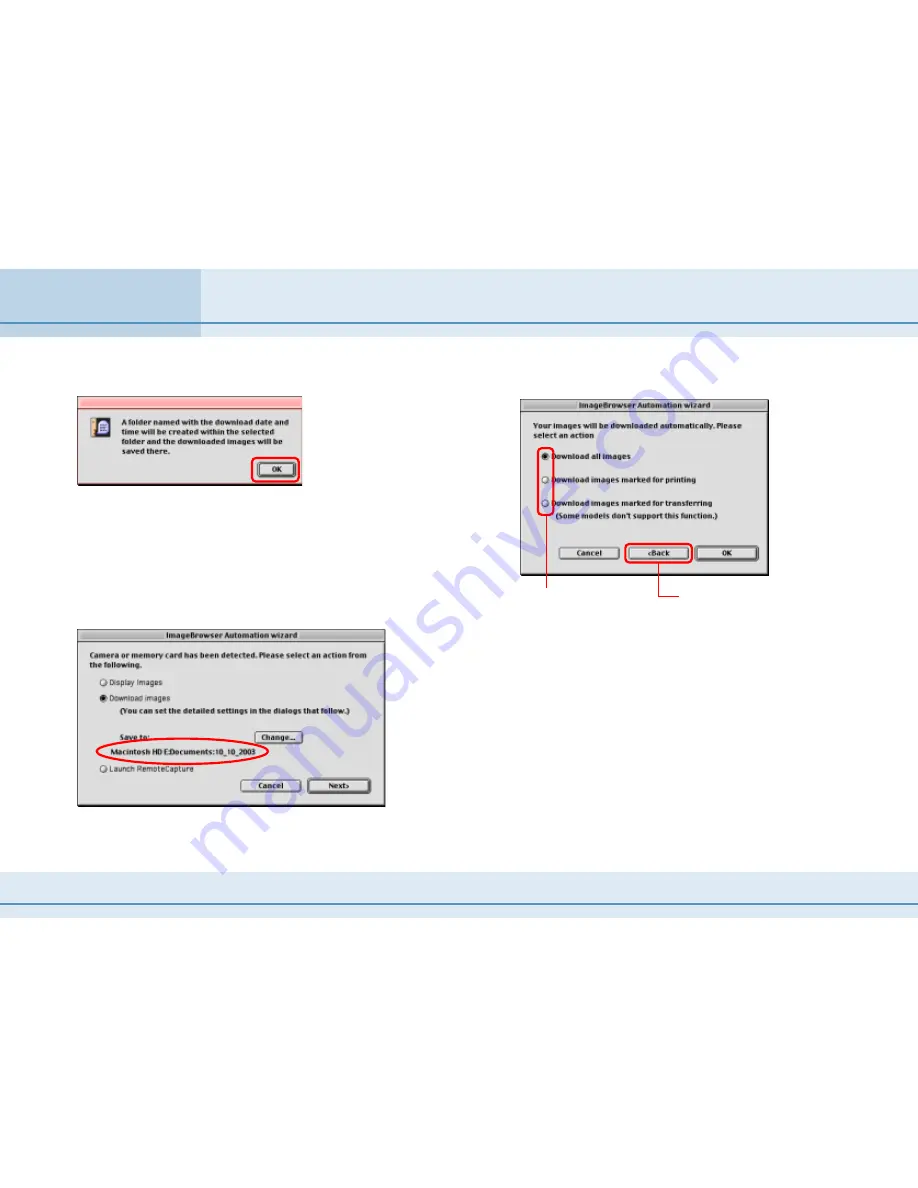
Click [OK] when the following dialog appears.
○
○
○
○
○
○
○
○
○
○
○
○
○
○
○
○
○
○
○
○
○
○
○
○
○
○
○
○
○
○
○
○
○
○
○
○
○
○
○
○
○
○
REFERENCE
• A folder named with the current date will be created in the
folder selected in Step 2. The images will be imported to this
folder.
The selected folder will display in the [Save to] category of the
previous dialog.
4.
Click [Next].
5.
Select an image download option.
Click a downloading
option.
Click here to return to
the previous dialog.
■
Download all images
Select this to download all the images in the camera.
■
Download images marked for printing
Select this to download only the images that have been marked
for printing.
■
Download images marked for transferring
Select this to download only the images that have been marked
for transferring.
Automation Wizard Feature at Startup (Mac OS 9 Only) (3/4)


