Chapter 2
2-1
2.1
Basic Operation
2.1.1
Basic Operation (Finisher Unit)
0009-2533
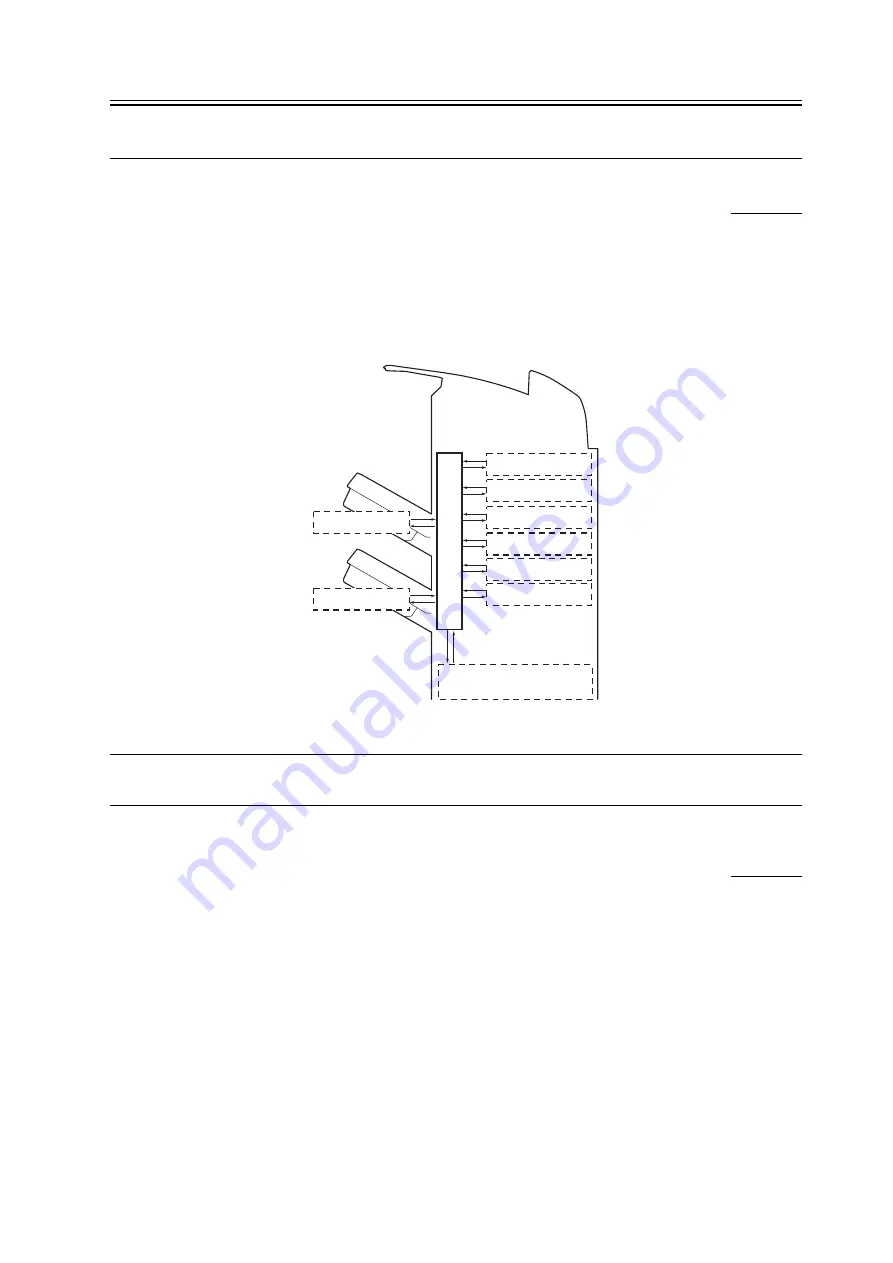
The finisher is designed to deliver copies arriving from its host machine, and its modes of delivery include simple
stacking, job offset, and staple.
All operations involved in these modes are controlled by the finisher controller PCB, according to the appropriate
commands from the host machine.
In the case of the Saddle Finisher, copies from the host machine may be routed to the saddle stitcher unit.
F-2-1
Memo: The term job offset refers to shifting each sorting job, separating a single stack into several stacks.
2.1.2
Overview of the Electrical Circuitry (Finisher Unit)
0009-2534
The finisher's sequence of operation is controlled by the finisher controller PCB. The finisher controller PCB is a 16-
bit microprocessor (CPU), and is used for communication with the host machine (serial) in addition to controlling
the finisher's sequence of operations.
The finisher controller PCB responds to the various commands coming from the host machine through a serial
communications line to drive solenoids, motors, and other loads. In addition, it communicates the finisher's various
states (information on sensors and switches) to the host machine through a serial communications circuit.
In the case of the Saddle Finisher, the finisher controller PCB not only communicates with the saddle stitcher
controller PCB but also communicates the saddle stitcher unit's various states (information on sensors and switches)
to the host machine.
Swing guide drive system
Alignment drive system
Stapler drive system
Delivery drive system
Feeder drive system
Shutter drive system
Control system
Tray drive system
Tray drive system
Saddle stitcher unit control system
Summary of Contents for Saddle Finisher-T2
Page 1: ...Feb 21 2005 Service Manual Finisher Sorter DeliveryTray Saddle Finisher T2 ...
Page 2: ......
Page 6: ......
Page 15: ...Chapter 1 Specifications ...
Page 16: ......
Page 18: ......
Page 28: ......
Page 29: ...Chapter 2 Functions ...
Page 30: ......
Page 32: ......
Page 95: ...Chapter 3 Parts Replacement Procedure ...
Page 96: ......
Page 102: ......
Page 111: ...2 Remove two screws 1 and remove the escape door 2 F 3 33 2 1 ...
Page 182: ...F 3 325 2 1 3 2 2 ...
Page 183: ...Chapter 4 Maintenance ...
Page 184: ......
Page 225: ...Chapter 4 4 39 F 4 39 5 Select Register F 4 40 6 Select OK and register the data ...
Page 241: ...Chapter 5 Error Code ...
Page 242: ......
Page 244: ......
Page 261: ...Feb 21 2005 ...
Page 262: ......


