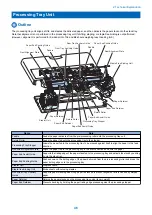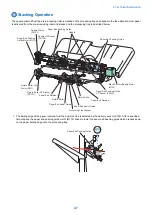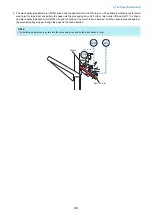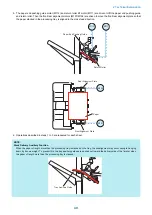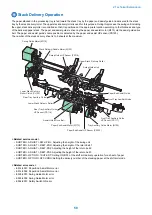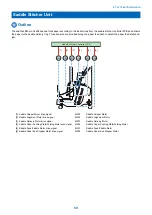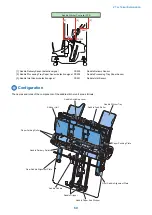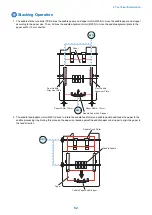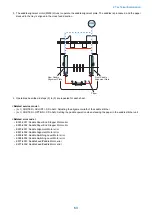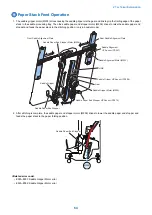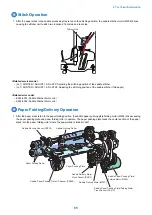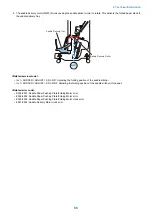
<Related error code>
• E530-8001: Front Alignment Motor error
• E530-8002: Rear Alignment Motor error
• E537-8001: Front Alignment Motor error
• E530-8002: Rear Alignment Motor error
Staple Operation
■ Outline
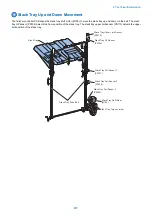
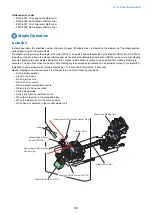
In staple operation, the specified number of sheets of paper (50 sheets max.) is stapled by the stapler unit. The staple position
varies depending on the staple mode.
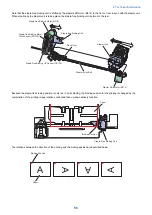
The stapler unit is driven by the stapler shift motor (M114). The home position is detected by the stapler shift HP sensor (PS124).
In addition, if paper is set in the manual staple paper slot and the manual staple paper sensor (PS128) turns on, manual stapling
becomes possible (manual staple LED lights). If the manual staple button is pressed or a specified time elapses, stapling is
executed. The time from when the paper is set until stapling is executed automatically can be adjusted through <configuration/
registration> and service mode. (Range of settings: 1 to 5 seconds, default value: 3 seconds)
Manual stapling cannot be executes if the finisher is in one of the following conditions.
• During initial operation
• Front cover is open
• When a jam occurs
• When an error occurs
• When a staple empty alarm occurs
• When a job is being executed
• During sleep mode
• During tray function restriction mode
• When there is paper in the processing tray
• When the stapler is not at its home position
• When paper is detected in the manual stapler unit
Stapler Unit
Stapler Drive Belt
Manual Staple Paper
Sensor (PS128)
Stapler Shift HP Sensor (PS124)
Stapler Shift Motor (M114)
Paper Rear End Detection Sensor Flag
Paper Right End Detection
Sensor Flag
Staple-free Binding Unit
Paper
2. Technical Explanation
52
Summary of Contents for Staple Finisher-AA1
Page 1: ...Revision 4 0 Staple Finisher AA1 Booklet Finisher AA1 Service Manual ...
Page 12: ...Product Overview 1 Features 5 Specifications 6 Names of Parts 14 Optional Configuration 20 ...
Page 83: ...Periodical Service 3 Periodic Servicing Tasks 76 ...
Page 87: ...3 Remove the 2 Connectors 1 2x 1 4 Parts Replacement and Cleaning 79 ...
Page 89: ...Main Units Parts 4 5 6 7 8 1 2 3 4 Parts Replacement and Cleaning 81 ...
Page 128: ...4x 1 2 2 3 3 2x 4 Parts Replacement and Cleaning 120 ...
Page 150: ...Adjustment 5 Overview 143 Basic Adjustment 148 Adjustments When Replacing Parts 173 Other 184 ...
Page 193: ...Troubleshooting 6 Making Initial Checks 186 Processing Tray Area 187 Saddle Stitcher Area 188 ...
Page 204: ...4 5 6 7 8 9 7 Installation 196 ...
Page 205: ...10 7 Installation 197 ...
Page 223: ...2 3 2x 7 Installation 215 ...
Page 224: ...APPENDICES Service Tools 217 General Circuit Diagram 218 ...

