4
4
4-36
4-36
Parts Replacement and Cleaning Procedure > Major Units > How to assemble the Process Tray Upper Unit (Front/Rear) and the Finisher Lower Feed Guide Unit > Procedure (How to install the Process Tray Upper Unit (Front) and the Finisher Lower Feed Guide Unit)
Parts Replacement and Cleaning Procedure > Major Units > How to assemble the Process Tray Upper Unit (Front/Rear) and the Finisher Lower Feed Guide Unit > Procedure (How to install the Process Tray Upper Unit (Front) and the Finisher Lower Feed Guide Unit)
■
Procedure (How to install the Process Tray Upper Unit (Front)
and the Finisher Lower Feed Guide Unit)
●
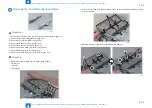
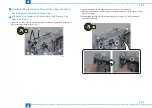
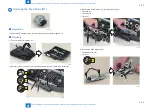
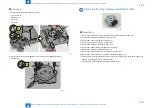
[A] Adjusting the Position of the Guide Plate of the Process Tray
Upper Unit (Front)
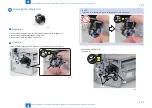
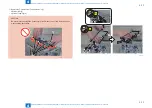
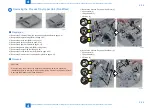
1) Loosen the 2 screws [2] of the Process Tray Upper Unit (Front) and the 2 screws [4] of the
Finisher Lower Feed Guide Unit [3].
4x
[4]
[1]
[3]
[2]
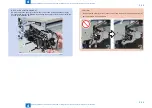
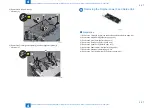
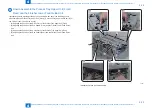
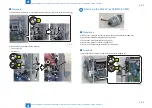
2) Tighten the screw [2] while lifting the Process Tray Upper Unit (Front) [1].
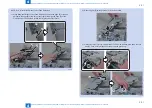
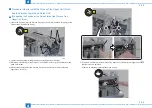
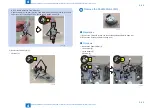
3) Move the Guide Plate [3] of the Process Tray Upper Unit (Front) [1] in the direction of the
arrow until it stops.
4) While holding the [A] part of the Process Tray Upper Unit (Front) [1] with your fingers,
tighten the 1 screw [4].
F-4-91
[A]
[3]
[1]
[4]
[2]
2x
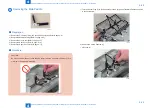
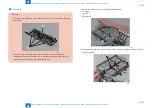
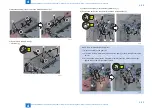
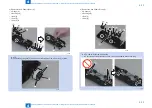
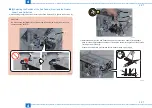
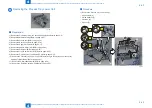
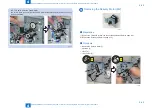
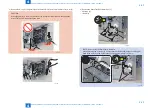
5) Push the Guide Plate [1] of the Process Tray Upper Unit (Front) with your fingers and check
that there is some backlash.
If there is no backlash, perform steps 2 and 3 again.
[1]
F-4-92
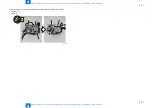
F-4-93
Summary of Contents for Staple Finisher-S1
Page 6: ...Safety Precautions Notes Before Servicing Points to Note at Cleaning ...
Page 8: ...1 1 Product Outline Product Outline Features Specifications Names of Parts ...
Page 36: ...3 3 Periodic Servicing Periodic Servicing List of Work for Scheduled Servicing ...
Page 94: ...5 5 Adjustment Adjustment Adjustment Item Dip Switch Function ...
Page 113: ...Appendix Service Tools General Circuit Diagram ...

