Using: Photo Library
139
ii.
Select the position, alignment, and font.
iii.
Select
Insert Special Text
if desired.
4.
Select
OK
when finished with all the tabs.
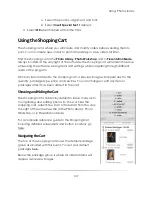
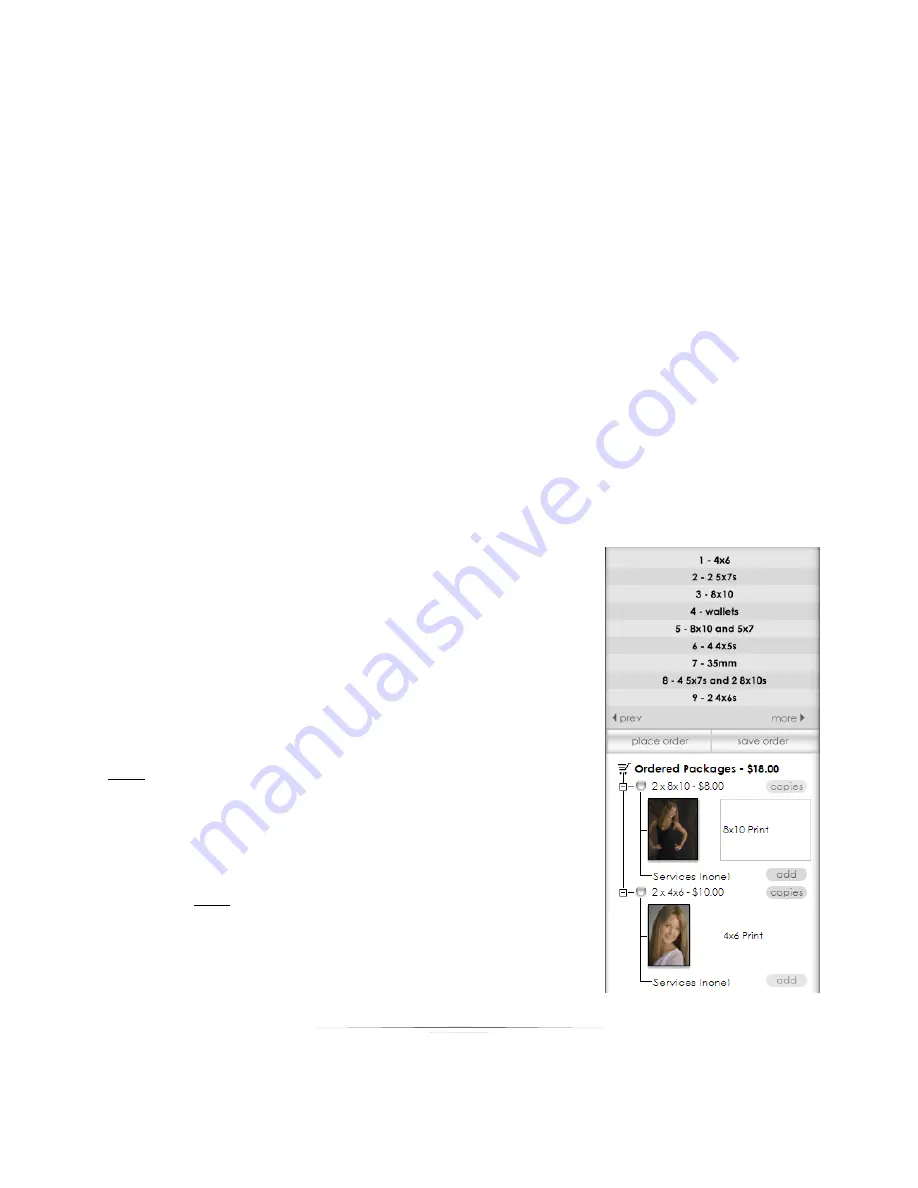
Using the Shopping Cart
The shopping cart is where you will create and modify orders before sending them to
print. You can create new orders to print immediately or save orders for later.
Find the shopping cart in the
Photo Library
,
Photo Workshop
, and in
Presentation Mode
,
always located at the very right of the software. The shopping cart will remain the same
while using the software, saving items and settings while navigating through different
areas of the program.
Once an item is added to the shopping cart, a preview image will appear next to the
quantity, package type, price, and services. You can change or edit any item or
packages after it has been added to the cart.
Showing and Hiding the Cart
The shopping cart is hidden by default to leave more room
for organizing and editing photos. To show or hide the
shopping cart, select Show Cart or Hide Cart from the very
top right of the software while in the Photo Library, Photo
Workshop, or in Presentation Mode.
For a complete reference guide to the Shopping Cart,
including detailed screenshots and button locations, go
here.
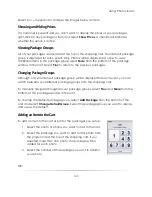
Navigating the Cart
The top of the shopping cart shows the default package
group associated with this event. You set your default
packages here.
Below the package group is where all ordered items will
appear as preview images.
Summary of Contents for Studio Solution
Page 1: ...User Guide ...
Page 366: ...Index 366 Zoom 296 ...


