Tutorial: Border Workshop
279
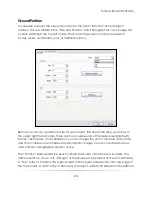
edge of the border. To change the position of the edges of your object, use the arrow
buttons or click in the text fields and type in the desired amounts.
Note:
Changing the coordinates within the Position fields can change the size of your
object.
To quickly change the position of object, you can click the ―Alignment Options‖ button.
This option will bring up a drop-down list of available alignments: Left, Center, Right,
Center of Page, Top, Middle, and Bottom.
The ―Size‖ fields determine the width and height of your shape. Click the arrow buttons
or click in the text field to enter the desired size of your object. To quickly change the
size of a object, you can click the ―Fill Options‖ button. This option will bring up a drop-
down list of available fill options: Fill Entire Page, Fill Width, Fill Height. Choosing one of
these will extend those parameters to the edge of the border.
Add Multiple Photos
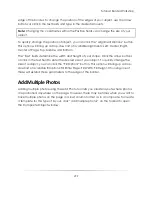
Adding multiple photos using the Add Photo tool lets you create layouts where photos
are positioned anywhere on the page. However, there may be times when you want to
have multiple photos on the page in a row/column format as in a composite. To create
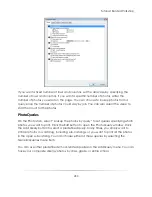
a template for this type of layout, click ―add multiple photos‖ on the toolbar to open
the Composite Object window.
Summary of Contents for Studio Solution
Page 1: ...User Guide ...
Page 366: ...Index 366 Zoom 296 ...


