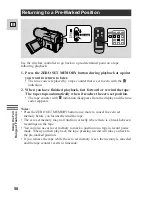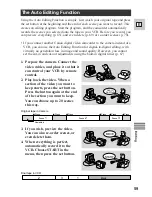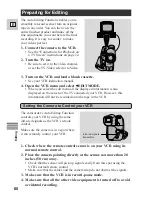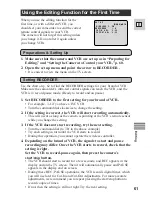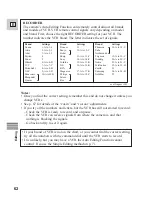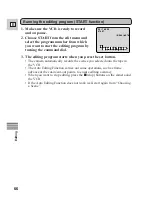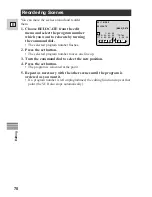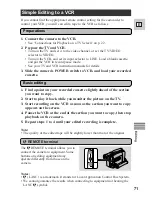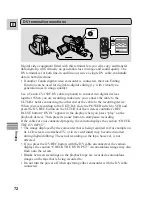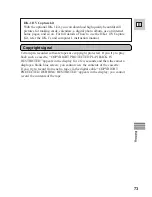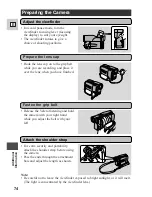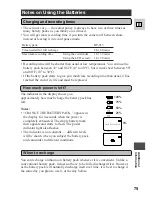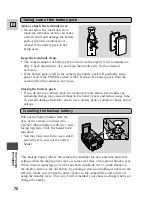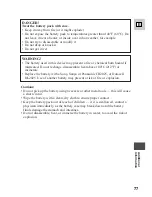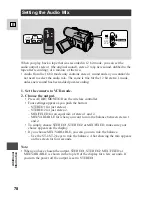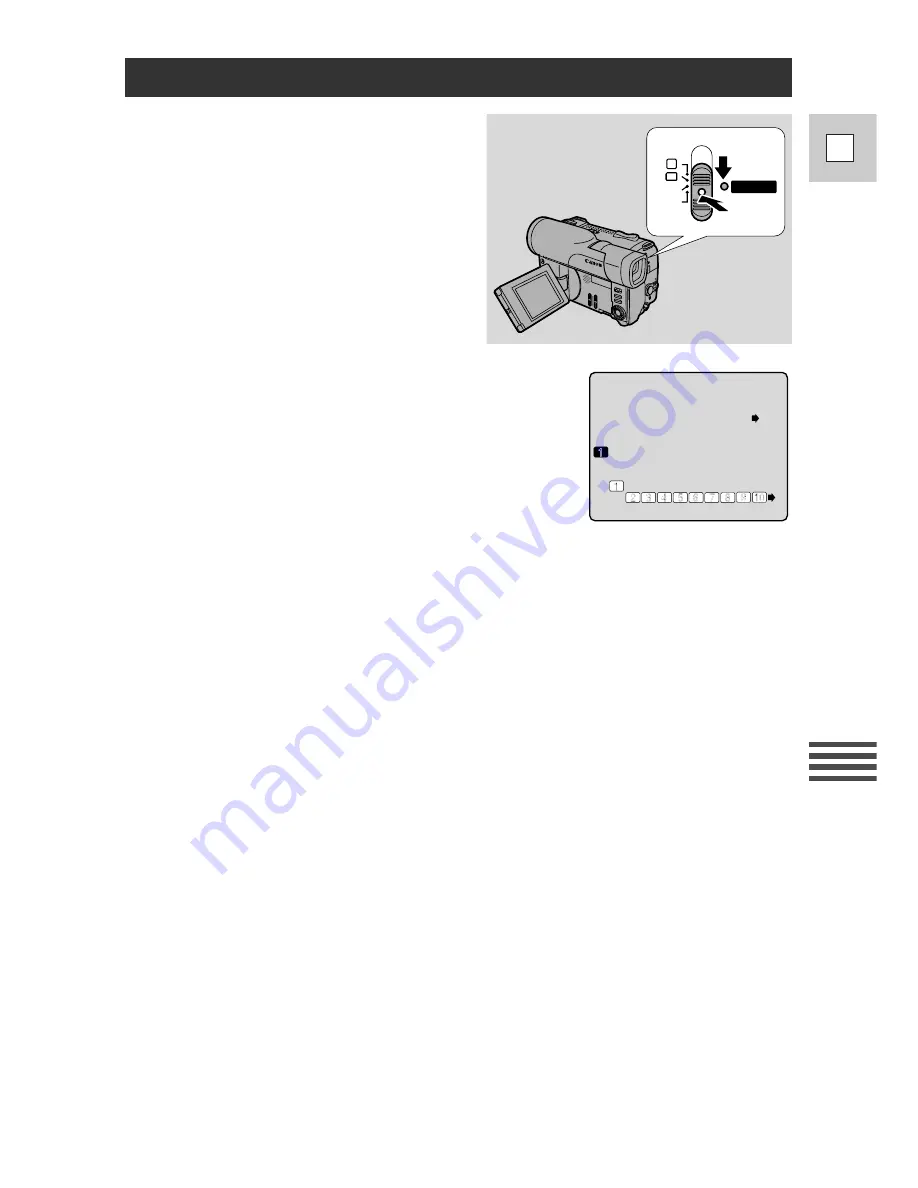
You can put a scene into the editing
program by pressing the set button at the
point where you want the scene to start and
at the point where you want it to end. (The
“cut-in” and the “cut-out” points.)
Instead of using the controls on the
camcorder body, you can use the wireless
controller. The
t
button corresponds to
turning the command dial clockwise and
the
r
button to turning it counter-
clockwise.
63
E
Editing
P
OFF
VCR
POWER
ED I
E
T OT L
A
S
MODE
T
:
0 0
6 0
:
0 0
:
0
:
0 0
4 0
:
0 0
:
0
2 0
:
0 0
:
0
0 0
:
2 0
:
0
T
U -
C
N
I
T
U -
C
T
U
O
T
[ ME N U ] R T N
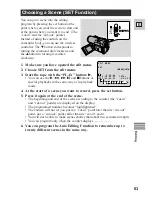
Choosing a Scene (SET Function)
4. At the start of a scene you want to record, press the set button.
5. Press it again at the end of the scene.
• The beginning and end of the scene according to the counter (the “cut-in”
and “cut-out” points) are displayed on the display.
• The programmed number becomes “highlightened”.
• The camera will not let you put in a “cut-in” point later than its “cut-out”
point, nor a “cut-out” point earlier than its “cut-in” point.
• You will not be able to make scenes shorter than about two seconds in length.
• You can program only when the counter displays –:– –:– –:– –.
6. You can program the Auto Editing Function to remember up to
twenty different scenes in the same way.
1. Make sure you have opened the edit menu.
2. Choose SET from the edit menu.
3. Start the tape with the “PLAY” button:
e
.
• You can use the
e
,
`
,
1
,
a
, and
3
buttons or
special playbacks in the same way as in playback
mode.

