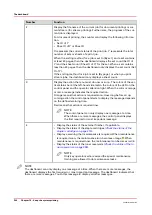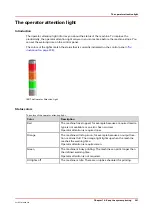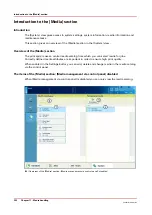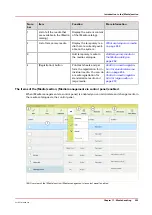
The items of the [Trays] view
Description of the [Trays] view
Item
Function
Content of the paper trays
Indicate the current content and filling level of the paper trays.
The [Trays] view displays the parameters of the media that are
currently in the paper trays. The parameters are a combination
of icons and texts (
The paper tray information on page 250
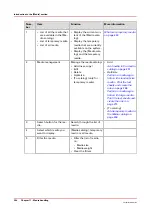
[Assign] button
Assign media from the media catalog (
[Unassign]
Unassign media from the selected paper tray.
[Open] button
Open the selected paper tray to load the media (
[Registration]
Perform a media registration for the selected media (
media registration for standard-size media - Print the test
sheets and create the ruler on page 266
istration for large media - Print the test sheets and create the
ruler on page 273
)
Arrow buttons
When your configuration contains more paper modules than
the [Trays] view can display in 1 screen, you can touch the ar-
row buttons to change part of machine displayed.
The paper tray information
The [Trays] view displays the following textual information for each paper tray.
• The media name, for example 'Normal paper'
• The media size, for example A3 or A4
• The media weight, for example 80 g
• The media color
• The special characteristics of the media, for example [cyclic] or [punched]. In brackets,
additional information is given about these media, for example the cycle count or the number
of holes for punched media.
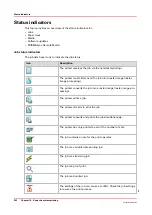
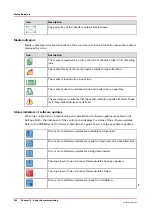
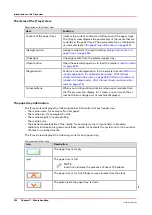
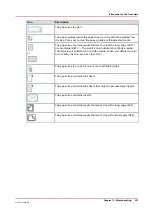
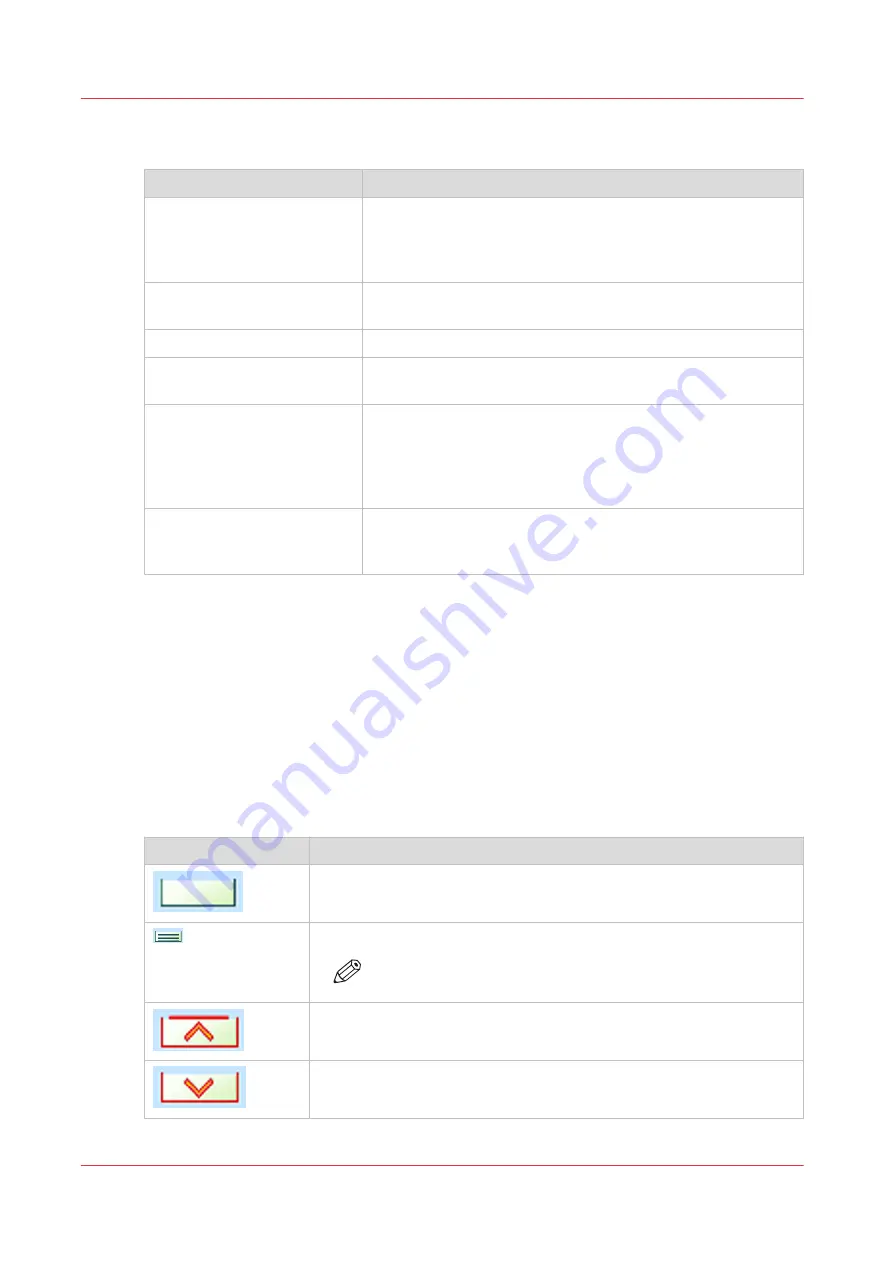
The [Trays] view displays the following icons for each paper tray.
The meaning of the icons
Icon
Description
The paper tray is empty
The paper tray is full
NOTE
Each line indicates the presence of about 100 sheets
The paper tray is too full. Please remove sheets from the stack
The plate inside the paper tray is down
4
Introduction to the Trays view
250
Chapter 11 - Media handling
VarioPrint 6000 line
Summary of Contents for VarioPrint 6000 Series
Page 8: ...Contents 8 VarioPrint 6000 line ...
Page 9: ...Chapter 1 Introduction ...
Page 14: ...Information in this operation guide 14 Chapter 1 Introduction VarioPrint 6000 line ...
Page 15: ...Chapter 2 Explore the print system ...
Page 31: ...Chapter 3 Explore the ease of operation ...
Page 46: ...Transaction printing workflow 46 Chapter 3 Explore the ease of operation VarioPrint 6000 line ...
Page 47: ...Chapter 4 Start the print system ...
Page 56: ...Log in to the printer 56 Chapter 4 Start the print system VarioPrint 6000 line ...
Page 63: ...Chapter 5 Prepare the print system ...
Page 101: ...Chapter 6 Prepare the print jobs ...
Page 110: ...Print a page number via PRISMAsync 110 Chapter 6 Prepare the print jobs VarioPrint 6000 line ...
Page 111: ...Chapter 7 Plan the workload remotely ...
Page 115: ...Chapter 8 Plan the jobs ...
Page 127: ...6 Touch OK Move jobs to another destination Chapter 8 Plan the jobs 127 VarioPrint 6000 line ...
Page 139: ...5 Touch OK Create a note for the operator Chapter 8 Plan the jobs 139 VarioPrint 6000 line ...
Page 165: ...Chapter 9 Carry out print jobs ...
Page 232: ...Make an intermediate check print 232 Chapter 9 Carry out print jobs VarioPrint 6000 line ...
Page 233: ...Chapter 10 Keep the system printing ...
Page 246: ...Status indicators 246 Chapter 10 Keep the system printing VarioPrint 6000 line ...
Page 247: ...Chapter 11 Media handling ...
Page 289: ...Chapter 12 Maintain the print system ...
Page 316: ...Close the doors and covers 316 Chapter 12 Maintain the print system VarioPrint 6000 line ...
Page 317: ...Chapter 13 PRISMAlytics Dashboard ...
Page 319: ...Chapter 14 Troubleshooting ...
Page 334: ...Create and download a log file 334 Chapter 14 Troubleshooting VarioPrint 6000 line ...
Page 335: ...Chapter 15 Specifications ...
Page 353: ......


