Light-weight media
Introduction
Light-weight media is media with a weight less than 50 g/m². You must handle light-weight media
with extra care because light-weight media can be damaged very easily. Even minor irregularities
of the light-weight media will lead to a significant reduced reliability and runability. Discard
damaged sheets.
The stiffness of light-weight media is very low. To load light-weight media you must know the
grain direction.
The allowed light-weight media is given in the acceptable paper list. Contact your local authorized
dealer for the latest version.
To print light-weight media the optional light-weight media module must be installed.
Printing jobs with light-weight media
• When you print a job that contains media with a weight less than 60 g/m², the system informs
you that you must switch to [Low temperature mode], when the system is not in this mode.
• When you print a job that contains media with a weight more than 85 g/m², the system informs
you that you must switch to normal temperature mode, when the system is not in this mode.
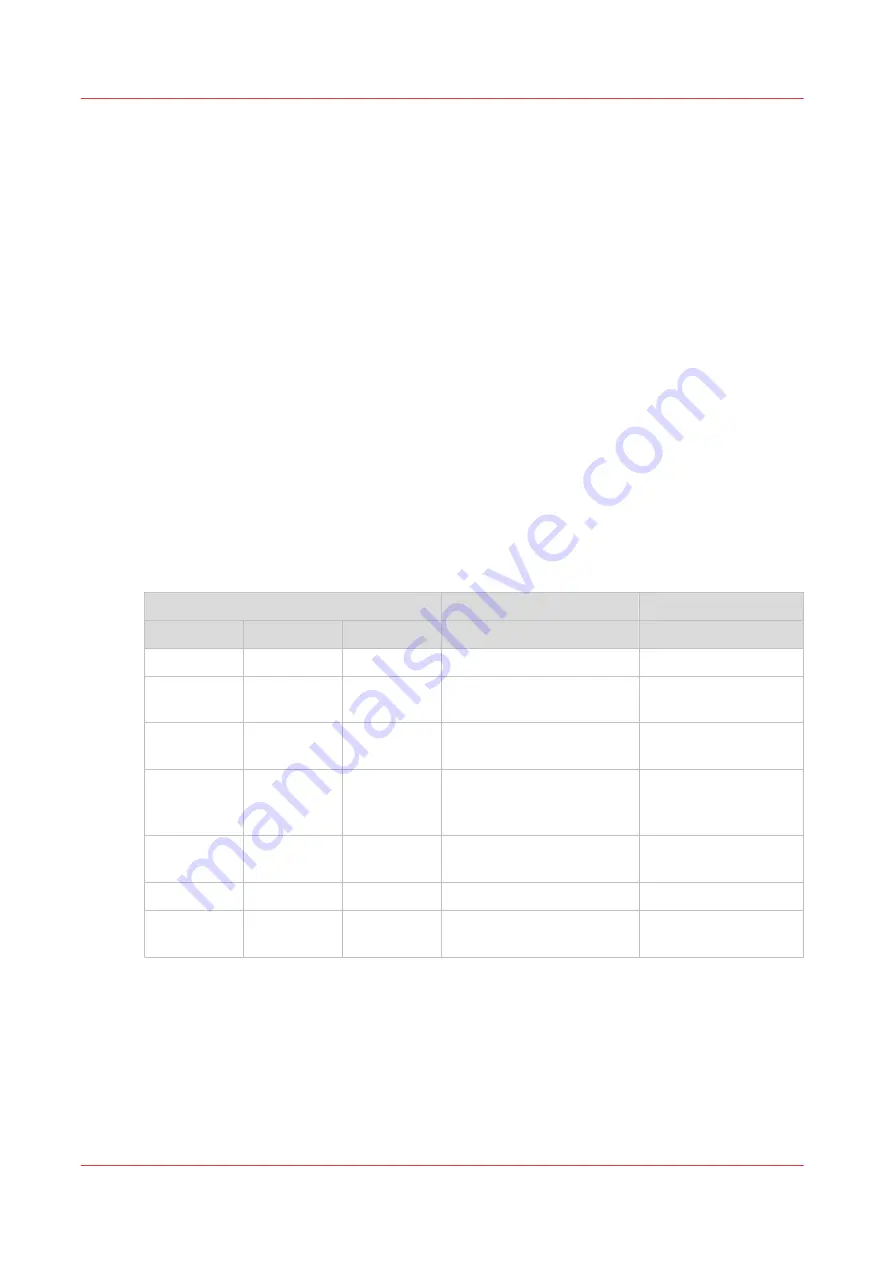
• When you print a job that contains media with mixed media weights, the system informs you
that you must switch to the temperature mode indicated in the table below, when the system is
not in this mode.
Media weight
< 60 g/m²
60 - 85 g/m² > 85 g/m²
Temperature mode
X
low temperature mode
X
X
low temperature mode
mixed media weight
job
X
X
normal temperature mode
mixed media weight
job
X
low temperature mode
or normal temperature
mode
X
X
normal temperature mode
mixed media weight
job
X
normal temperature mode
X
X
X
normal temperature mode
mixed media weight
job
See
Change the advanced media settings - Enable the Low temperature mode on page 261
to
switch to [Low temperature mode]. You must switch to the required mode, before you can
continue.
Light-weight media
280
Chapter 11 - Media handling
VarioPrint 6000 line
Summary of Contents for VarioPrint 6000 Series
Page 8: ...Contents 8 VarioPrint 6000 line ...
Page 9: ...Chapter 1 Introduction ...
Page 14: ...Information in this operation guide 14 Chapter 1 Introduction VarioPrint 6000 line ...
Page 15: ...Chapter 2 Explore the print system ...
Page 31: ...Chapter 3 Explore the ease of operation ...
Page 46: ...Transaction printing workflow 46 Chapter 3 Explore the ease of operation VarioPrint 6000 line ...
Page 47: ...Chapter 4 Start the print system ...
Page 56: ...Log in to the printer 56 Chapter 4 Start the print system VarioPrint 6000 line ...
Page 63: ...Chapter 5 Prepare the print system ...
Page 101: ...Chapter 6 Prepare the print jobs ...
Page 110: ...Print a page number via PRISMAsync 110 Chapter 6 Prepare the print jobs VarioPrint 6000 line ...
Page 111: ...Chapter 7 Plan the workload remotely ...
Page 115: ...Chapter 8 Plan the jobs ...
Page 127: ...6 Touch OK Move jobs to another destination Chapter 8 Plan the jobs 127 VarioPrint 6000 line ...
Page 139: ...5 Touch OK Create a note for the operator Chapter 8 Plan the jobs 139 VarioPrint 6000 line ...
Page 165: ...Chapter 9 Carry out print jobs ...
Page 232: ...Make an intermediate check print 232 Chapter 9 Carry out print jobs VarioPrint 6000 line ...
Page 233: ...Chapter 10 Keep the system printing ...
Page 246: ...Status indicators 246 Chapter 10 Keep the system printing VarioPrint 6000 line ...
Page 247: ...Chapter 11 Media handling ...
Page 289: ...Chapter 12 Maintain the print system ...
Page 316: ...Close the doors and covers 316 Chapter 12 Maintain the print system VarioPrint 6000 line ...
Page 317: ...Chapter 13 PRISMAlytics Dashboard ...
Page 319: ...Chapter 14 Troubleshooting ...
Page 334: ...Create and download a log file 334 Chapter 14 Troubleshooting VarioPrint 6000 line ...
Page 335: ...Chapter 15 Specifications ...
Page 353: ......


