Check the status of the staple cartridges
Introduction
The optional finishers
The output locations on page 21
can contain staple cartridges to staple
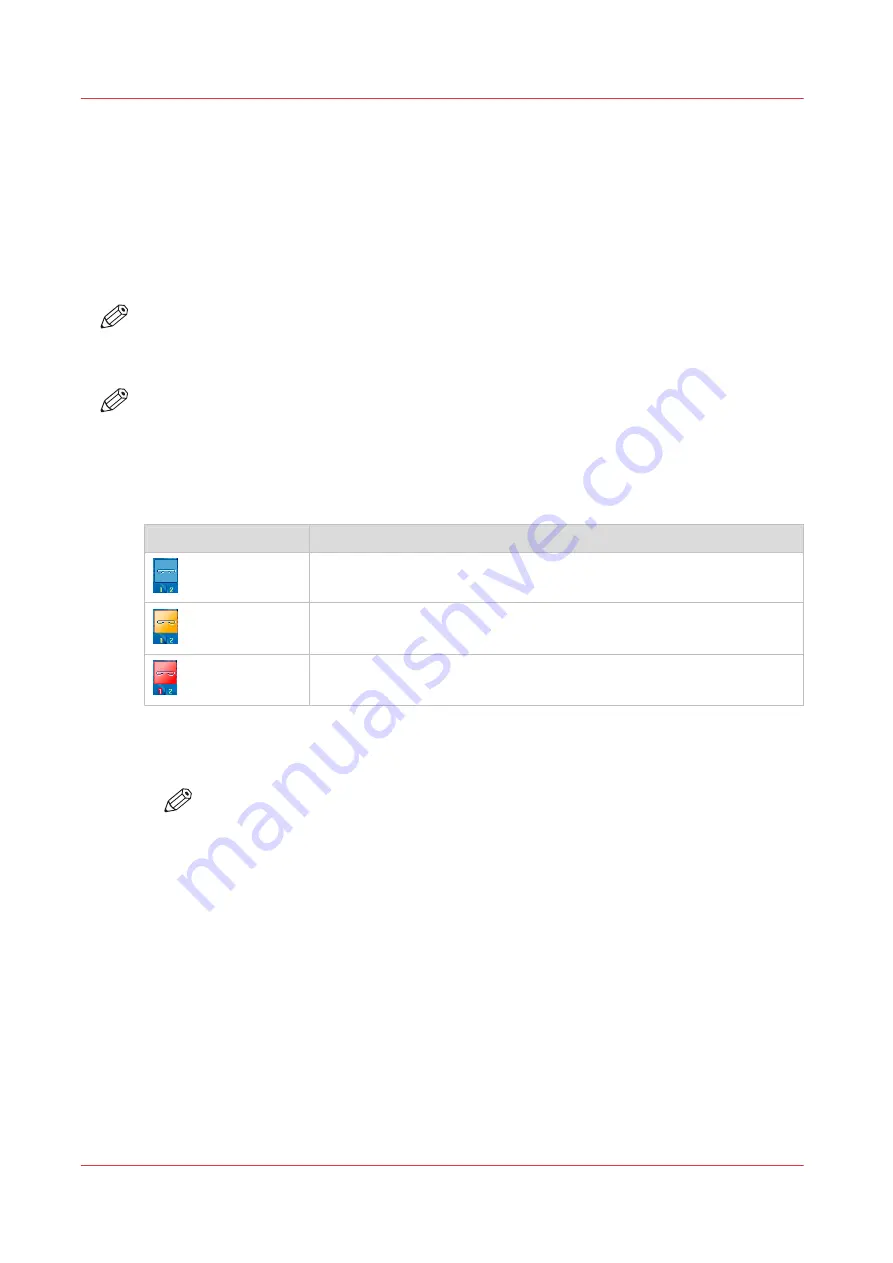
your jobs. You can check the status of the staple cartridges in the dashboard
and in the [System] view. The [System] view also displays the number of staples that
have been used since the last refill. The icons in the following table indicate the status of the
staple cartridges.
NOTE
The numbers 1 and 2 below the stapler icons indicate which of the staple cartridges of the
finisher is empty. When your configuration also contains the stacker/stapler or when your
configuration only contains the stacker/stapler, the numbers are not visible in the dashboard.
NOTE
Only when the staple level is low or when one of the staple cartridges is empty, the status is
visible in the dashboard.
The meaning of the stapler icons
The stapler icons
Stapler icon
Description
The stapler icon is blue. The staple cartridges are filled.
The stapler icon is orange. The staple level in one of the staple cartridg-
es is low
Replace the stapler cartridges on page 311
.
The stapler icon is red. One of the staple cartridges is empty. The print-
er stops.
Procedure
1.
Check the stapler icon in the dashboard.
NOTE
Follow the steps 2 and 3 to view the number of staples that have been used since the
last refill.
2.
Touch the [System] button.
3.
Press [Printer].
The [System] view displays the status of the staple cartridges. The [System] view also displays
the number of staples that have been used since the last refill.
Check the status of the staple cartridges
310
Chapter 12 - Maintain the print system
VarioPrint 6000 line
Summary of Contents for VarioPrint 6000 Series
Page 8: ...Contents 8 VarioPrint 6000 line ...
Page 9: ...Chapter 1 Introduction ...
Page 14: ...Information in this operation guide 14 Chapter 1 Introduction VarioPrint 6000 line ...
Page 15: ...Chapter 2 Explore the print system ...
Page 31: ...Chapter 3 Explore the ease of operation ...
Page 46: ...Transaction printing workflow 46 Chapter 3 Explore the ease of operation VarioPrint 6000 line ...
Page 47: ...Chapter 4 Start the print system ...
Page 56: ...Log in to the printer 56 Chapter 4 Start the print system VarioPrint 6000 line ...
Page 63: ...Chapter 5 Prepare the print system ...
Page 101: ...Chapter 6 Prepare the print jobs ...
Page 110: ...Print a page number via PRISMAsync 110 Chapter 6 Prepare the print jobs VarioPrint 6000 line ...
Page 111: ...Chapter 7 Plan the workload remotely ...
Page 115: ...Chapter 8 Plan the jobs ...
Page 127: ...6 Touch OK Move jobs to another destination Chapter 8 Plan the jobs 127 VarioPrint 6000 line ...
Page 139: ...5 Touch OK Create a note for the operator Chapter 8 Plan the jobs 139 VarioPrint 6000 line ...
Page 165: ...Chapter 9 Carry out print jobs ...
Page 232: ...Make an intermediate check print 232 Chapter 9 Carry out print jobs VarioPrint 6000 line ...
Page 233: ...Chapter 10 Keep the system printing ...
Page 246: ...Status indicators 246 Chapter 10 Keep the system printing VarioPrint 6000 line ...
Page 247: ...Chapter 11 Media handling ...
Page 289: ...Chapter 12 Maintain the print system ...
Page 316: ...Close the doors and covers 316 Chapter 12 Maintain the print system VarioPrint 6000 line ...
Page 317: ...Chapter 13 PRISMAlytics Dashboard ...
Page 319: ...Chapter 14 Troubleshooting ...
Page 334: ...Create and download a log file 334 Chapter 14 Troubleshooting VarioPrint 6000 line ...
Page 335: ...Chapter 15 Specifications ...
Page 353: ......


