Introduction to the counters
Introduction
The [Maintenance] section of the [System] view displays 3 types of counters. 2 of these counters
provide information about the number of sheets that have been printed. The other counter
provides information about the amount of toner that has been used.
General counter information
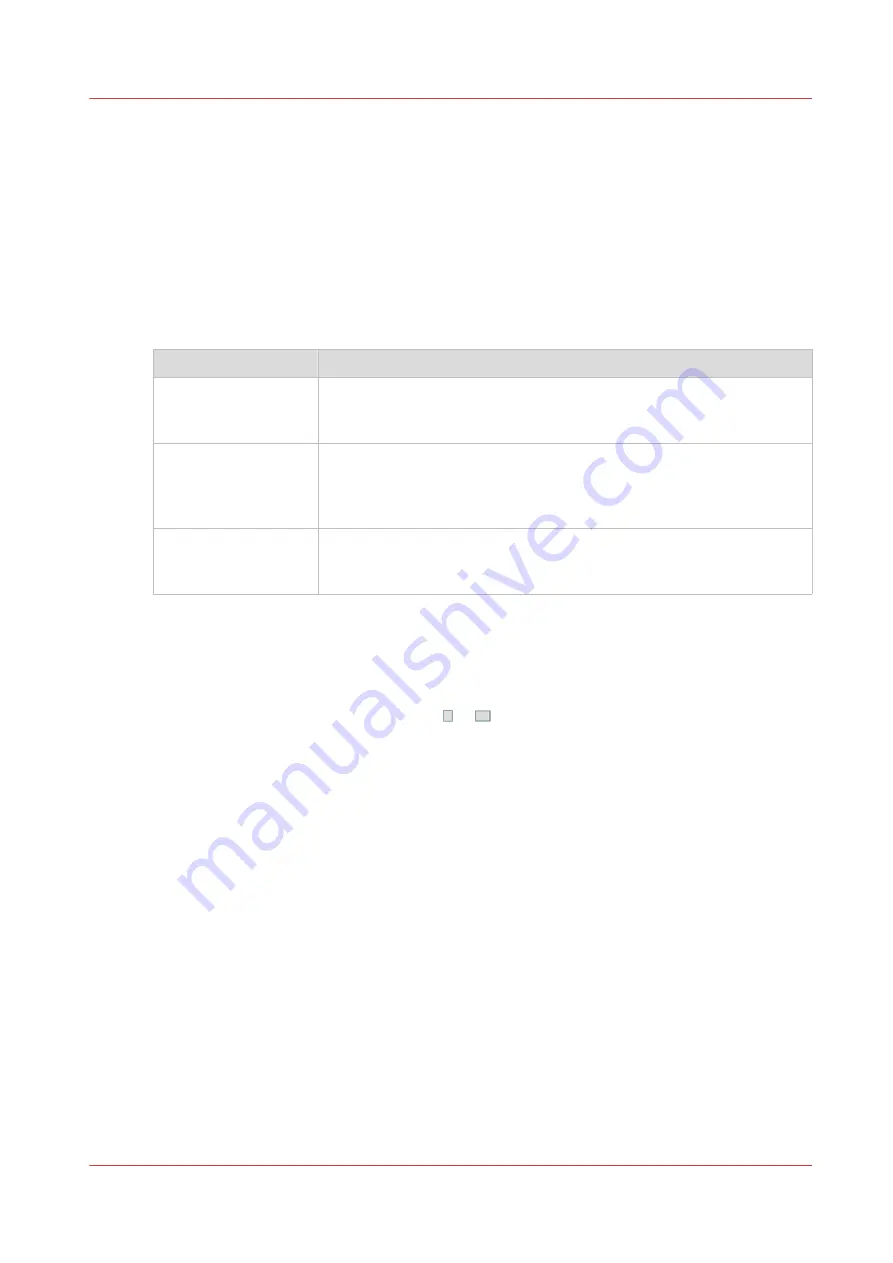
The following table describes the counters in the [Maintenance] section of the [System] view.
Type of counter
Description
[Billing counters]
The [Billing counters] section displays the total number of prints that
have been made since the machine was installed. You cannot reset the
billing counters.
[Day counters]
The [Day counters] section displays the number of prints that have
been made since the counter was last reset to 0. You can, for example,
reset the day counters at the beginning of a working day or before you
start a new job for a particular customer.
[Toner counters]
The [Toner counters] section displays the amount of toner that has
been used since the machine was installed. You cannot reset the toner
counter.
The [Billing counters] and the [Day counters] provide information about the number of 1-sided
and 2-sided prints that have been made on standard-size and large media. The length of the
media determines whether a media is standard size or large. Media with a length of less than 390
mm (15.35") are referred to and counted as standard-size media. Media with a length of 390 mm
(15.35") or more are referred to and counted as large media.
The control panel displays the media icon ( or ) as a small icon for standard-size media. For
large media, the media icon is big. The media icon is used in various places on the control panel,
for example in the [Counters] section, in the [Trays] view and in the job information.
Introduction to the counters
Chapter 12 - Maintain the print system
301
VarioPrint 6000 line
Summary of Contents for VarioPrint 6000 Series
Page 8: ...Contents 8 VarioPrint 6000 line ...
Page 9: ...Chapter 1 Introduction ...
Page 14: ...Information in this operation guide 14 Chapter 1 Introduction VarioPrint 6000 line ...
Page 15: ...Chapter 2 Explore the print system ...
Page 31: ...Chapter 3 Explore the ease of operation ...
Page 46: ...Transaction printing workflow 46 Chapter 3 Explore the ease of operation VarioPrint 6000 line ...
Page 47: ...Chapter 4 Start the print system ...
Page 56: ...Log in to the printer 56 Chapter 4 Start the print system VarioPrint 6000 line ...
Page 63: ...Chapter 5 Prepare the print system ...
Page 101: ...Chapter 6 Prepare the print jobs ...
Page 110: ...Print a page number via PRISMAsync 110 Chapter 6 Prepare the print jobs VarioPrint 6000 line ...
Page 111: ...Chapter 7 Plan the workload remotely ...
Page 115: ...Chapter 8 Plan the jobs ...
Page 127: ...6 Touch OK Move jobs to another destination Chapter 8 Plan the jobs 127 VarioPrint 6000 line ...
Page 139: ...5 Touch OK Create a note for the operator Chapter 8 Plan the jobs 139 VarioPrint 6000 line ...
Page 165: ...Chapter 9 Carry out print jobs ...
Page 232: ...Make an intermediate check print 232 Chapter 9 Carry out print jobs VarioPrint 6000 line ...
Page 233: ...Chapter 10 Keep the system printing ...
Page 246: ...Status indicators 246 Chapter 10 Keep the system printing VarioPrint 6000 line ...
Page 247: ...Chapter 11 Media handling ...
Page 289: ...Chapter 12 Maintain the print system ...
Page 316: ...Close the doors and covers 316 Chapter 12 Maintain the print system VarioPrint 6000 line ...
Page 317: ...Chapter 13 PRISMAlytics Dashboard ...
Page 319: ...Chapter 14 Troubleshooting ...
Page 334: ...Create and download a log file 334 Chapter 14 Troubleshooting VarioPrint 6000 line ...
Page 335: ...Chapter 15 Specifications ...
Page 353: ......


