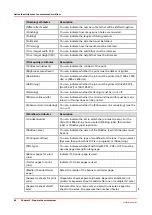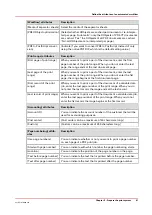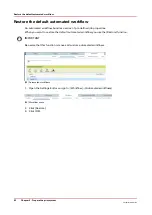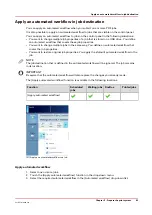
Submit jobs via hotfolders
Hotfolders enable you to submit print jobs by simply drag & drop printable files onto a shortcut
on your desktop. The job properties are taken over from the automated workflow that is part of
the hotfolder definition or from the JDF ticket that you put in the hotfolder.
It depends on the [Overrule job ticket] function of the automated workflow whether the properties
of the automated workflow or the properties of the job ticket are used.
The system administrator creates the hotfolders on PRISMAsync Print Server and defines the
user authentication for the hotfolders.
The system administrator can define the order in which jobs are printed.
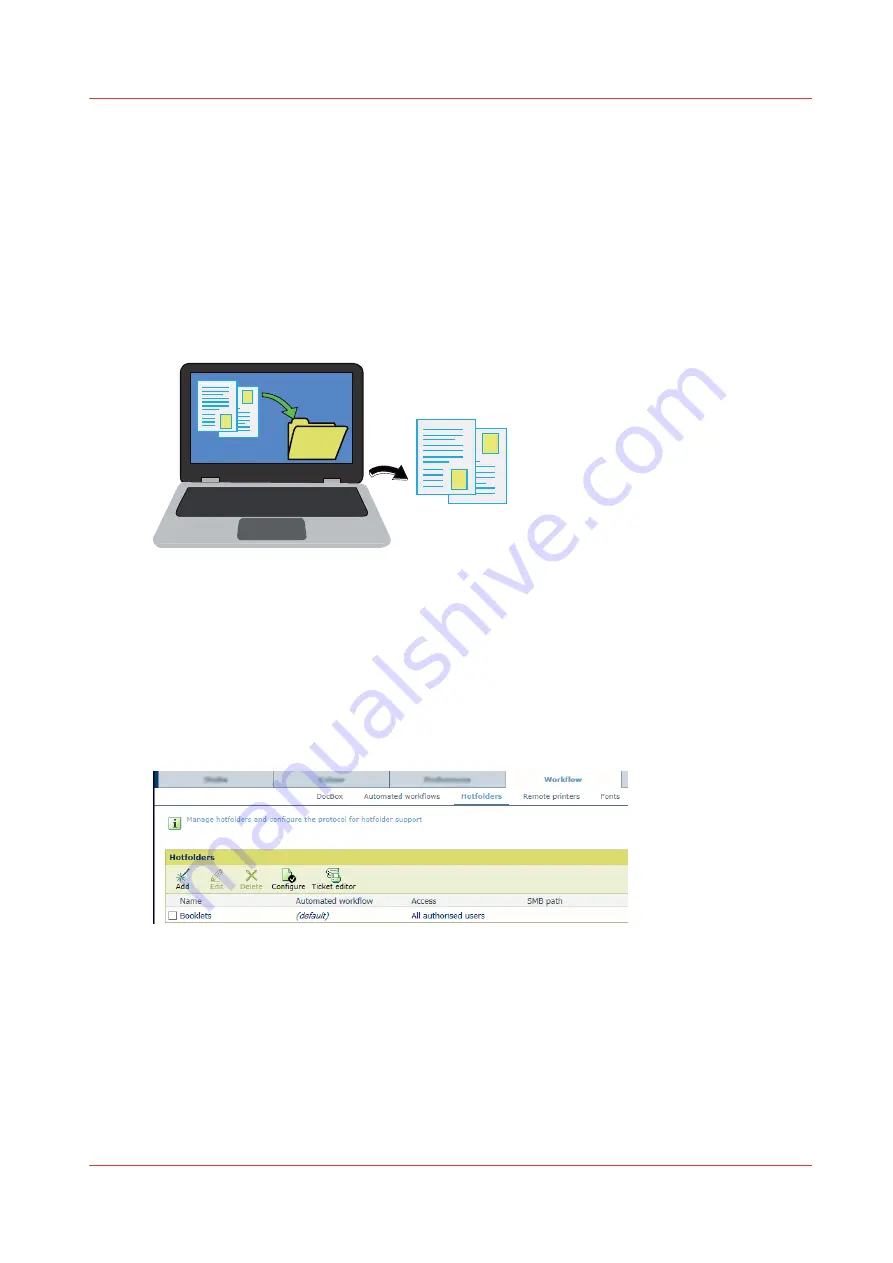
[35] Drag & drop print files
Create a shortcut to a hotfolder on a Windows workstation
1. Start the standard Windows wizard to map a network drive.
2. In the dialog, use the link to connect to a website to share documents or files.
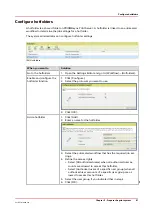
3. Go to the [Hotfolders] tab of the Settings Editor. There you can read the path to the hotfolder.
Use the following format:
http(s)://<IPaddress>/<hotfolder name>
or
http(s)://<hostname>/<hotfolder
name>
[36] Hotfolders
4. Enter your username and password.
Use a JDF ticket
1. Go the hotfolder shortcut on the workstation.
2. Drag & drop the Default_ticket.jdf file on the hotfolder shortcut.
Drag & drop printable files on a hotfolder
1. Select the printable files and drag & drop them on the hotfolder shortcut.
Submit jobs via hotfolders
Chapter 5 - Prepare the print system
89
VarioPrint 6000 line
Summary of Contents for VarioPrint 6000 Series
Page 8: ...Contents 8 VarioPrint 6000 line ...
Page 9: ...Chapter 1 Introduction ...
Page 14: ...Information in this operation guide 14 Chapter 1 Introduction VarioPrint 6000 line ...
Page 15: ...Chapter 2 Explore the print system ...
Page 31: ...Chapter 3 Explore the ease of operation ...
Page 46: ...Transaction printing workflow 46 Chapter 3 Explore the ease of operation VarioPrint 6000 line ...
Page 47: ...Chapter 4 Start the print system ...
Page 56: ...Log in to the printer 56 Chapter 4 Start the print system VarioPrint 6000 line ...
Page 63: ...Chapter 5 Prepare the print system ...
Page 101: ...Chapter 6 Prepare the print jobs ...
Page 110: ...Print a page number via PRISMAsync 110 Chapter 6 Prepare the print jobs VarioPrint 6000 line ...
Page 111: ...Chapter 7 Plan the workload remotely ...
Page 115: ...Chapter 8 Plan the jobs ...
Page 127: ...6 Touch OK Move jobs to another destination Chapter 8 Plan the jobs 127 VarioPrint 6000 line ...
Page 139: ...5 Touch OK Create a note for the operator Chapter 8 Plan the jobs 139 VarioPrint 6000 line ...
Page 165: ...Chapter 9 Carry out print jobs ...
Page 232: ...Make an intermediate check print 232 Chapter 9 Carry out print jobs VarioPrint 6000 line ...
Page 233: ...Chapter 10 Keep the system printing ...
Page 246: ...Status indicators 246 Chapter 10 Keep the system printing VarioPrint 6000 line ...
Page 247: ...Chapter 11 Media handling ...
Page 289: ...Chapter 12 Maintain the print system ...
Page 316: ...Close the doors and covers 316 Chapter 12 Maintain the print system VarioPrint 6000 line ...
Page 317: ...Chapter 13 PRISMAlytics Dashboard ...
Page 319: ...Chapter 14 Troubleshooting ...
Page 334: ...Create and download a log file 334 Chapter 14 Troubleshooting VarioPrint 6000 line ...
Page 335: ...Chapter 15 Specifications ...
Page 353: ......


