


COPYRIGHT © 2001 CANON INC. CLC1000/1000S/3100 REV.2 MAY 2001 PRINTED IN JAPAN (IMPRIME AU JAPON)
4-43
4. MECHANICAL SYSTEM
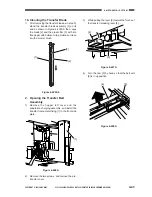
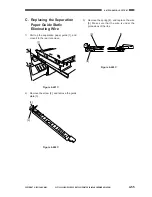
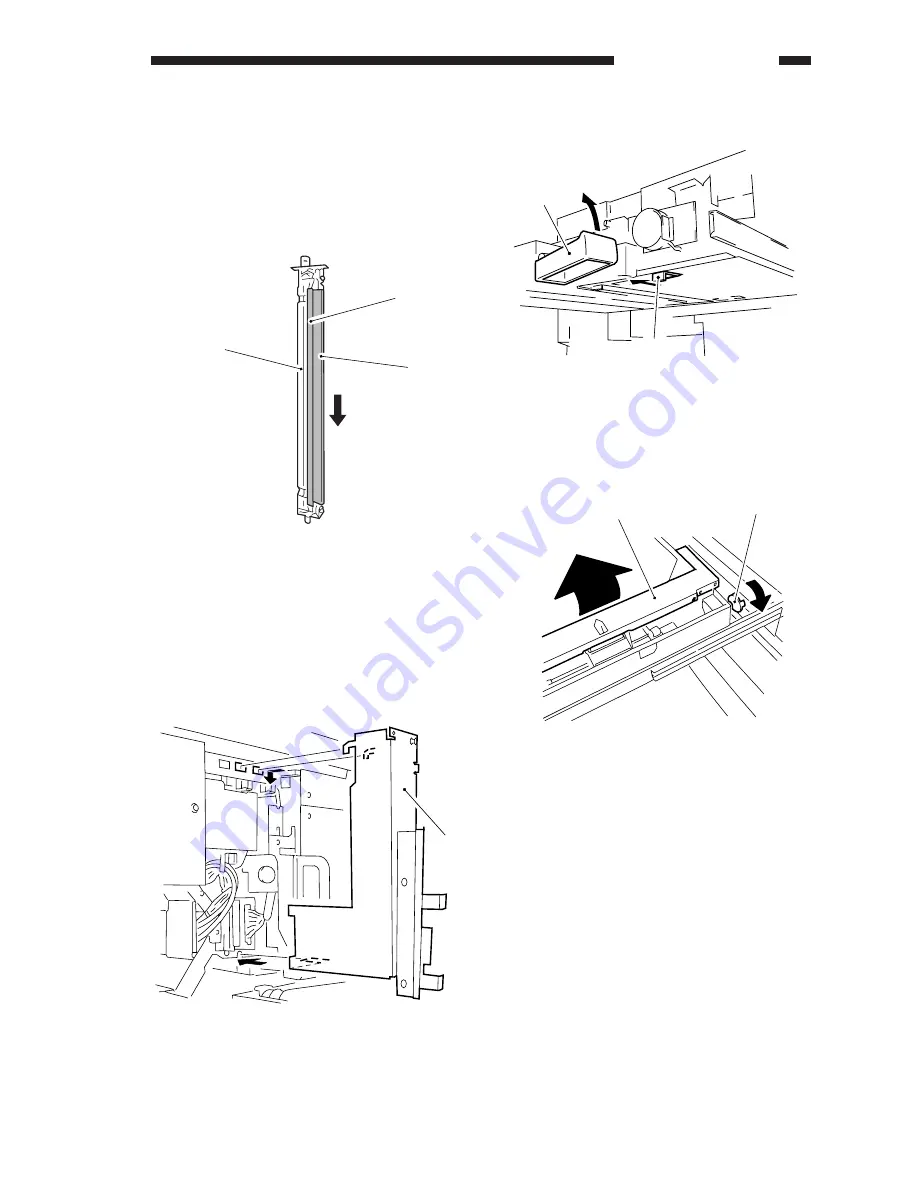
1b. Cleaning the Transfer Blade
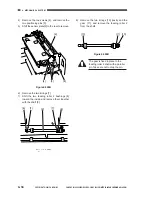
1)
After removing the transfer blade as in step 5),
stand the transfer blade assembly [1] on its
end as shown in Figure 4-405Ab; then, wipe
the blade [2] and the plastic film [3] with lint-
free paper with bottom-to-top motions or clean
it with a blower brush.
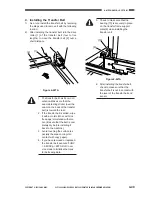
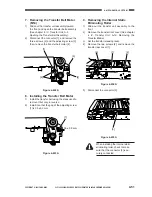
3)
While pulling the lever [3] toward the front, set
the transfer releasing lever [4].
Figure 4-405Ab
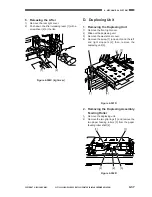
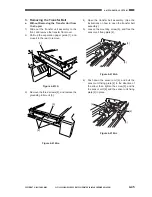
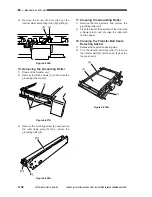
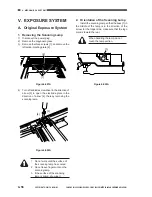
2. Opening the Transfer Belt
Assembly
1)
Remove the hopper left cover and the
separation charging assembly, and install the
transfer frame metal fixing [1] to the front side
plate.
Figure 4-406A
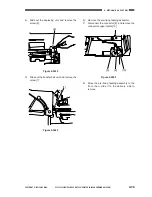
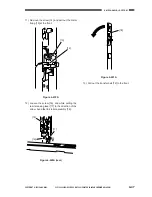
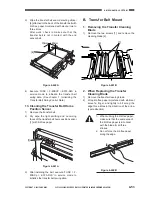
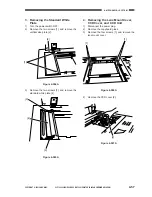
2)
Remove the two screws, and remove the pre-
transfer cover.
[3]
[2]
[1]
[1]
Figure 4-407A
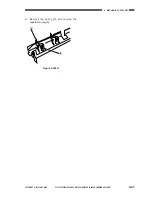
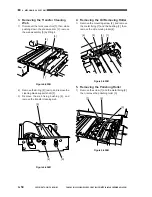
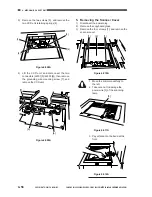
4)
Turn the cam [5] by hand so that the belt unit
[6] is in up position.
Figure 4-408A
[4]
[3]
[6]
[5]
Summary of Contents for Vizcam 1000
Page 12: ......
Page 30: ......
Page 44: ......
Page 86: ......
Page 254: ......
Page 372: ......
Page 374: ......
Page 418: ......
Page 438: ......
Page 442: ......
Page 754: ......
Page 764: ......
Page 766: ......
Page 840: ...0501GR PRINTED IN JAPAN IMPRIME AU JAPON This publication is printed on 100 reprocessed paper...