•
Loading and unloading a cassette
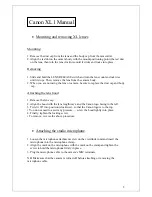
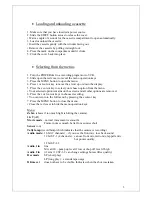
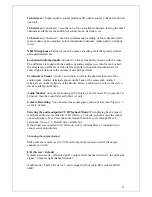
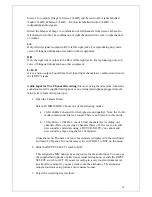
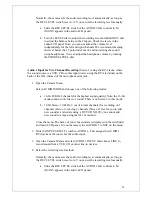
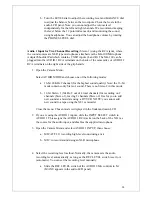
1. Make sure that you have inserted a power source.
2. Slide the EJECT button across to release the cover.
• Wait a couple of seconds for the cassette compartment to open automatically.
3. Load or unload the cassette.
• Insert the cassette gently with the window facing out.
• Remove the cassette by pulling it straight out.
4. Press the mark on the compartment until it clicks.
5. Click the cover back into place.
•
Selecting from the menus
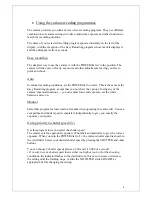
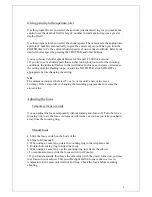
1. Turn the POWER dial to a recording program or to VCR.
2. Slide open the red cover to reveal the menu operation keys.
3. Press the MENU button to open the menu.
4. Press r or t cursor key to move the arrow up or down the display.
5. Press the e cursor key to select your chosen option from the menu.
• Your selected option remains on the screen and all other options are removed.
6. Press the r or t cursor keys to choose its setting.
• You can return to the full menu by pressing the e cursor key.
7. Press the MENU button to close the menu.
• Close the red cover to hide the menu operation keys.
Menu:
Zebra
(shows if too much light is hitting the camera)
16: 9
(off)
Movie mode
– normal (movement is smooth)
Frame (not as smooth, better for a sunrise shot)
Sensor
(on)
Tally lamp
(record lamp which indicates that the camera is recording)
Audio mode:
16 bit (2 channels) – if you use the front mic, lose back sound
12 bit ST-1 (4 channels) – can use front mic, radio mic, lappelle mic
but poorer quality
12
bit
ST-1-2
Audio 1 in
line
Mic att 20 – pump up level if low or chop off level if high
Audio 2 in
(if set at 12 ST-1-2 can change settings but sacrifice quality)
Rec mode
SP (short play)
LP (long play) – extends tape usage
D/time set
does not have to be visible. Indicates when the shot was taken
3


