background image


Operations Manual 

for CANYON SMART IP Cameras 


CANYON SMART security cameras are presented in three alternate 
designs: 


CNSS 

– 

KA1W 

– 

with a system of motion detection and door opening sensors 


CNSS 

– 

CM1W 

–  

with a wide viewing angle


CNSS 

– 

CB1W 

– 

standard camera 


CNSS 

– 

KA1W 

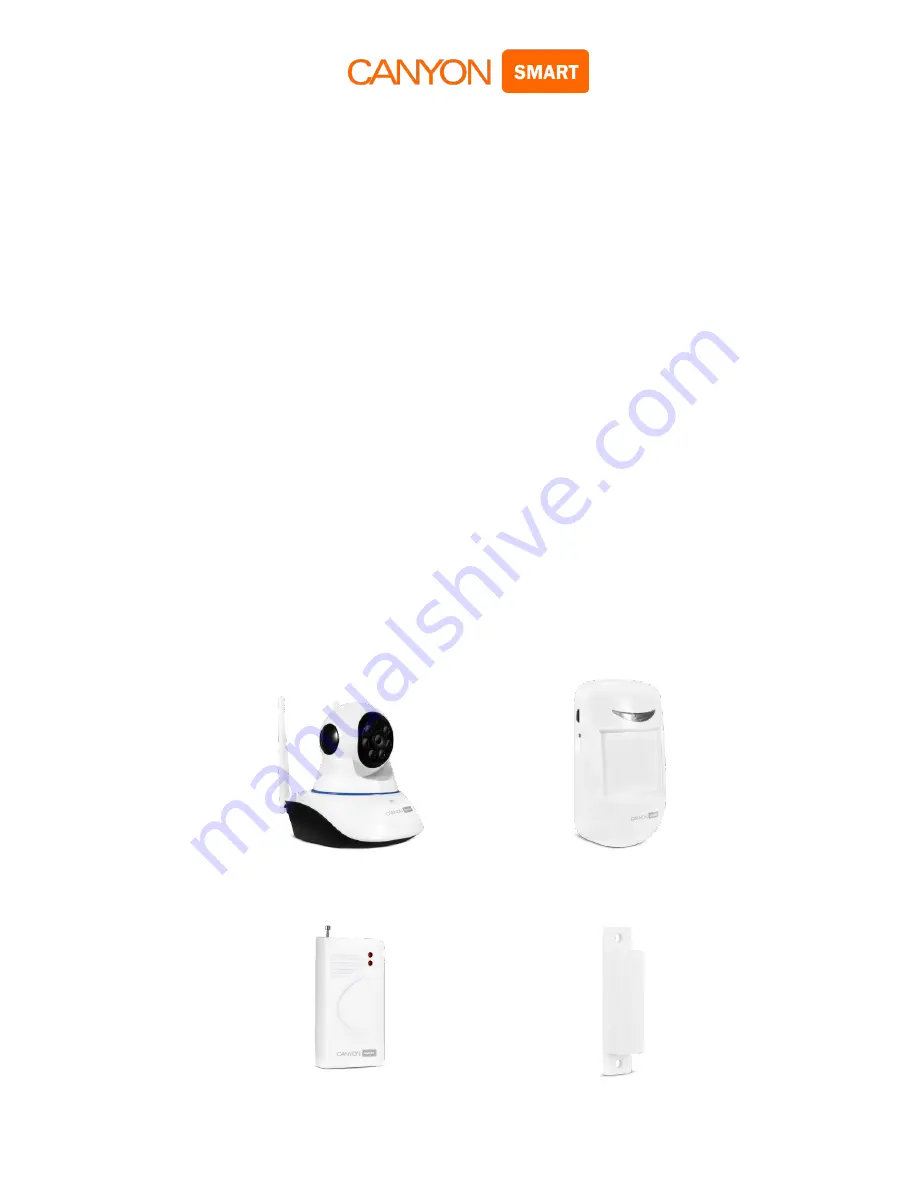
1. Package contents for 

CNSS-KA1W


IP camera (Fig. 1.1) - 1 pcs 


Motion sensor (Fig. 1.2) - 1 pcs 


Door opening  sensor: Receiver (Fig. 1.3) - 1 pcs 


Receiver sensor (Fig. 1.4) - 1 pcs 


Power supply unit INP 220V OUT 5V 2000mA - 1 pcs 


Mounting  bracket - 1 pcs 


Battery: Battery - A23 12V - 1 pcs 


Batteries AAA - 3 pcs 


Manual  - 1 pcs 


                                             Fig. 1.1                                             Fig. 1.2     


Fig. 1.3                                              Fig. 1.4 

Summary of Contents for CNSS-CB1W

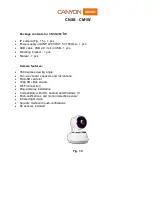
Page 1: ...S CM1W with a wide viewing angle CNSS CB1W standard camera CNSS KA1W 1 Package contents for CNSS KA1W IP camera Fig 1 1 1 pcs Motion sensor Fig 1 2 1 pcs Door opening sensor Receiver Fig 1 3 1 pcs Receiver sensor Fig 1 4 1 pcs Power supply unit INP 220V OUT 5V 2000mA 1 pcs Mounting bracket 1 pcs Battery Battery A23 12V 1 pcs Batteries AAA 3 pcs Manual 1 pcs Fig 1 1 Fig 1 2 Fig 1 3 Fig 1 4 ...

Page 2: ...e vertically horizontally 50 110 Detecting range 10 m Optimum installation height 2 5 m Wireless emitting distance 30 m depends on the presence of obstacles Power supply batteries AAA 3 pcs Current consumption in rest mode up to 25 μA Current consumption in transmission mode up to 15 mA Operating temperature range 10 45 С Relative humidity up to 95 without condensation Door sensor features Operati...

Page 3: ... 1 pcs Manual 1 pcs Camera features 360 degrees viewing angle Two way audio speakers and microphone MicroSD card slot 720p HD video stream Wi Fi connection Plug and play installation Compatibility with iOS Android and Windows 10 Push notifications and motion detection sensor Infrared light vision Security mode with push notifications No sensors included Fig 1 5 ...

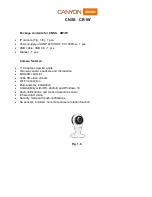
Page 4: ...s 110 degrees viewing angle Two way audio speakers and microphone MicroSD card slot 720p HD video stream Wi Fi connection Plug and play installation Compatibility with iOS Android and Windows 10 Push notifications and motion detection sensor Infrared light vision Security mode with push notifications No sensors included no remote camera rotation function Fig 1 6 ...

Page 5: ...n your smartphone Android IOS You can also find the CANYON Smart application in the PlayMarket for Android and AppStore for IOS If you are using a computer enter the link canyon usmartcam com in the Internet browser press enter and the application will start downloading 2 2 Connect your smartphone to Wi Fi Open the CANYON Smart application and register a new account 2 3 Click Register Fig 2 1 2 4 ...

Page 6: ...nk Fig 3 2 3 4 Connect camera to the grid 220V with power supply unit PSU included After the camera is connected to the grid hold the RESET button underneath the camera until you hear the voice notice Reset to default settings to reset your camera to default and find your device Search time is accompanied by the characteristic single sound signals within 5 minutes Pairing time is approximately 1 m...

Page 7: ...martphone Fig 3 5 3 7 Wait for the sound signal from the camera after which the application will automatically go to the login page with the name and password fields Fig 3 6 PW password is indicated on the camera sticker Fig 3 5 Fig 3 6 Fig 3 7 3 8 Now your camera is connected and ready for use Fig 3 7 Important if your connection was not successful repeat all the steps from point 3 1 ...

Page 8: ... 123 New password example 12345QWER The password strength indicator will help you the yellow category password is acceptable if the indicator remains in the red category you will not be able not change the password Fig 4 1 Fig 4 2 5 Assignment of the main user keys 5 1 Opening the camera image in full screen horizontal mode 5 2 Playing records from MicroSD card 5 3 Settings video recording date ti...

Page 9: ...s formed in the order of connection Button adding new cameras Name of your camera for convenience it is recommended to use the names of facilities or the serial number Camera status Online or Offline when opening the CANYON Smart application all cameras will have the Offline status this is for the power saving mode of your device If you want to resume the connection and start watching you need to ...

Page 10: ...amera or connected sensors Notifications are received in the form of text messages with the date and time camera or sensor name and type of the alarm Fig 6 2 An alarm signal is sent to your device provided that it is turned on and connected to the Internet Fig 6 3 Fig 6 2 Fig 6 3 ...

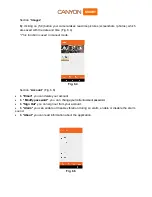
Page 11: ...s used in manual mode Fig 6 4 Section Account Fig 6 6 In Email you can delete your account In Modify password you can change your current account password In Sign Out you can sign out from your account In Alarm you can enable or disable vibration during an alarm enable or disable the alarm sound In About you can read information about the application Fig 6 6 ...

Page 12: ...er the camera settings you need to be in the main interface Fig 6 1 Then click the 5 3 button Fig 7 1 7 1 In Date and time you can specify date and time Fig 7 2 Fig 7 2 Keep in mind after the power failure you need to set the time and date again ...

Page 13: ...another Wi Fi network or select a wired connection depending on the camera model Fig 7 3 7 3 In Alarm notifications you can Enable or disable the delivery of an alarm message on the smartphone Fig 7 4 Enable or disable the motion sensor Enable or disable the camera alarm Fig 7 4 ...

Page 14: ...stem Enter the explorer right click on the SD card icon and select Format Select the FAT32 file system the fast formatting method and click Start SD card formatting on Mac the card will not be read on Windows connect the card through the card reader and wait until it is recognized by the system Go to Applications Utilities Disk Utility Select the SD card in the upper left corner click Clear Format...

Page 15: ...ts of two elements receiver Fig 1 3 and receiver sensor Fig 1 4 Important before starting the connection you must install the batteries Motion sensor 3хAAA batteries and turn it on Receiver A23 12V battery Fig 7 6 Now you are ready to start pairing the sensor Select the room in which the sensor will be installed and select the sequence number where the sensor will be programmed Fig 7 7 Example roo...

Page 16: ...o turn on the sensors and simulate their triggering Fig 7 9 In order to trigger the motion sensor Fig 1 2 it is necessary to make some movements in front of it After actuation the red LED will light up In order to trigger the door sensor Fig 1 3 Fig 1 4 it is necessary to place the receiver and the receiver sensor side by side and separate both parts After actuation the red LED will light up Impor...

Page 17: ...se Fig 7 10 Fig 7 10 To disable the sensor it is necessary to tick the number of sensor to be deactivated after which its color will change to gray Fig 7 11 Fig 7 11 To remove the sensor click minus Fig 7 12 and then confirm the deletion Fig 7 13 Successful deletion Fig 7 14 ...

Page 18: ...essary for triggering There should be no interference between the sensor and the operating zone at a distance of 1 meter from the sensor For the correct operation of two or more sensors in the same room install them so that the coverage area of the sensors does not overlap otherwise false alarms may occur In addition do not install your sensor against reflective surfaces windows mirrors glass door...

Page 19: ... the antenna Before installing you must install the battery in the receiver А23 Door sensor mounting note that the receiver and receiver sensor shall be mounted at the same height and plane the distance between them should not exceed 2 cm It is important to know that the receiver sensor shall be installed on the LEDs side Example of installation Fig 10 1 Example of sensor operation Fig 10 2 Fig 10...

Reviews: