18
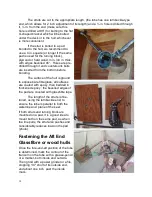
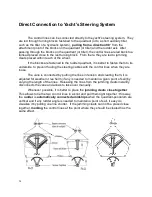
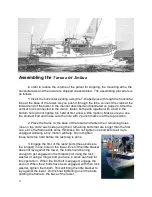
The struts are cut to the appropriate length, (the tube has one turnbuckle-type
end, which allows for 2 inch adjustment of its length) and a ¼ in. hole is drilled through
it, ½ in. from the end (make sure this
hole is drilled at 90°) for bolting to the flat
U-shaped bracket which will be bolted
under the deck or to the hull, whichever
is more convenient.
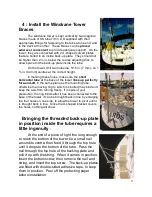
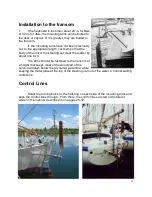
If the strut is bolted to a pad
bonded to the hull, we recommend to
use a 4 in. square (or longer if the same
pad is used for the turning block),
plywood or hard wood, min. 3/4 in. thick,
with edges bevelled 45°. Holes are pre-
drilled through it and countersunk bolts
are inserted from the bottom before
bonding.
The surface of the hull is ground
to expose bare fibreglass; all surfaces
are coated with epoxy, then bedded in
thickened epoxy ; the bevelled edges of
the pad are covered with glassfibre tape.
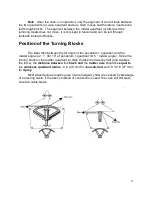
The length of the struts is fine-
tuned, using the turnbuckle end, to
ensure the tube is parallel to both the
waterline and plane of the keel.
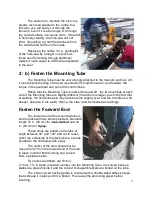
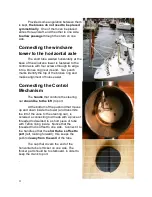
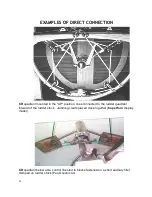
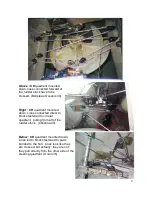
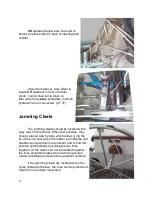
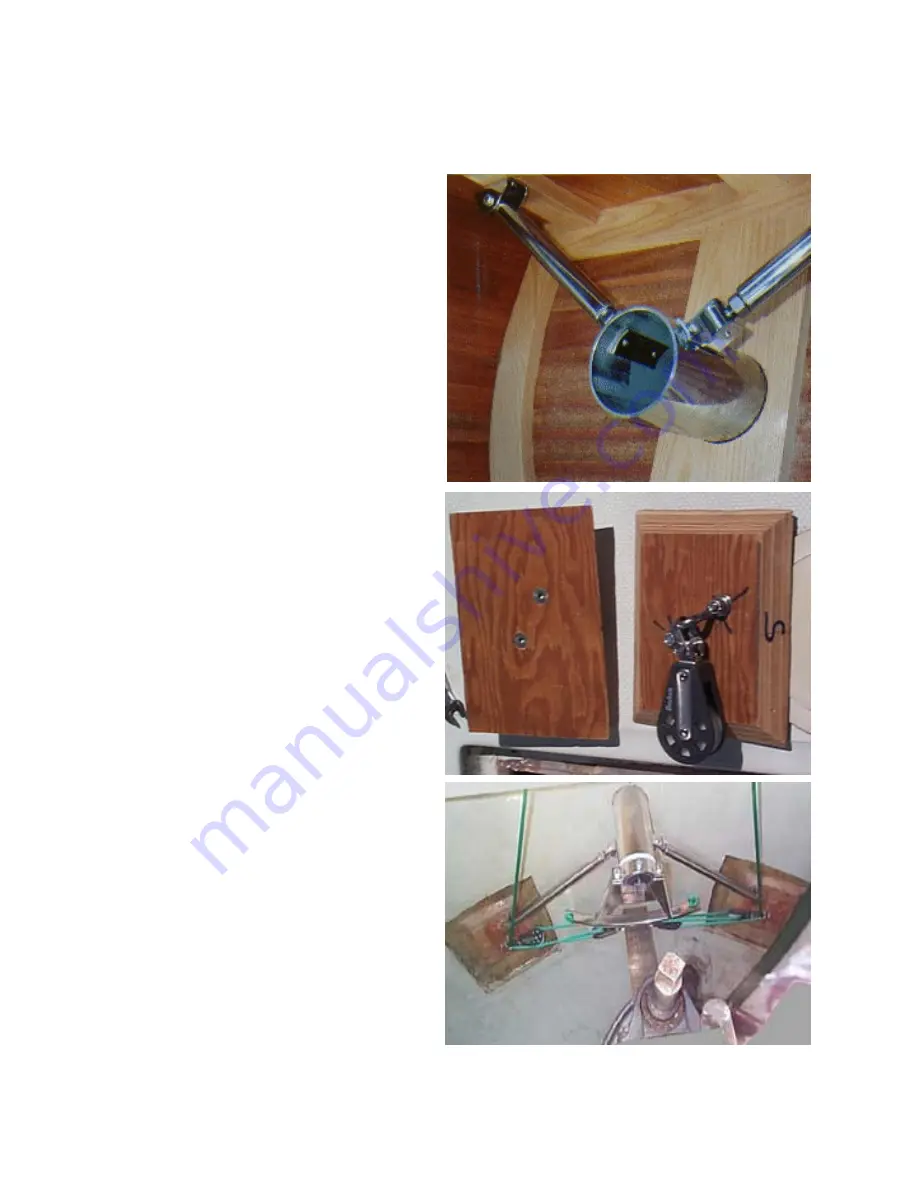
If both struts and turning block are
mounted on a pad, it is a good idea to
mount both on the same pad, as when
the line pulls, the strut also pushes and
considerably reduces load on the pad
(photo).
Fastening the Aft End
Glassfibre or wood hulls
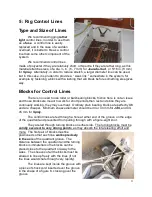
Once the fore-and-aft position of the tube
is determined, mark the contour of the
transom on the tube with a grease-pencil
or a marker, both inside and outside.
Then grind with a power grinder or a file,
stopping 1/4" short of its outside end,
and about one inch past the inside
mark.

