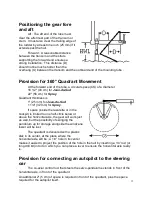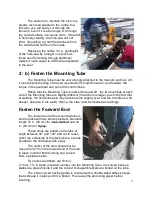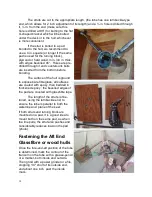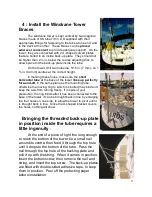
20
3 : Insert the Control Axle and Fasten the Quadrant
3 : a) Insert the Control Axle
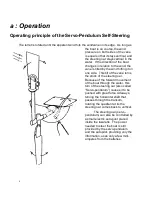
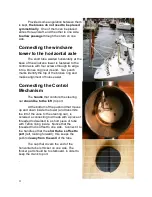
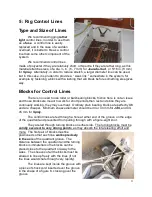
The Control Axle is now inserted into the Mounting Tube. It should
turn
reasonably freely
. If it does not, it may be either because the tube has been
inserted
backwards
, or because welding has pulled the tube out of shape. In the first instance,
if the tube has already been bonded to the hull, all is not lost : just
switch
the two
plastic
bushings
. In the first instance, or if switching the two bushings has not solved
the problem satisfactorily, smear both ends of the control axle with a felt marker and
rotate it inside the mounting tube : the ink will be transferred to the tighter points on the
bushings which can then be scraped or sanded away.
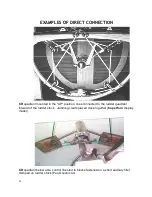
3 : b) Fasten the Quadrant
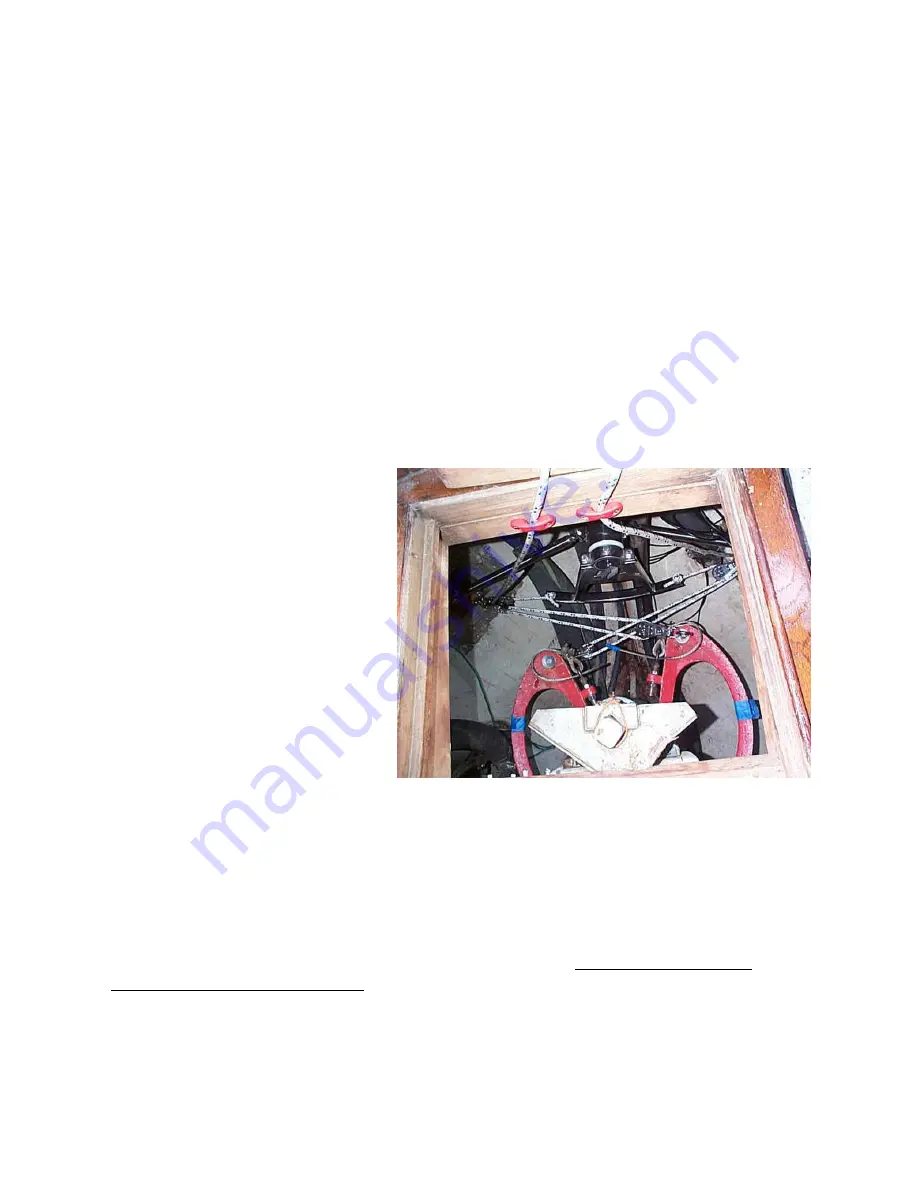
Quadrant above of
below the axle ?
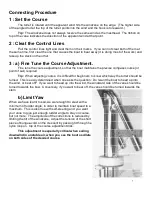
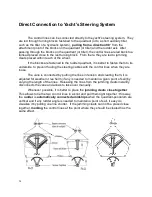
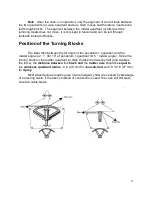
The quadrant can be placed
either with the
groove above
the
axis
or
with the
groove below
.
Whether it is mounted one way or
the other is determined by the
most convenient placing of the
first pair of turning blocks
and
the most direct routing of the
control lines to the rudder
quadrant, wheel or tiller.
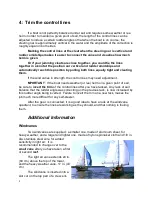
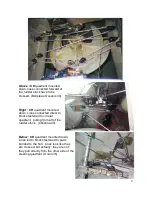
When the control lines are
pulling
the tiller or rudder quadrant
from a position forward of the rudder stock, the
lines are connected directly when
the windvane
quadrant is above,
and they have
to be
crossed if the quadrant is mounted
below
the axle.
Conversely, if they are connected to a
reverse
(auxiliary)
tiller
or to a rudder
quadrant
mounted
behind
the rudder stock, the lines are
crossed
when the windvane
quadrant is
above,
and led
direct
when it is
below
(see p.26-28).
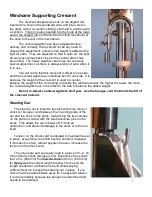
All the
power
transmitted to the yacht’s rudder is
concentrated
on the link
between the quadrant and the horizontal shaft; this is why the
quadrant
must be
bolted very tightly
on the axle.
Tighten first the two bolts on the centre of the shaft itself, then the two bolts and
nuts on either side of the collar. After the first few hundred miles of self-steering (or
first bout of heavy weather), re-tighten if needed.

