background image


Contact Caple on 0844 800 3830 or for spare parts www.4caple.co.uk

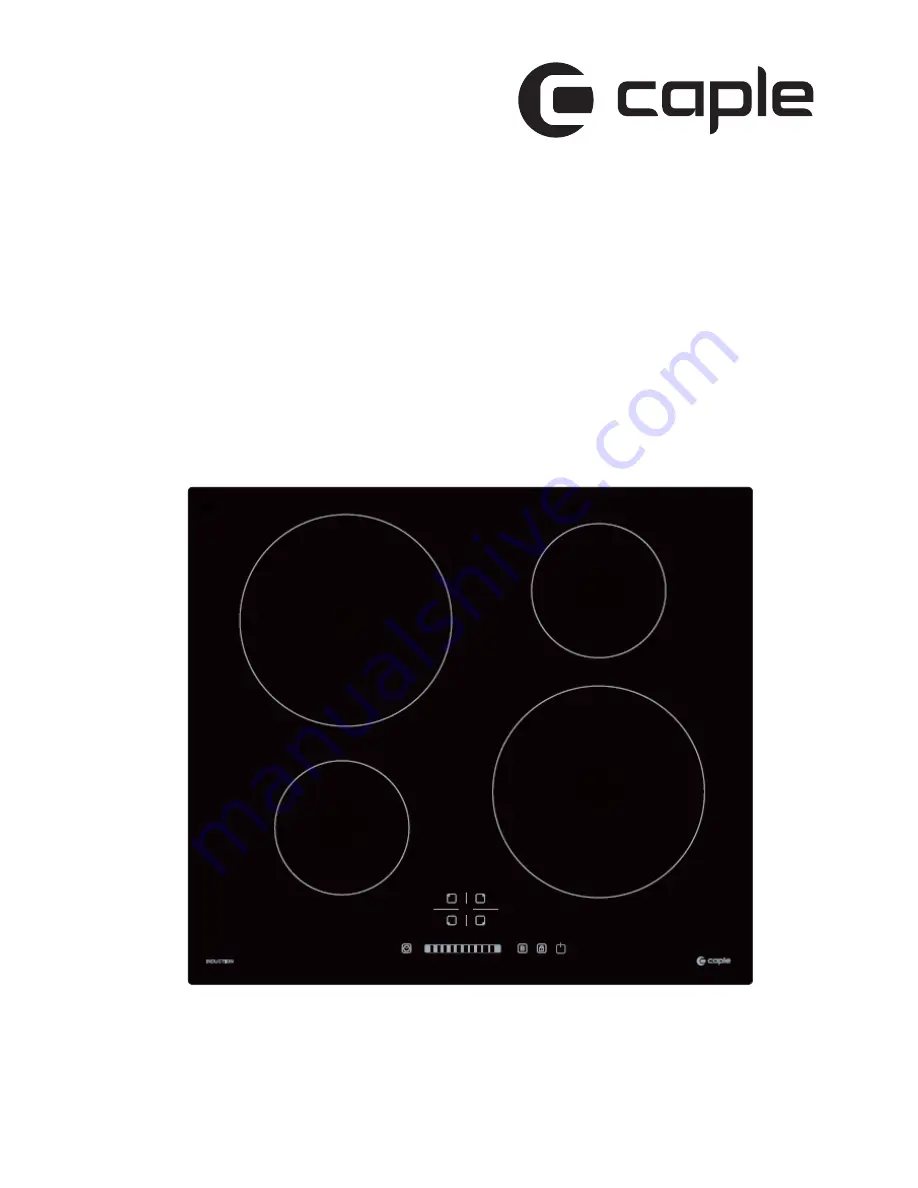
C854I


Instruction manual for induction hob

Model code:

Summary of Contents for C854I

Page 1: ...Contact Caple on 0844 800 3830 or for spare parts www 4caple co uk C854I Instruction manual for induction hob Model code ...

Page 2: ...zone 4 max 2300 2600 W zone 5 Control panel 6 Glass plate Congratulations For installation please read the installation section Read all the safety instructions carefully before use and keep this Instruction Installation Manual for future reference We recommend that you spend some time reading this Instruction Installation Manual in order to fully understand how to instal and operate it correctly ...

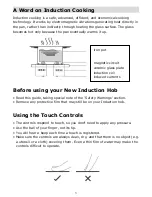
Page 3: ...taking special note of the Safety Warnings section Remove any protective film that may still be on your Induction hob Using the Touch Controls The controls respond to touch so you don t need to apply any pressure Use the ball of your finger not its tip You will hear a beep each time a touch is registered Make sure the controls are always clean dry and that there is no object e g a utensil or a clo...

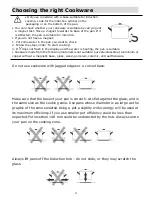
Page 4: ...table Cookware made from the following materials is not suitable pure stainless steel aluminium or copper without a magnetic base glass wood porcelain ceramic and earthenware Do not use cookware with jagged edges or a curved base Make sure that the base of your pan is smooth sits flat against the glass and is the same size as the cooking zone Use pans whose diameter is as large as the graphic of t...

Page 5: ...the bottom of the pan and the surface Of the cooking zone are clean and dry 3 Touching the heating zone selection control and a indicator next to the key will flash slider control If you don t choose a heat setting within 1 minute the Induction hob will automatically switch off You will need to start again at step 1 You can modify the heat setting at any time during cooking 1 Touch the ON OFF cont...

Page 6: ...g zone The display will automatically turn off after 2 minutes if no suitable pan is placed on it When you have finished cooking 1 Touching the heating zone selection control that you wish to switch off 2 Turn the cooking zone off by touching the slider to ON OFF control 4 Beware of hot surfaces H will show which cooking zone is hot to touch It will disappear when the surface has cooled down to a ...

Page 7: ...uching the heating zone selection control 2 Touching the boost control the zone indicator show b and the power reach Max Cancel the Boost function 1 Touching the heating zone selection control that you wish to cancel the boost function 2 Touching the Boost control to cancel the Boost function then the cooking zone will revert to its original setting ...

Page 8: ...the ON OFF operation Over Temperature Protection Induction hob When an excessive temperature is monitored the Induction hob will stop operation automatically Detection of Small Articles small item e g knife fork key has been left on the hob the hob automatically for a further 1 minute Auto Shutdown Protection Auto shut down is a safety protection f down automatically if ever you forget to turn off...

Page 9: ...e the timer in two different ways You can use it as a minute minder In this case it will not turn any cooking zone off when the set time is up You can set it to turn one or more cooking zones off after the set time is up You can set the timer up to 99 minutes Using the Timer as a Minute Minder If you are not selecting any cooking zone 1 Make sure the cooktop is turned on Note you can use the minut...

Page 10: ...ediately The display will show the remaining time 7 Buzzer will beep for 30 seconds and the timer indicator shows when the setting time finished Setting the timer to turn one or more cooking zones off If the timer is set on one zone 1 Touching the heating zone selection control that you want to set the timer for 2 Touch timer control the 10 will show in the timer display and the 0 fiashes ...

Page 11: ...TE The red dot next to power level indicator will illuminate indicating that zone is selected 7 When cooking timer expires the corresponding cooking zone will be switch off automatically Other cooking zone will keep operating if they are turned on previously If the timer is set on more than one zone 1 When you set the time for several cooking zones simultaneously decimal dots of the relevant cooki...

Page 12: ...n the timer indicator 1 Touching the heating zone selection control that you want to cancel the timer 3 Touch the slider control to set the timer to 00 the timer is cancelled Cooking Guidelines Take care when frying as the oil and fat heat up very quickly particularly if you re using PowerBoost At extremely high termperatures oil and fat will ignite spontaneously and this presents a serious fire r...

Page 13: ...ooking 2 Heat up a heavy based frying pan 3 Brush both sides of the steak with oil Drizzle a small amount of oil into the hot pan and then lower the meat onto the hot pan 4 Turn the steak only once during cooking The exact cooking time will depend on the thickness of the steak and how cooked you want it Times may vary from about 2 8 minutes per side Press the steak to gauge how cooked it is the fi...

Page 14: ...ctors including your cookware and the amount you are cooking Experiment with the cooktop to find the settings that best suit you What How Important Everyday soiling on glass fingerprints marks stains left by food or non sugary spillovers on the glass 1 Switch the power to the cooktop off 2 Apply a cooktop cleaner while the glass is still warm but not hot 3 Rinse and wipe dry with a clean cloth or ...

Page 15: ...extreme care and always store safely and out of reach of children Spillovers on the touch controls 1 Switch the power to the cooktop off 2 Soak up the spill 3 Wipe the touch control area with a clean damp sponge or cloth 4 Wipe the area completely dry with a paper towel 5 Switch the power to the cooktop back on The cooktop may beep and turn itself off and the touch controls may not function while ...

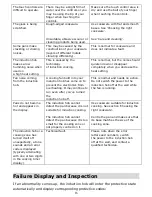
Page 16: ...ur induction hob has come on to prevent the electronics from overheating It may continue to run even after you ve turned the induction hob off This is normal and needs no action Do not switch the power to the induction hob off at the wall while the fan is running Pans do not become hot and appears in the display The induction hob cannot detect the pan because it is not suitable for induction cooki...

Page 17: ...e induction hob Technical Specification Cooking Hob C854I Cooking Zones 4 Zones Supply Voltage 220 240V Installed Electric Power 7000W Product SizeD W H mm 590X520X56 5 Building in Dimensions A B mm 560X490 Weight and Dimensions are approximate Because we continually strive to improve our products we may change specifications and designs without prior notice Installation Selection of installation ...

Page 18: ...ocked Ensure the Induction cooker hob is in good work state As shown below Note The safety distance between the hotplate and the cupboard above the hotplate should be at least 760mm A mm B mm C mm D E 760 50 mini 20 mini Air intake Air exit 5mm Before you install the hob make sure that the work surface is square and level and no structural members interfere with space requirements 4 1 4 1 ...

Page 19: ...l building authorities and by laws if in doubt regarding installation you use heat resistant and easy to clean finishes such as ceramic tiles for the wall surfaces surrounding the hob When you have installed the hob make sure that the power supply cable is not accessible through cupboard doors or drawers there is adequate flow of fresh air from outside the cabinetry to the base of the hob if the h...

Page 20: ...person Before connecting the hob to the mains power supply check that 1 the domestic wiring system is suitable for the power drawn by the hob 2 the voltage corresponds to the value given in the rating plate 3 the power supply cable sections can withstand the load specified on the rating plate To connect the hob to the mains power supply do not use adapters reducers or branching devices as they can...

Page 21: ...system must only be made by a qualified electrician Failure to follow this advice may result in electrical shock or death Cut Hazard Take care panel edges are sharp Failure to use caution could result in injury or cuts Important safety instructions Read these instructions carefully before installing or using this appliance No combustible material or products should be placed on this appliance at a...

Page 22: ...p scraper is exposed when the safety cover is retracted Use with extreme care and always store safely and out of reach of children Failure to use caution could result in injury or cuts Important safety instructions Never leave the appliance unattended when in use Boilover causes smoking and greasy spillovers that may ignite Never use your appliance as a work or storage surface Never leave any obje...

Page 23: ...Collection of such waste separately for special treatment is necessary This appliance is labeled in compliance with European directive 2002 96 EC for Waste Electrical and Electronic Equipment WEEE By ensuring that this appliance is disposed of correctly you will help prevent any possible damage to the environment and to human health which might otherwise be caused if it were disposed of in the wro...

Reviews: