background image

Instruction manual CE920WH

Please keep this instruction manual for future reference

13


- Releasing the key during reduction or increase - light keeps the luminous intensity 

reached.


- Light on - dimmed - continously press the light key - brightness is inverted if 

compared to the previous function.

Reset of the Factory configuration:

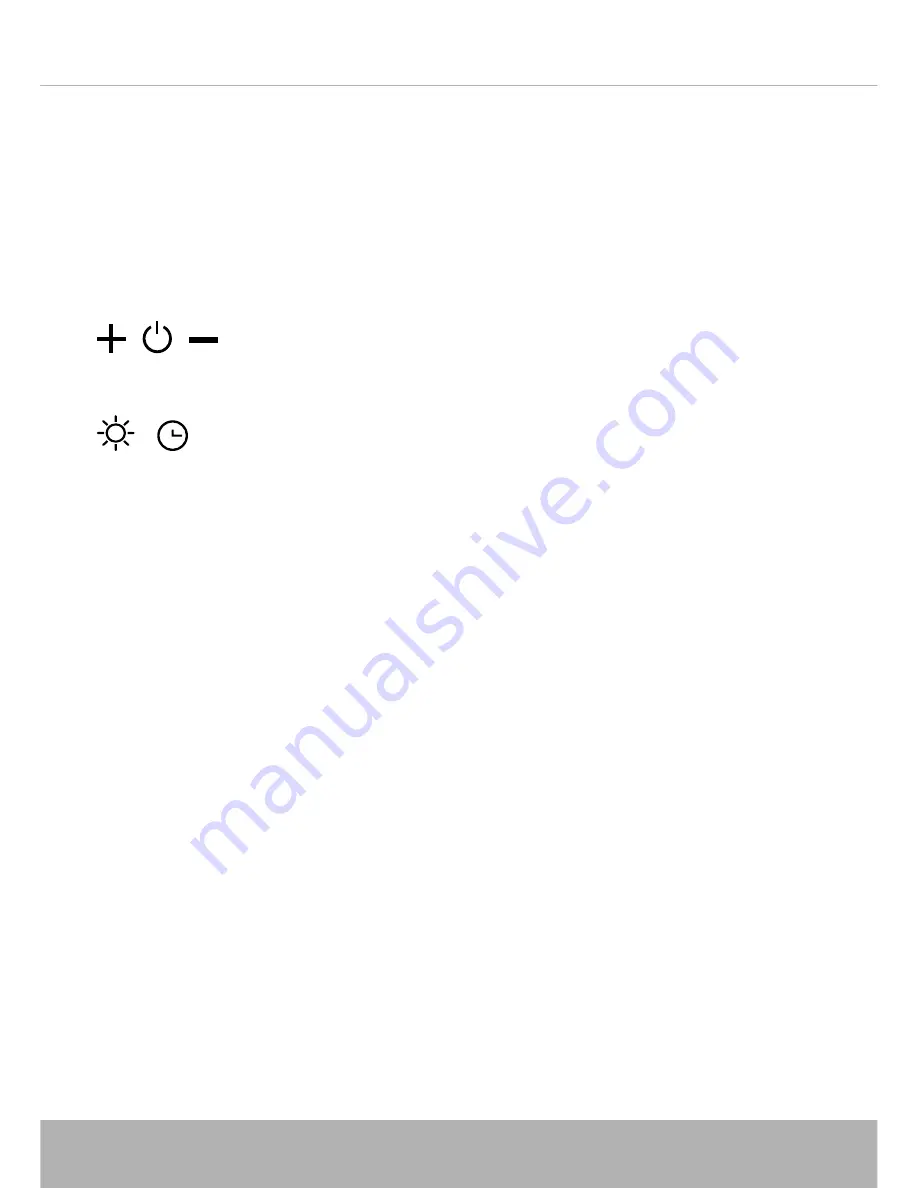
To restore the Factory configuration, follow the procedure described below: press 
simultaneously buttons:


for 2 seconds. When LEDs light on, press buttons:


(within 5 seconds). LEDs flashing 6 times indicate the procedure is completed.

WARNING! This operation deletes permanently the preset codes.
Emergency button:

In the event that the radio control does not work, use the emergency button to 
switch the appliance off. After any necessary repairs have been performed, reset the 
emergency button.

WARNING:

The battery should be replaced every year to guarantee the optimal range of the 
transmitter. To replace the exhausted battery, take the plastic lid off, remove the 
battery and replace it with a new one, observing the correct battery polarities.  
Used batteries should be discarded in special collection bins.

WARNING:

Any adjustments or modifications which have not been expressly approved by the 
holder of the legal conformity certificate may invalidate the user’s rights relating to 
the operation of the device.

The products are endowed with an electronic device which allows the automatic 
switching off after 4 hours working from the last operation.

Summary of Contents for CE1101

Page 1: ...Contact Caple on 0117 938 7420 or for spare parts www caple co uk ceiling extractor instruction manual CE920WH...

Page 2: ...ion manual CE920WH Please keep this instruction manual for future reference 2 CONTENTS WARNINGS 3 USES 8 INSTALLATION 9 REMOTE CONTROL 11 DIMMABLE LIGHTS FUNCTION 12 OPERATION MODE 12 TIMING 14 MAINTE...

Page 3: ...tlet please comply with the pertaining rules given by competent authorities Provide the room with an adequate aeration when a cooker hood and appliances fed by energy other than electric power gas oil...

Page 4: ...on separable flexible cable and plug or with another device ensuring omnipolar disconnections from the grid with an opening distance between the contacts of at least 3 mm then such disconnecting devic...

Page 5: ...fresh air into the room in which it is installed Please seek the advice of a qualified gas fitter e g GasSafe in the UK if necessary Children under 8 years of age must be kept away from the cooker ho...

Page 6: ...for future reference 6 are a fire hazard and do not guarantee the required safety of the appliance The cooker hood can get very hot during cooking due to heat rising from the hob Do not touch the hous...

Page 7: ...ndicates that this product may not be treated as household waste Instead it shall be handed over to the applicable collection point for the recycling of electrical and electronic equipment Disposal mu...

Page 8: ...tance of 2000 2100 mm from the floor Before starting the appliance installation please check that all components are not damaged in such a case contact your retailer and do not carry out installation...

Page 9: ...und pipe of 150mm diameter or a similar section for the air outlet Drill the holes on the ceiling as shown in Fig 6 insert the plastic plugs into the holes made and then fix the ceiling brackets as sh...

Page 10: ...Instruction manual CE920WH Please keep this instruction manual for future reference 10 54 2 4 5 3 6 11 5 2 4 3 6...

Page 11: ...92 Mhz Combinations 32 768 Max consumption 25 mA Operating temperature 20 55 C Dimensions 120 x 45 x 15 mm OPERATING DESCRIPTION The transmitter is equipped with 5 buttons for cooker hood management...

Page 12: ...seconds Leds flashing 3 times indicate the procedure is completed WARNING This operation deletes permanently the preset codes Learning the new transmission code Once the transmission code is changed i...

Page 13: ...the event that the radio control does not work use the emergency button to switch the appliance off After any necessary repairs have been performed reset the emergency button WARNING The battery shoul...

Page 14: ...uipped with a timer device that automatically switches the speed from 4th to 3rd speed after 5 minutes operation External motor models are equipped with remote motors that as for internal motor versio...

Page 15: ...the grease filter after the cleaning just perform the opposite operation Attention after refastening the glass panel make sure that it is properly fixed To clean the appliance itself tepid water and...

Page 16: ...Instruction manual CE920WH Please keep this instruction manual for future reference 16 Notes...

Page 17: ...Instruction manual CE920WH Please keep this instruction manual for future reference 17...

Page 18: ...Instruction manual CE920WH Please keep this instruction manual for future reference 18...

Page 19: ...Instruction manual CE920WH Please keep this instruction manual for future reference 19...

Page 20: ...Contact Caple on 0117 938 7420 or for spare parts www caple co uk Caple Service Fourth Way Avonmouth Bristol BS11 8DW t 0117 938 7420 e service caple co uk www caple co uk...

Reviews: