Waste Disposer Installation Manual
7
1.5 .
CONNECTION TO ELECTRICAL SUPPLY
IMPORTANT
Before connecting your Waste Disposer to the electricity supply, make sure the
grinder runs freely and there are no foreign objects in the grinding chamber.
The Disposer should be connected to a single phase 220/240V
power supply, controlled by a switch and should be a safe
distance from wet areas. We recommend the use of our
air-switch (Part No: AIR)
1.5.1
Air-switch
Product code. AIR
The air-switch is a safety device that isolates the user from the
waste disposer’s electrical components.
1.5.1.1
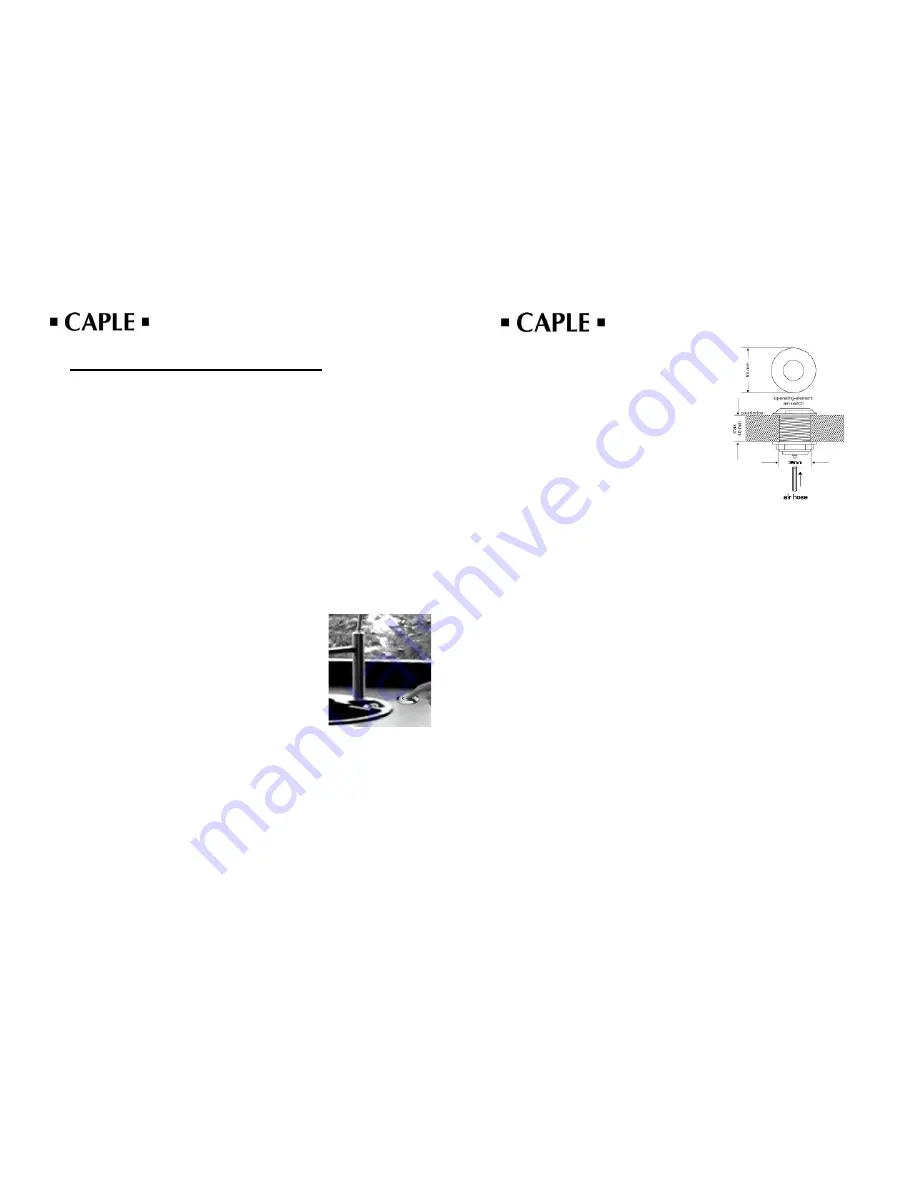
Installation of the Air Switch Button
Find a suitable position near the sink for
the operating button.
Make sure that there is sufficient space
underneath to turn the securing nut.
Food-Waste-Disposer
8
Drill a hole, 35mm into the worktop.
Seal the sides with a thin film of silicone and fix the
operating button.
IMPORTANT
The lower side of the air hose is often difficult
to reach.
It is recommended that you connect the air
hose before you insert the operating element.
1.5.1.2
Connection
Connect the Air Hose to the Air Switch.
Plug the Air Switch into the socket and plug the Waste Disposer into the Electric Switch.
1.5.2
Wall Switch
The power outlet where the disposer is plugged in must be switched by a double pole switch.
We recommend the use of a push button so the disposer runs only while the button is
depressed.


