Page 1
version 1.0.5.1 SCARAB YSiixKopta Airframe guide
www.MultiCopterPilot.com
SCARAB YSiixkopta Airframe
The following is the recommended building tips for
assembling the airframe.
YSiixKopta
SCARAB is designed for
10 amp ESCs x 6 - preferrably running 4S
775kv Motors between 35g - 75g
Wires - 20AWG wires LiPo 150-220g
4S 9050Triples
VERSION 1.0.5
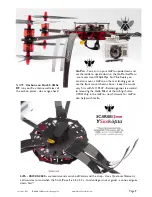
BOOM LENGTH - Build light -> to fly - if necessary -
cut booms down to suit motors - small motors (29g)
- Medium (50-70g) = 260mm - heavy motors(75g+)
210mm ~ 230mm Balance props perfectly on a
magnetic balancer. then dynamic running them on a
hand rig. Mounting - use conter sunk screws on the
top motor direct to the Carbon mount . Mount the
LOWER motor to the X plate(that comes with your
motor) - use M3 bolts to secure the X. Do not pull on
the wires - any stress will damaged the motor internally.
SCARAB is designed to sacrifice the frangible
booms in the event of a crash and save the
motors,electronics and the mainframe from
impact G forces. Thin rounded booms are very
streamlined to prop wash and gives longer flight
times of 12-15mins. We expect the removable
boom to be used in most cases - for travel and for
modular replacement reasons. good connections
are vital.
If a single connector fails or comes loose
- your YSiix may crash
- double check each one
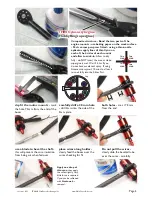
For a Ysiix you may need to revese the shaft -
remove the grub screw from the bell. tap the shaft
out with a 3mm tap - then I use a wood vice - I
turn the vice slowly to feed the shaft to the correct
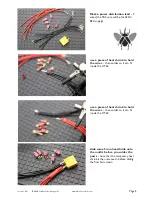
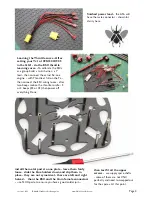
distance. wiring - decide if you want removable
booms/plugs. or if you want to solder the wires to the
ESC? Solder wires are be less suitable for Travel-AP
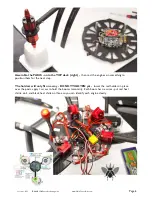
- so each pilot takes his own Risk. Top motors wire
ends red - bottom mor wire ends black - to identify it
each motor exit wire location is different
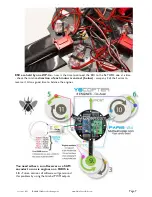
(above left) - counter sink two matching holes
in the engine mount by aligning the wires to the
shaft side of the key shape - Attach the motor - use
Loctite on the screws and also on the shaft lock screw.
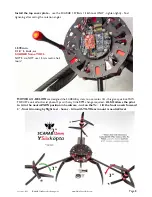
Slide the carbon boom over the completed assembly
including the wires - be sure not to cut the wires on
the carbon shaft ! see next page for photos
top engine red
bottom engine black


