background image


1

INSTALLATION 


UNPACKING 

Before beginning installation of your scale, make certain the instrument has been received in 
good condition.  When removing the scale from its packing, inspect it for signs of damage, such 
as exterior dents and scratches.  Keep the carton and packing material for return shipment if it 
should become necessary.  It is the responsibility of the purchaser to file all claims for any 
damages or loss incurred during transit. 
 

1.  Remove the scale from the shipping carton and inspect it for any signs of damage. 

2.  Plug-in the adapter to use the scale and begin charging the battery pack.  Refer to the 

POWER SUPPLY or BATTERY PACK sections of this manual for more instruction. 

3.  Place the scale on a flat level surface, such as a table or bench. 

4.  The scale is now ready for use. 


POWER SUPPLY 

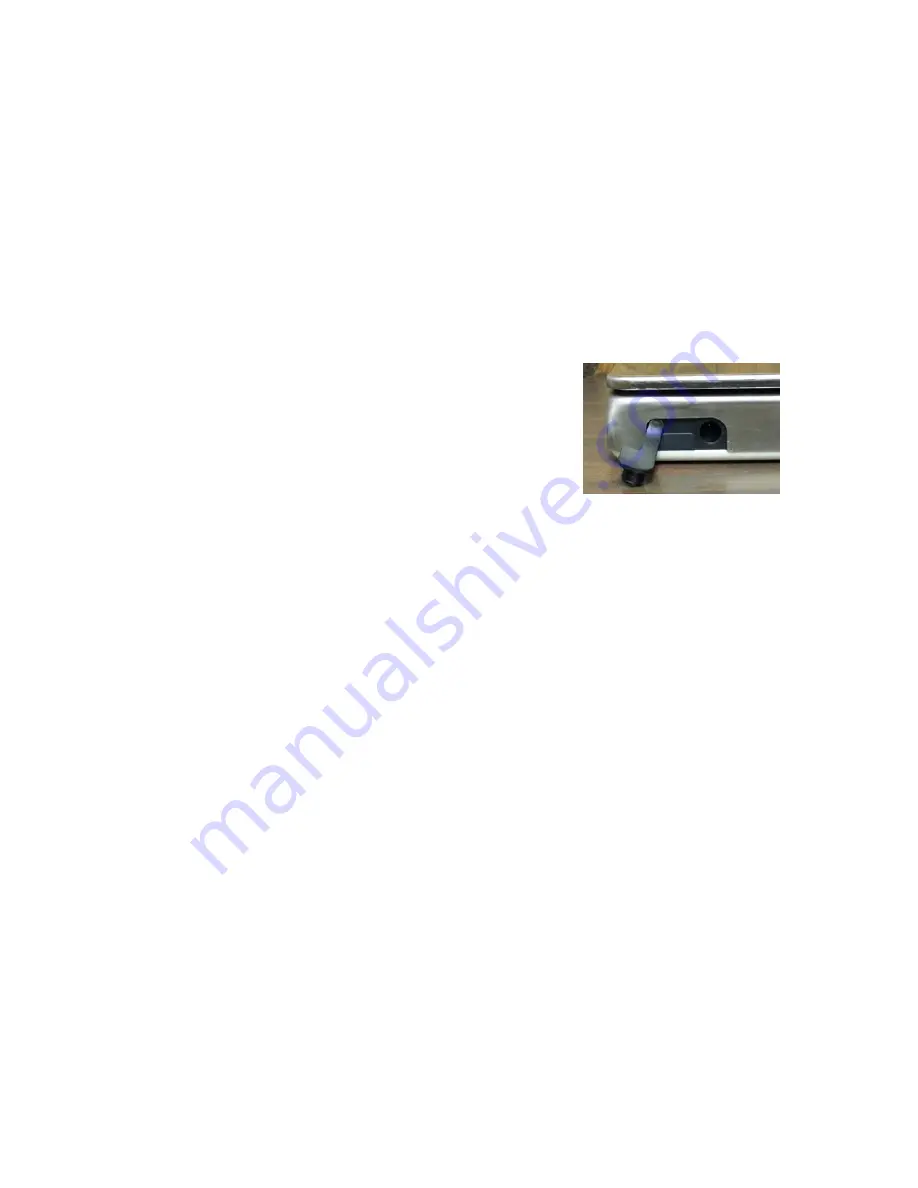
To apply power to the scale using the supplied power supply, 
insert the plug from the power supply cable into the power jack on 
the side of the scale and then plug power supply into the proper 
electrical outlet.  The scale is now ready for operation.   


BATTERY PACK 

The scale uses a 4.8 VDC, 1800 mA built-in rechargeable battery pack.  The WPS10 can 
operate for up to 80 hours of continuous use with a fully charged battery pack. 


BATTERY CHARGING 

To recharge the battery pack, the power supply must be connected to an AC power outlet and 
plugged into the scale.  It will take approximately 5 hours to fully recharge the battery pack in the 
scale.  While the batteries are charging the WPS10 can still be operated.  Note that charging the 
battery pack for more than 12 hours will not damage it. 


LOW BATTERY 

When the battery pack is near the point it needs to be recharged, a low battery indicator on the 
display will turn on.  If the battery voltage drops too low for accurate weighing, the scale will 
automatically shut off and you will be unable to turn it back on.  When the low battery indicator is 
displayed, the operator should plug the power supply into the scale and then into the proper 
electrical wall outlet.  The scale will begin charging the battery pack. 

Summary of Contents for Detecto MARINER WPS10

Page 1: ...OOF DIGITAL PORTION SCALE OWNER S MANUAL CARDINAL SCALE MFG CO 8528 M405 O1 Rev A PO BOX 151 WEBB CITY MO 64870 07 13 PH 417 673 4631 FAX 417 673 5001 www detectoscale com Technical Support Ph 866 254 8261 techsupport cardet com ...

Page 2: ......

Page 3: ...ontained herein While every precaution has been taken in the preparation of this manual the Seller assumes no responsibility for errors or omissions Neither is any liability assumed for damages resulting from use of the information contained herein All instructions and diagrams have been checked for accuracy and ease of application however success and safety in working with tools depend to a great...

Page 4: ...2 ...

Page 5: ...ck on the side of the scale and then plug power supply into the proper electrical outlet The scale is now ready for operation BATTERY PACK The scale uses a 4 8 VDC 1800 mA built in rechargeable battery pack The WPS10 can operate for up to 80 hours of continuous use with a fully charged battery pack BATTERY CHARGING To recharge the battery pack the power supply must be connected to an AC power outl...

Page 6: ...e displayed weight is in pounds oz The oz annunciator is turned on to indicate that the displayed weight is in ounces lb oz Both the lb and oz annunciators are turned on to indicate that the displayed weight is in pounds and ounces g The g annunciator is turned on to indicate that the displayed weight is in grams The low battery annunciator is used with the battery operation It will turn on to ind...

Page 7: ...rement if selected during configuration of the scale 2 Press and hold three 3 seconds to turn display back light on or off TARE 1 Press to reset the displayed weight to zero up to 100 of the scale capacity ON OFF 1 Press and release to turn on scale 2 Press and release to turn the scale off ...

Page 8: ...ts press TARE before adding each ingredient 5 To display the total weight of ingredients press the SET and TARE keys at the same time 6 Note that upon removing the container and ingredients the scale will display a negative weight Press the TARE key to return the scale to zero HIGH LOW WEIGHT CHECKING The scale may be set to alert you when either over or under a set limit 1 Press and hold the TARE...

Page 9: ...nge to show g and the status On or OFF 2 Press the UNIT key to toggle between Enable display will change to On or Disable display will change to OFF 3 Press the SET key 4 Repeat above steps for each weighing unit mode g grams 5000g x 1 g lb oz pound ounces 10 lb x 0 1 oz lb oz 1 8 pound 1 8 ounces 10 lb x 1 8 oz lb pounds only 10 lb x 0 005 lb oz ounces 160 oz x 0 05 oz oz 1 8 1 8 ounces 160 oz x ...

Page 10: ...97 for the Gravity Compensation If the GrAu is disabled the scale will use the value obtained from the factory Tech Support and entered by the operator for the Gravity Compensation To change the Gravity Compensation value 1 Press and hold the UNIT key while pressing the ON OFF key to turn on the scale and enter Gravity Compensation mode the display will show 9 797 or the current value 2 Press the ...

Page 11: ...mes DO NOT place scale in front of heating cooling vents DO clean the scale with a damp soft cloth and mild non abrasive detergent DO clean the scale by submerging in dishpan and using mild non abrasive detergent NOTE Before submerging scale in dishpan make sure power jack cover on side of scale is completely inserted battery pack cover on bottom of scale is installed and water temperature does no...

Page 12: ...8 ...

Reviews: