Audio Kit for
Qz, Q1 and Q3
6
7
8
9
10
11
12
13
2
3
5
1
4
1
Noise canceling
microphone
2
Hybrid mic
3
Release Tab
4
Speakers
5
Speaker Jack6 Corded
Microphone
(*Only with Q1/Q3)
7
Replacement mic sponges
8
Allen wrench
9
Alcohol pads
10
Speaker Booster
pads
11
Velcro pads
12
Glue plates
13
Hybrid mic clip
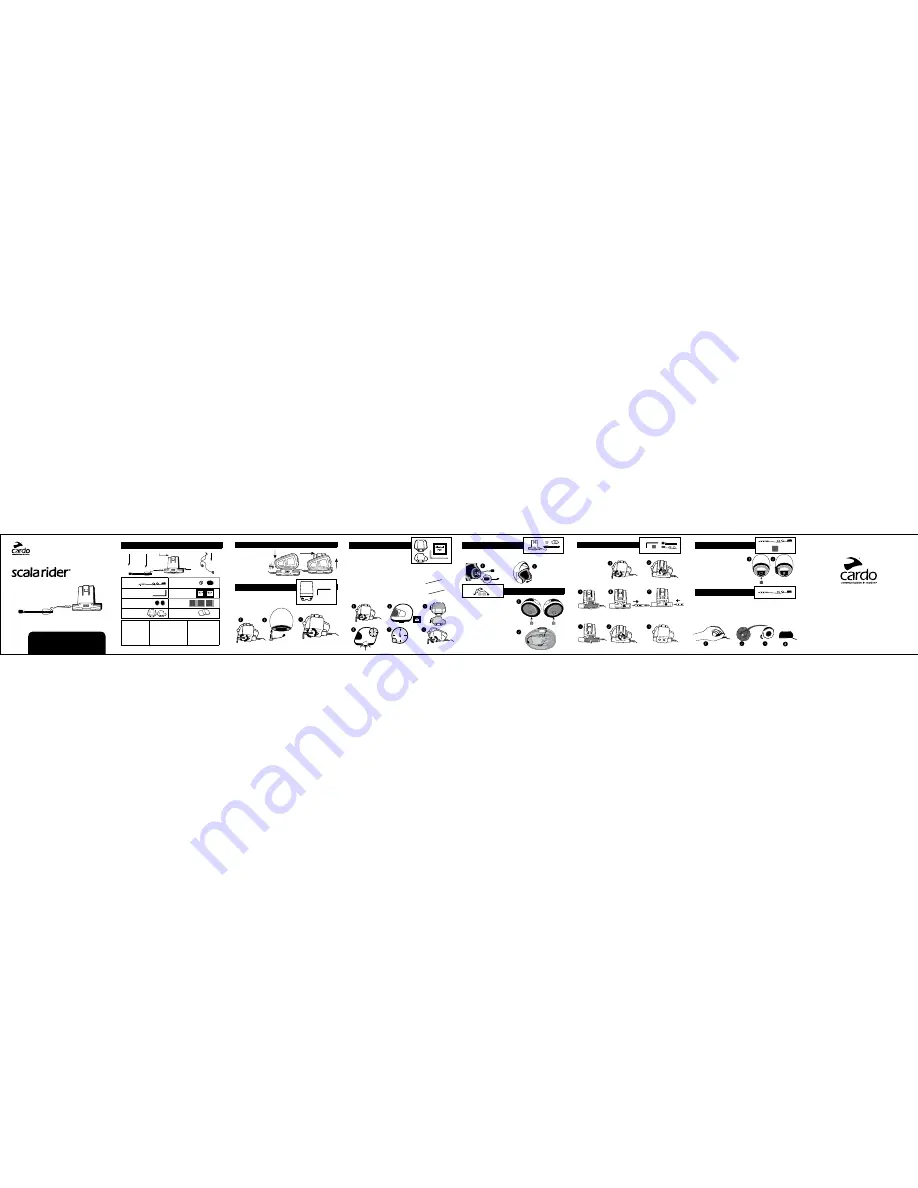
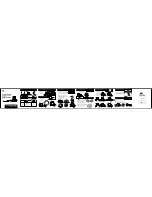
CONTENTS
OPTION B: USING THE GLUE PLATE
1
Remove the Back Plate by taking out both screws
2
Use the Alcohol pad to clean the exact spot on the helmet
3
Peel off protective backing sheet
4
Press here for 15 seconds
5
Allow the glue to dry for 24 hours
6
Fasten both screws tightly
Glue the Audio Kit onto your helmet when the standard Back
Plate method cannot be used. Choose which of the2 glue plates
is most suitable for your helmet.
While we have no reason to believe that the gluing option
might negatively affect any helmet, Cardo does not assume
any responsibility, irrespective of its nature and circumstances.
The Glue Plate is offered as an option that you may use at your own risk and subject to renouncement of any
future claims.
POSITIONING THE HYBRID MICROPHONE
1
Open
the lining between the helmet’s inner padding.
Use the Velcro pad to hold the Hybrid Microphone in
place
. Attach the Microphone to the Velcro pad.
2
Adjust
the location so that the
microphone
is located opposite
the
center of your mouth.
PLACING THE SPEAKERS
For best clarity, place speakers directly opposite
and close to the ears. Helmets with deep recesses
may require padding to bring the speakers closer
for ideal positioning. Optional speaker booster
pads are provided for this purpose.
To use, place the speaker booster pad between the
Velcro pad in the helmet cavity and the speaker.
1
Attach Velcro pads to inside of Helmet.
2
Cross the long speaker wire over the center of
the helmet to enhance FM radio reception.
Using two speakers inside the helmet may be
prohibited in certain jurisdictions. If this is the case,
position both speakers on one side of the helmet.
CHANGING THE MICROPHONE
TYPE
Removing:
Before changing
the microphone, completely
remove the Audio Kit and
backplate from the helmet.
Attaching:
Replace the
screws to reattach the
backplate to the Audio Kit
before reassembling on the
helmet and fully tightening
the screws.
POSITIONING THE CORDED MICROPHONE
Attach Velcro to inside front of helmet
The Corded Microphone can be used with Full
face helmets only (not Modular helmets).
Some helmets with air vents may require the mic
to be repositioned if mic audio is affected.
REPLACING THE CORDED MICROPHONE SPONGE
A replacement corded microphone sponge is
provided for future use should you need it.
NOTE:
The wires to the microphone are delicate. Avoid touching them.
1
Pinch and pull existing microphone sponge
2
Carefully remove the existing sponge.
3
Remove protective backing sheet from replacement sponge
4
Carefully attach the new sponge to the microphone
Installation Guide
OPTION A : USING THE BACK PLATE
1
Loosen both screws
2
Push the back plate between
the helmet’s outer shell and
inner padding
3
Tighten the screws
THIS CA
N ONLY
BE DON
E ONCE!
English - Chinese
ATTACH THE SCALA RIDER AUDIO KIT TO YOUR HELMET
Attach the scala rider
Audio Kit to your helmet
with the standard
Backplate using the
following instructions
m
an
00
12
4 r
www.cardosystems.com
support@cardosystems.com
USa & Canada: 1-800-488-0363
International: +49 89 450 36819


