| SCALA RIDER
®
3. Search for
Bluetooth
devices on your phone by following the
phone’s instructions. Please consult your phone’s User Manual
for more information.
4. After a few seconds the phone will list the
scala-rider
as a discovered device. Select it and follow your phone’s
instructions to accept the pairing.
5. When prompted enter 0000 (four zeros) as your PIN or passkey.
6. Your phone will confirm that pairing has succeeded and the
headset will begin flashing slowly in Blue.
NOTE:
If the Pairing process is not completed within two minutes the
headset will return to Standby mode.
With some mobile phones, you may need to tap the CTRL button
to connect the headset to the phone after pairing is complete. The
SCALA RIDER
headset will automatically connect to the last phone
connected to the headset.
SET UP FOR BLUETOOTH GPS DEVICE
If you have a Bluetooth enabled GPS device and would
like to transmit navigation instructions and sounds from the GPS device
through the headset’s speakers, please follow instructions described in
section below “TO PAIR THE SCALA RIDER TO A BLUETOOTH GPS DEVICE”
If you want to use your mobile phone and your GPS device with the
SCALA RIDER headset, you should proceed as follows:
1. Pair your GPS device to your mobile phone (Please consult your GPS
device’s User Manual for more information).
2. Pair your headset to the GPS device as described below.
NOTE:
Not all
Bluetooth
enabled GPS devices allow connections to
Bluetooth
headsets like the
SCALA RIDER
. Please consult your GPS
device’s User Manual for more information.
TO PAIR THE SCALA RIDER TO A
BLUETOOTH
GPS DEVICE:
1. Turn on your GPS device.
2. With the
SCALA RIDER
headset turned OFF, press and hold
the CTRL Button until the Red and Blue Lights begin rapidly
alternating.
3. Search for
Bluetooth
headsets on your GPS device by following
the device’s instructions. Please consult your GPS device’s User
Manual for more information.
4. If your GPS device prompts for a PIN or Passkey enter 0000
(four zeros).
5. Your GPS device will confirm that pairing has succeeded. The
headset will begin flashing slowly in Blue.
6. If you wish to use a
Bluetooth
mobile phone to make and
receive calls through the headset, you must now pair your
mobile phone to your GPS device by following your GPS and/
or mobile phone’s instructions.
NOTE:
If the Pairing process is not completed within two
minutes the headset will return to Standby mode.
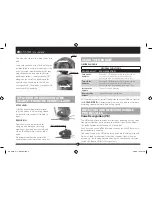
ATTACHING THE CLAMP ON THE HELMET
The Helmet Clamp must be attached to the left side of the
helmet. Once attached, the headset unit can be mounted or
released from the Helmet Clamp at any time. There are two
methods that can be used in order to attach the Clamp onto the
helmet:
Standard Method:
Recommended for most helmet types.
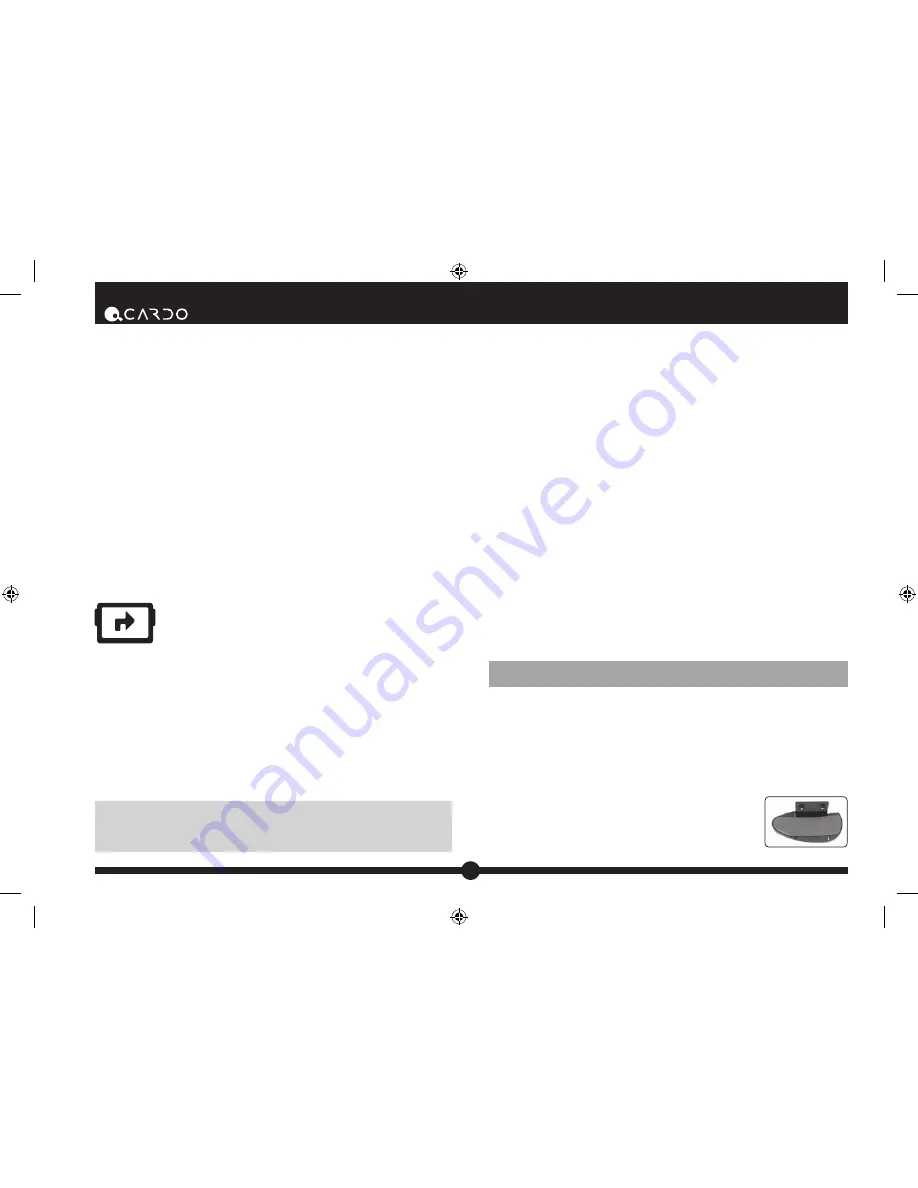
Glue Plate Method:
Recommended for hel-
mets to which the standard method cannot be
applied, using the Glue Plate included in the
box.
QG SOLO 014 - QG0143.indd 4
9/4/08 1:02:45 PM


