UI HydroFlex. iss4 01/11
UI HydroFlex. iss4 01/11
3d. Motorised & Pro-control
Release lever for legrest elevation.
3c. Manual Option
3b. Elevating Legrest
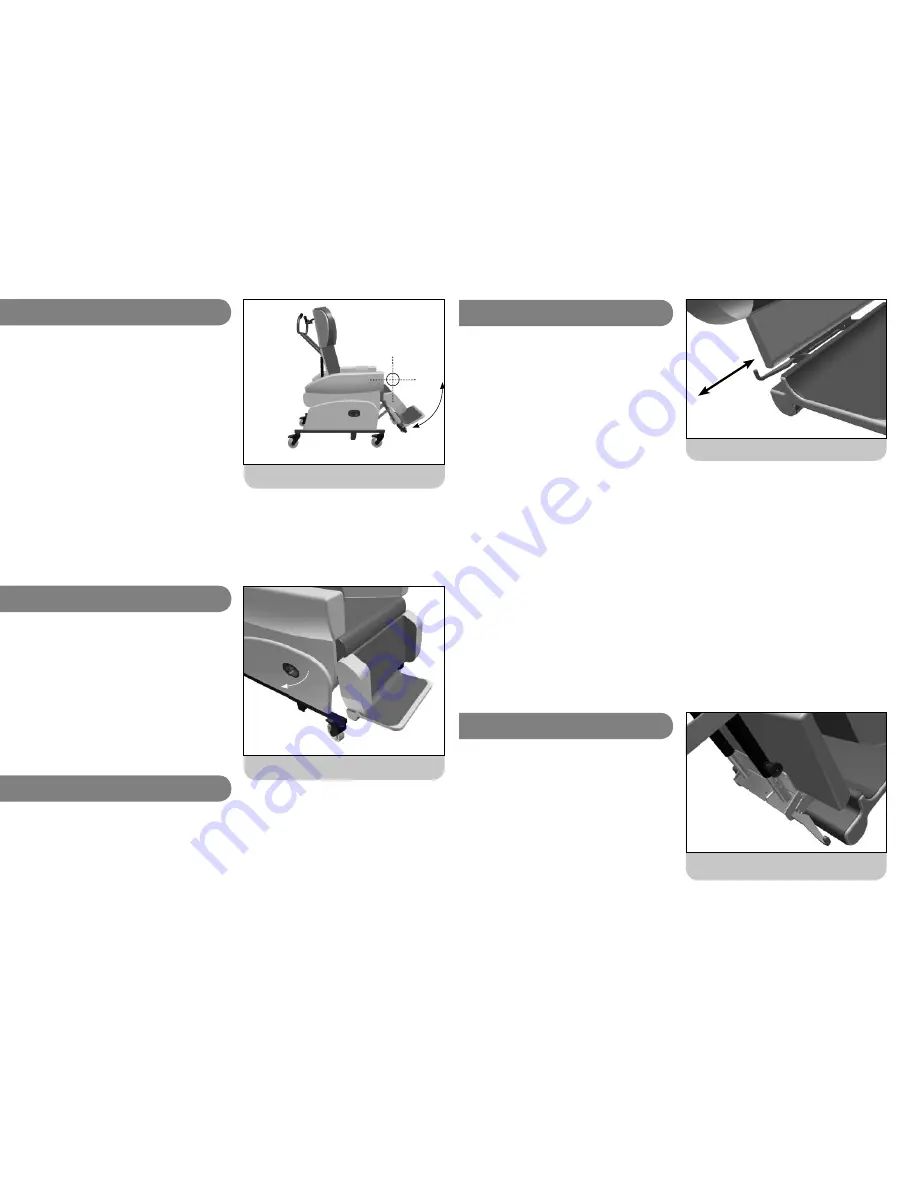
The HydroFlex has an integral legrest which can be
angled up to support the legs. The legrest articulates,
following the movement of the knee as it elevates the
legs.
The legrest incorporates visco-elastic memory foam for
pressure relief.
Ensure the legrest is fully lowered before transferring a
client to or from the chair.
The range of Legrest elevation is from 80° at the
knees to 170°. The comfort of legrest elevation is often
determined by hip angle. Over-elevating the legs can
cause tightness in the hamstrings which could cause
discomfort, especially if the BAR has been set up so that
the hip angle is close to 90 degrees.
Leg Elevation, where knee angle can be adjusted.
On the manual option of the HydroFlex legrest elevation
is controlled by the lever located on the right hand side
panel. Pull this lever out and the legrest will begin to
raise. It may be necessary to lift the legrest towards
its maximum elevation, depending on the weight of the
client’s lower legs. Once the legrest is at the desired
angle, release the lever. To lower the legrest, pull the lever
out and the legrest will return to its lowered position. It
may be necessary to push the legrest down if the client
has weak or light lower legs.
On the motorised and Pro-control options, legrest
elevation is controlled by the handset. The top row
of two buttons control Legrest elevation. The left hand
button raises the legrest. The right hand button returns
the legrest to its lowered position.
9
3d. Integral Footplate
(cont.)
Pull the lever sideways to adjust footplate angle.
The legrest has an integral height and angle adjustable
footplate to provide support to the client’s feet when
the legrest is raised or when they are being portered in
the chair. The footplate is stored behind the top section
of the legrest. Lift the top section of the legrest and
the footplate will drop dow. To lock the footplate in its
primary, 90° angle, pull the lever on the right side of
the footplate sideways. The footplate has three angle
settings to provide comfort and support plantar
fl
exion.
As the legrest is elevated, having a 90° angle at the
ankle will become more uncomfortable. The footplate can
be angled down to provide a more relaxed position. To
adjust the angle pull the lever on the right side of the
footplate sideways. Tilt the footplate to the desired angle
and release the lever. The lever will slide into the nearest
angle setting.
To fold the footplate up and store it behind the top
section of the legrest, pull the lever on the right side
of the footplate sideways and raise the footplate up. Lift
the top section of the legrest, push the footplate fully up
and lower the top of the legrest to hold the footplate
in place.
SAFETY NOTE
It is essential to regularly check
the adjustment of the footplate
to ensure it does not hit the
ground when lowered. When
the chair is tilted backwards it
is possible to extend the legrest
length so that it is greater than
the seat to
fl
oor height. However,
if the chair is tilted forward when
the legrest is fully extended the
footplate may hit the
fl
oor and
damage the legrest mechanism.
3e. Seat to Footplate Height
Indexing pin to set the seat to footplate height.
Seat to footplate height can be adjusted by pulling out
the indexing pin located on the (client’s) right hand side
of the legrest assembly. Pull out the indexer and raise/
lower the footplate to the desired height relative to the
seat. Once at the desired height, release the indexer. The
indexer will click into the nearest height setting and lock
the footplate height.
10


