Smart
Seat
®
UI SmartSeat iss01, 03/2013
TM
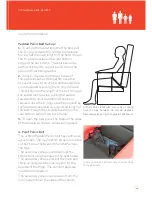
thighs so that they sit at right angles to the
seat board.
4-Point Pelvic Belt Set-up –
Main Belt:
1.
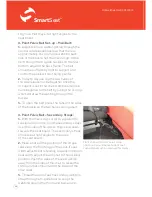
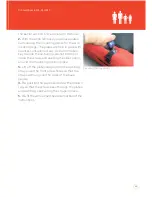
Adjust the main webbing strap through the
central side release buckle so that there is
approximately 15cm of loose webbing each
side of the buckle. Set the main length of the
belt through the tri-glide buckles on the rear
bottom edge of the back frame. The belt
should be sufficiently tight to support and
control the pelvis without being painful.
2.
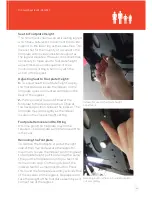
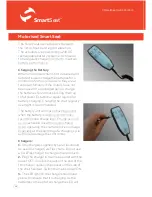
In day to day use clip the two halves of
the side release buckle together once the
occupant is sat in the chair. Additional tension
can be applied to the belt by pulling the D-rings
which will draw the webbing through the
buckle.
3.
To open the belt, press the tabs on the sides
of the buckle so the two halves spring apart.
4-Point Pelvic Belt – Secondary Straps:
1.
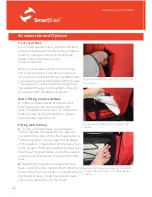
With the main strap correctly adjusted for
tension and position, pull the secondary straps
over the sides of the clients’ thighs and down
towards the seat board. The secondary straps
should be at right angles to the sides
of the seat board.
2.
Make a note of the position of the straps
relative to the front edge of the seat. If seat
width adjustment is tending towards minimum
seat width, adjust the arms out to their widest
position. Push the sides of the seat cushion
away from the sides of the chair to reveal the
thin round bars mounted to the inside of the
chair sides.
3.
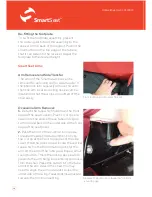
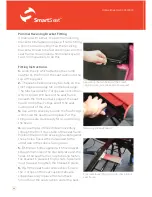
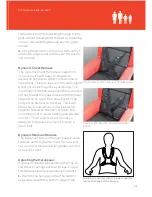
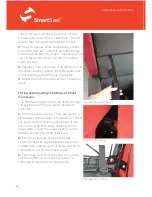
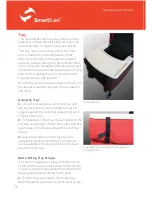
Thread the end of each secondary webbing
strap through a tri-glide buckle. Loop the
webbing around the thin round bars and re-
30
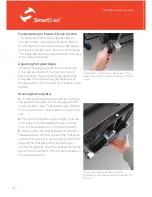
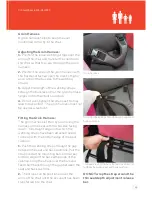
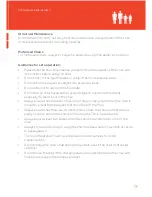
Front straps of 4-point pelvic strap
positioned around bars at side of seat
cushion (seat cushion removed for clarity)

