


~ 11 ~
© 2014 VAN OS MEDICAL UK Ltd., Excel House, Escrick Business Park,
Escrick, York,YO19 6FD -
Tel. +44-(0)1904-720170, Fax +44-(0)1904-720398,
E-mail: sales@vanosmedical.com,
www.vanosmedical.com
info@vanosmedical.nl
, www.vanosmedical.com
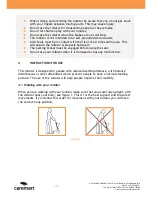
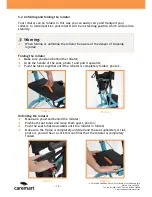
5.3 Seating
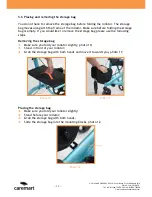
Check if the parking brake is engaged, before you take a seat on the rollator;
Make sure that your feet are between the rear wheels when you’re seated and
with your back towards the direction of travel, photo 5.
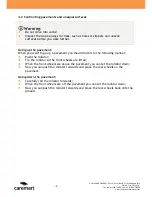
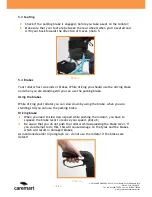
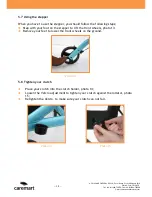
5.4 Brakes
Your rollator has two kinds of brakes. While driving you should use the driving brake
and when you are standing still you can use the parking brake.
Using the brakes
While driving your rollator you can slow down by using the brake, when you are
standing still you can use the parking brake.
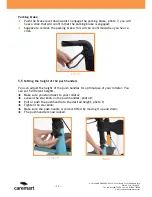
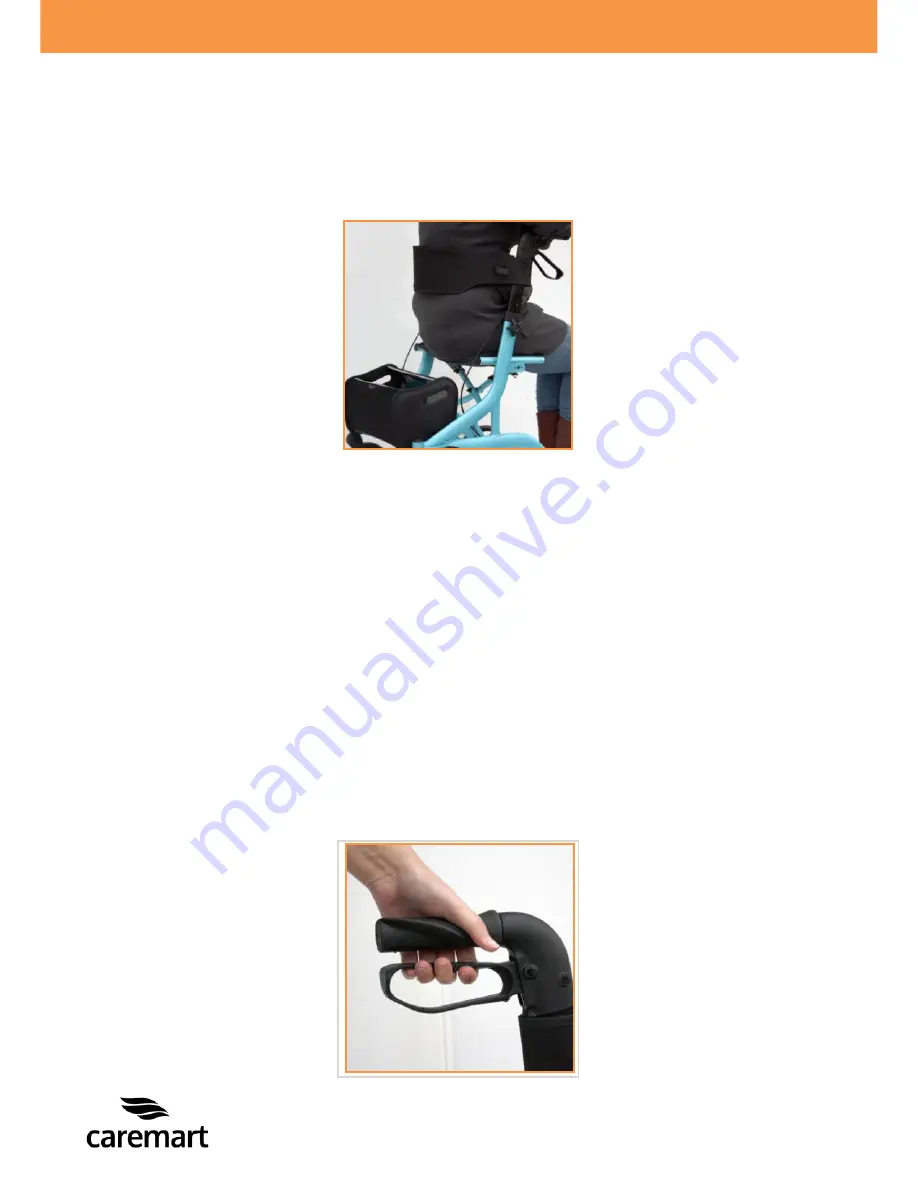
Driving brake
When you need to slow down speed while pushing the rollator, you have to
squeeze the brake lever to reduce your speed, photo 6;
Be aware that you do not push the rollator while squeezing the brake lever. If
you do attempt to do this, this will cause damage on the tyres and the brakes,
which will result in damaged brakes;
As mentioned earlier in paragraph 3.2, do not use the rollator if the brakes are
defect!
Photo 5
Photo 6


