20
❏
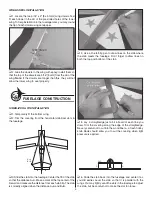
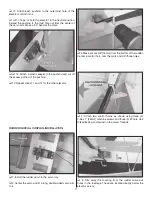
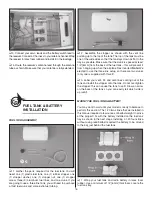
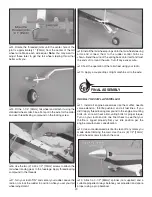
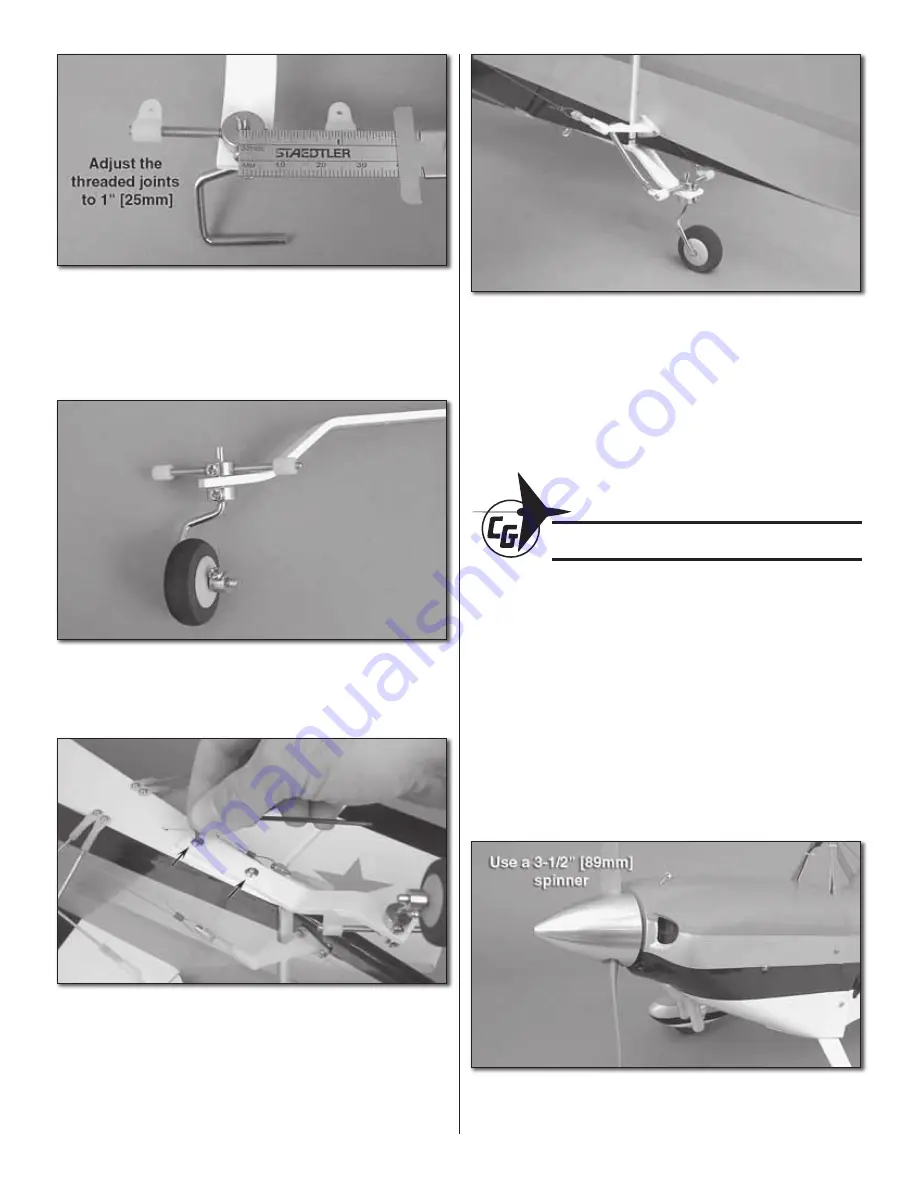
4. Rotate the threaded joints until the center hole of the
joint is approximately 1" [25mm] from the center of the tail
wheel wire. Make each side equal.
Note:
You may want to
adjust these later to get the tail wheel steering throw that
better suits you.
❏
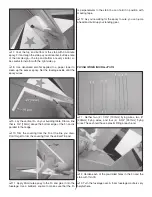
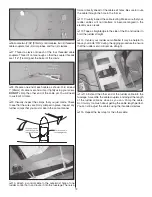
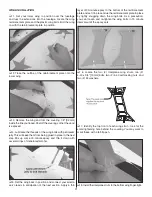
5. Fit the 1-1/4" [32mm] tail wheel and attach it using the
standard wheel collar. File a fl at spot in the axle for the collar
and use threadlocking compound on the locking screw.
❏
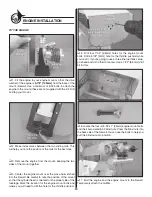
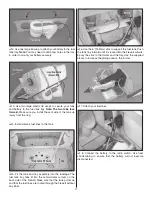
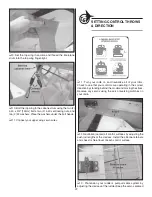
6. Use the two (2) 4-40 x 1/2" [13mm] screws to attach the
tail wheel landing gear to the fuselage. Apply threadlocking
compound to the threads.
❏
7. Turn your radio “ON” and center your rudder. Leave the
radio on or lock the rudder in position while you set your tail
wheel adjustment.
❏
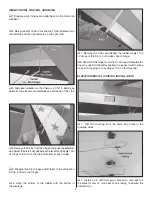
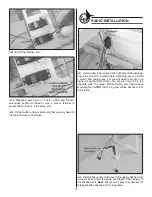
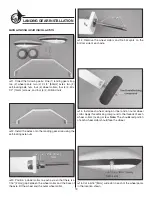
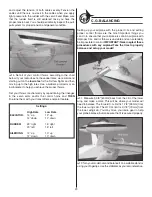
8. Install the tail wheel springs onto the tail wheel steering
arms and connect them to the rudder control horns as
shown. Bend the wire of the spring back onto itself and twist
the ends of it around the wire. Cut off any excess wire.
❏
9. Test the operation of the tail wheel using your radio.
❏
10. Apply a couple drops of light machine oil to the axle.
FINAL
ASSEMBLY
INSTALL THE COWL & PROPELLER
❏
1. Install all engine accessories like the muffl er, needle
valve extension, throttle pushrod, and all fuel lines. If you
didn’t apply threadlocking compound to the engine mounting
bolts, do so now. Check all mounting bolts for proper torque.
Turn on your radio and do one fi nal check to see that your
throttle is rigged properly. Set your idle position per the
engine manufacturer’s specifi cation.
❏
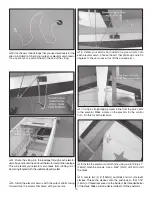
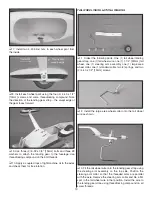
2. Use some denatured alcohol to clean off any marks you
made while trimming the cowl. Use the six (6) 1/2" [13mm]
button head screws to attach the cowl.
❏
3. Attach a 3-1/2" [89mm] spinner (not supplied) and a
suitable propeller. Always balance your propeller (and spare
props) using a prop balancer.

