8
❏
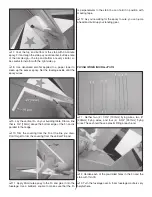
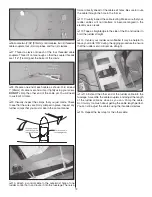
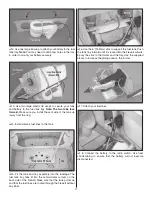
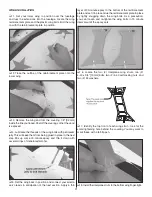
4. Measure 4-1/8" [105mm] forward from the TE of the
fuselage (the rudder hinge line) and draw a line straight
across the bottom of the fuselage.
❏
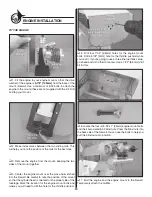
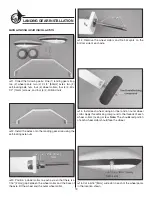
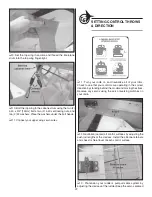
5. Use one of the small 10mm wood screws to attach each
of the two bottom aft fl ying wires (7-3/4" [197mm] wires) to
the bottom of the fuselage. Attach them at the line you drew.
Drill a 1/16" [1.6mm] pilot hole to help you start the screw
and use thin CA to harden each hole. The other end of each
wire will attach to the aft hole in the stabilizer.
❏
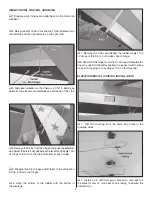
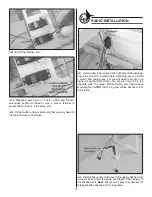
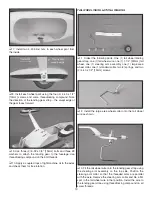
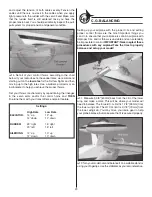
6. Using the same method, install the two 8" [203mm]
fl ying wires just ahead of the ones you just put in.
❏
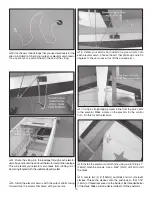
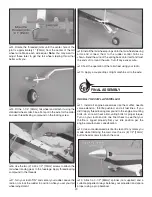
7. Adjust the length of the bottom wires until they match
the holes in the stab. Be careful to allow an equal amount
of thread engagement on each fi tting.
Note:
You don’t
necessarily want these to be equal lengths on both sides
– just make sure that the stab and fi n are both aligned.
❏
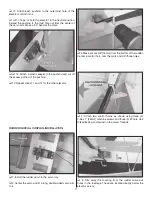
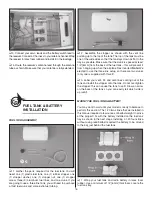
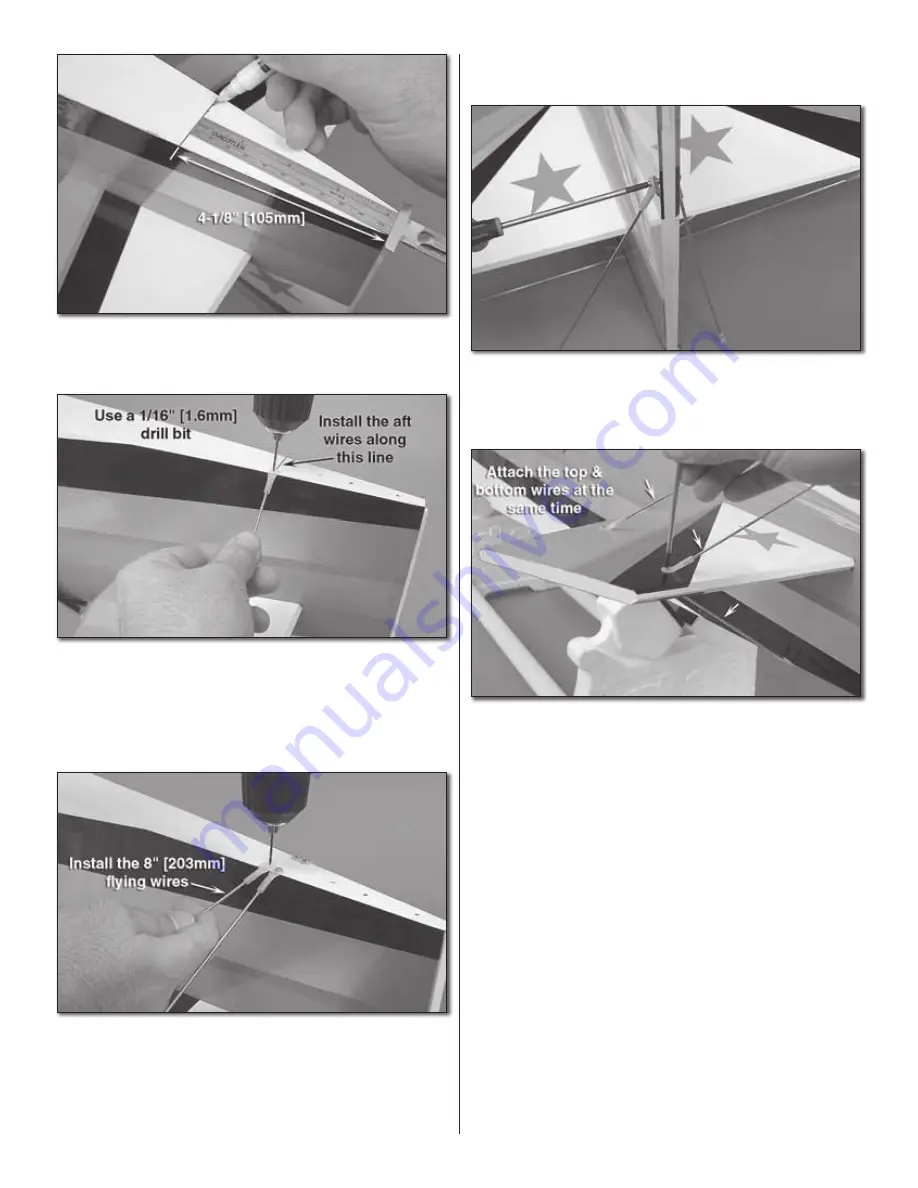
8. Flip the fuselage over and use two (2) 2-56 x 5/8" [16mm]
machine screws and two (2) #2 nuts to loosely attach the
four (4) 9-3/4" [247mm] upper fl ying wires to the vertical fi n.
One screw will hold both the left and right wires.
❏
9. Use two (2) 2-56 x 5/8" [16mm] machine screws and
#2 nuts to attach the other ends of the fl ying wires to the
left stabilizer. The corresponding top and bottom wires are
attached with one screw and a nut. Repeat this for the right
stabilizer. Apply one drop of threadlocking compound to each
of the six screws.


