9
HINGE THE TAIL CONTROL SURFACES
❏
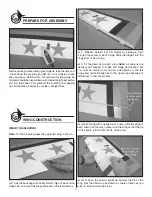
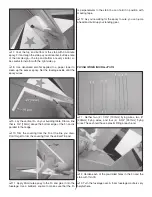
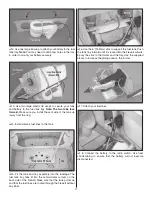
1. Prepare six (6) hinges and slide them into the horizontal
stabilizer.
❏
2. Being mindful of the trim scheme, fi t the left elevator to
the left stab and the right elevator to the right stab.
❏
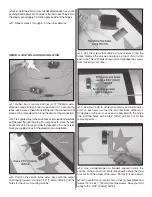
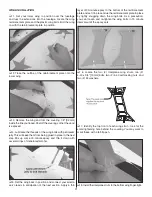
3. Align each elevator so that there is a 1/16" [1.6mm] gap
between the elevator counterbalance and the tip of the stab.
❏
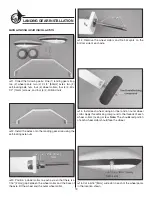
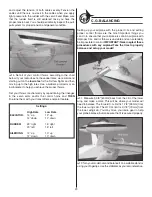
4. Remove the T-pins from the hinges and push the elevators
up against the stab. Fully defl ect each elevator and apply 10 to
12 drops of thin CA to the top and bottom of each hinge.
❏
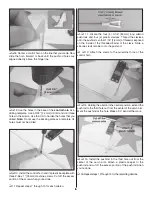
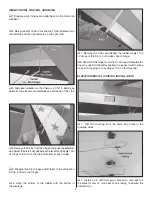
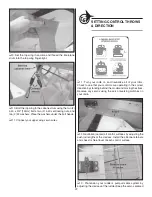
5. Prepare three (3) hinges and fi t them to the vertical fi n.
Fit the rudder to the hinges.
❏
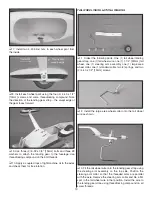
6. Align the bottom of the rudder with the bottom of
the fuselage.
❏
7. Remove the T-pins and defl ect the rudder. Apply 10 to
12 drops of thin CA to both sides of each hinge.
❏
8. Allow all of the hinges to air-dry. Do not use CA accelerator.
You may use CA debonder applied to a paper towel to clean
up any CA fogging or stray drops of CA on the covering.
ELEVATOR SERVO & CONTROL INSTALLATION
❏
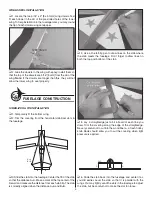
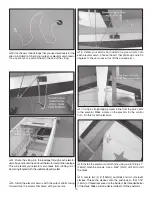
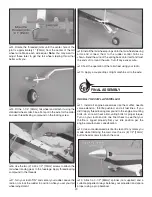
1. Trim the covering from the servo bay holes in the
fuselage sides.
❏
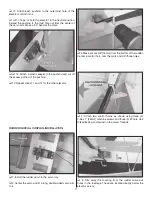
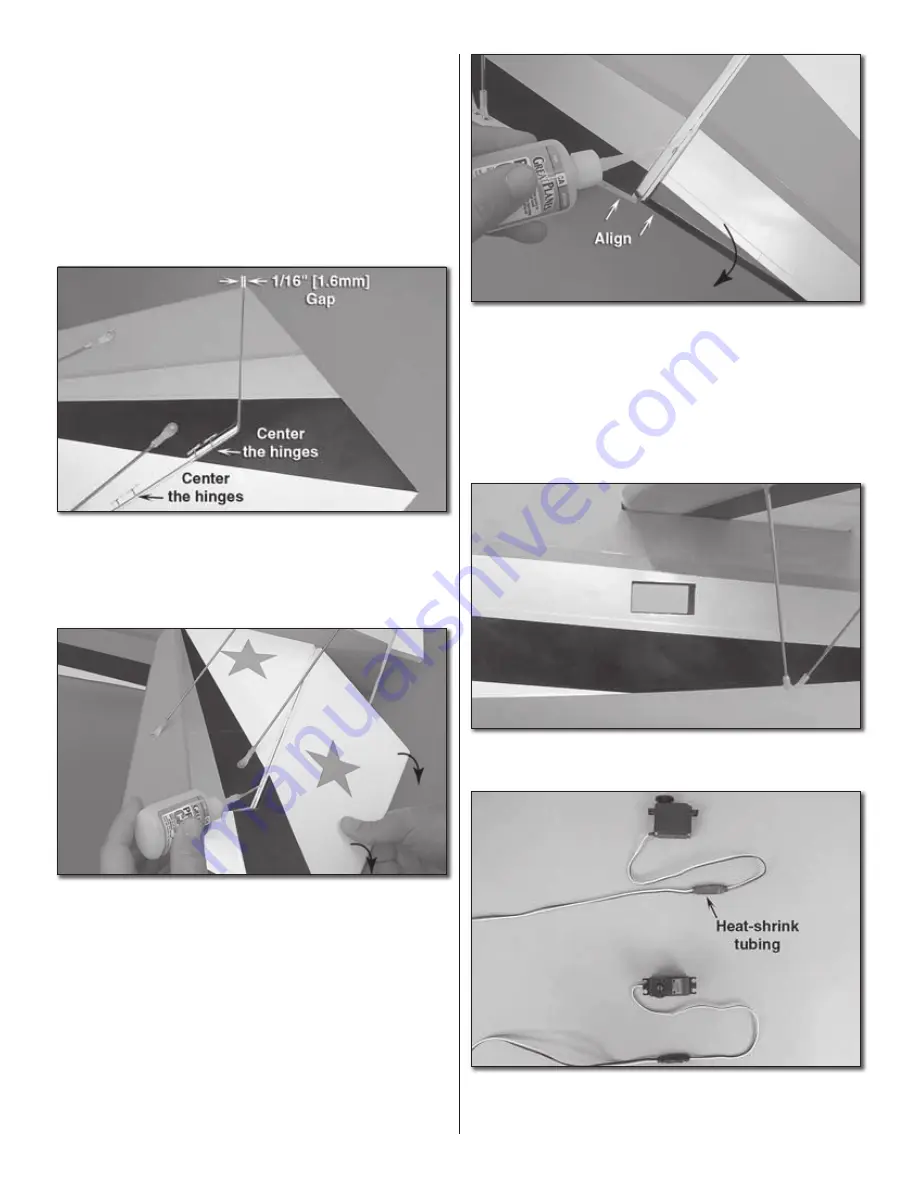
2. Install a 24" [610mm] servo extension onto each of
the elevator servos. Use heat shrink tubing to secure the
connections.


