11
WING ASSEMBLY
IMPORTANT! READ THIS BEFORE STARTING ASSEMBLY YOUR
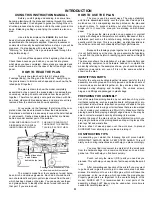
EAGLE'S WING CAN BE BUILT TWO WAYS
Select The Wing That Fits Your Radio and Flying Requirements.
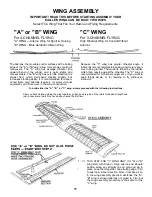
"A" or "B" WING
For 4-CHANNEL FLYING
"A" WING — Aileron Wing for Sport & Training
"B" WING - More Aerobatic Aileron Wing
"C" WING
For 3-CHANNEL FLYING
High Dihedral Wing for Control Without
Ailerons
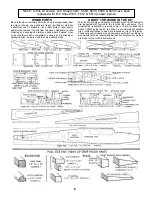
To build either the "A", "B", or "C" wing, simply proceed with the following instructions.
After you have finished gluing the wing together, go back and re-glue all the joints for added strength and
just in case some joints may have been missed the first time.
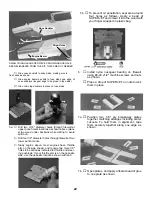
1.
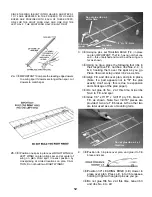
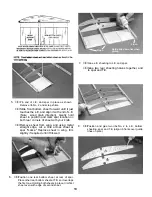
THIS STEP FOR "C" WING ONLY (for "A" or "B"
wing start with Step 2). Align aileron and inboard
section along any straight line on plan and pin in
place. Glue them together. Glue trailing edge (T.E.)
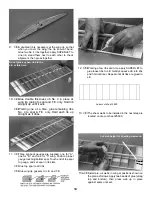
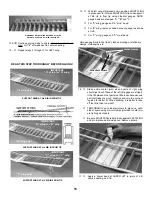
to aileron & inboard section. Note; from Step 4 on
in the wing assembly photos & sketches, the "A"-
"B" wing is shown (ailerons not glued to T.E.). but
the wing assembly procedure is the same for the
"C" wing.
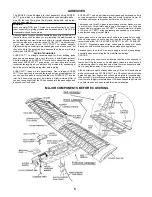
The Ailerons, the movable control surfaces at the trailing
edge of the "A" or "B"wing; allow more precise control of
maneuvers, The "A" wing has average dihedral (the
upward bend of the wings), and is quite stable and
maneuverable. The "B" wing has very little dihedral (it is
almost flat), which decreases stability slightly, but
increases stunting ability. It is recommended for experi-
enced flyers only! Ailerons require 4 (or more) channel
equipment, and more work in the wing construction.
Because the "C" wing has greater dihedral angle, it
inherently is more resistant to banking, and more respon-
sive to being turned. The model is turned by the rudder,
which then reacts against the dihedral. The "C" wing is
recommended for 3-channel equipment, or if you want to
keep things simple, or for learning to fly without an
instructor.
Summary of Contents for Eagle 2
Page 28: ...27 ...

