14
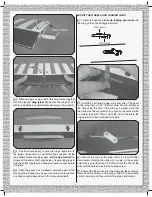
MOUNT THE BATTERY AND RECEIVER
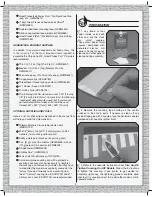
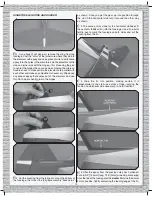
4-1/2" [110mm]
“HOOK” SIDE
1"
[25mm]
3-1/2" [90mm]
“LOOP” SIDE
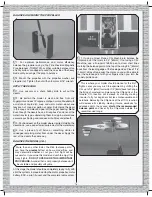
1. If using the recommended 1250 or 1500mAh 11.1V
ElectriFly Power Series battery, cut a 4-1/4" [110mm] strip
from the rougher, “hook” side and a 3-1/2" [90mm] strip from
the softer, “loop” side of the included hook-and-loop material.
Connect the pieces with a 1" [25mm] overlap to make the
battery strap. If using a different battery, make the battery
strap as necessary to fi t.
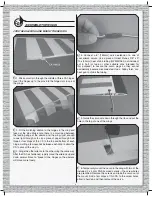
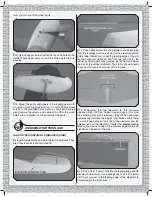
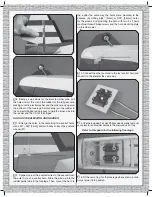
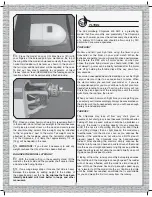
2. As noted previously, it is best to get the battery forward.
Keeping this in mind, attach a strip of Great Planes adhesive-
backed Velcro (GPMQ4480, not included) to the battery
and opposing patches to the battery mounting plate in the
fuselage. Place the battery on the mounting plate and hold it
down with the strap.
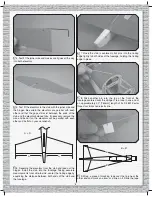
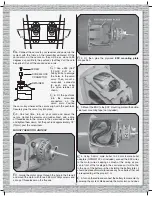
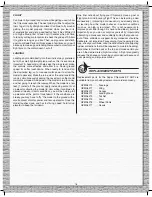
3. Connect the servo wires and a dual aileron extension
wire to the receiver. Use double-sided foam mounting tape
to mount the receiver where desired. If your receiver is small
enough, it could be mounted next to the battery on the
left side of the fuselage, but this one was mounted behind
the battery.
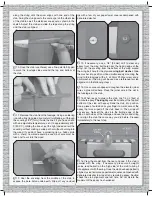
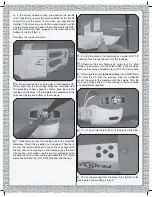
4. If using a 2.4GHz receiver, cut pieces of the small
tubing supplied and glue the tubes inside the fuselage for
guiding the antennas. If using a 72MHz receiver, guide the
antenna down through the antenna tube in the fuselage.
OPTIONAL: INSTALL PILOT FIGURE (NOT INCLUDED)
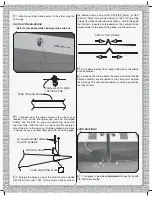
1. If installing an optional pilot fi gure, cut the pilot access
hatch the rest of the way through the cockpit fl oor (shown in
the photo in step 4).
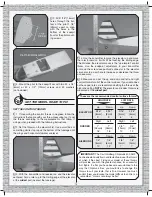
2. Glue together and
paint your pilot. The pilot
used for this model was
a William’s Brother’s
1/8-scale Sportsman pilot
(WBRQ1130). Cut 1/16"
[2mm] from both shoulders
so the fi gure will fi t between
the canopy sides. Test fi t the
pilot, adjust if necessary,
and paint using water-
base acrylic paint and craft
brushes available at hobby
shops or craft stores.


