16
BALANCE AND MOUNT THE PROPELLER
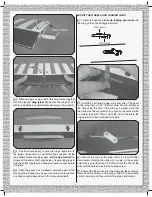
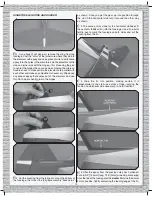
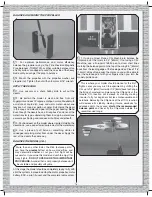
1. For optimum performance and motor effi
ciency,
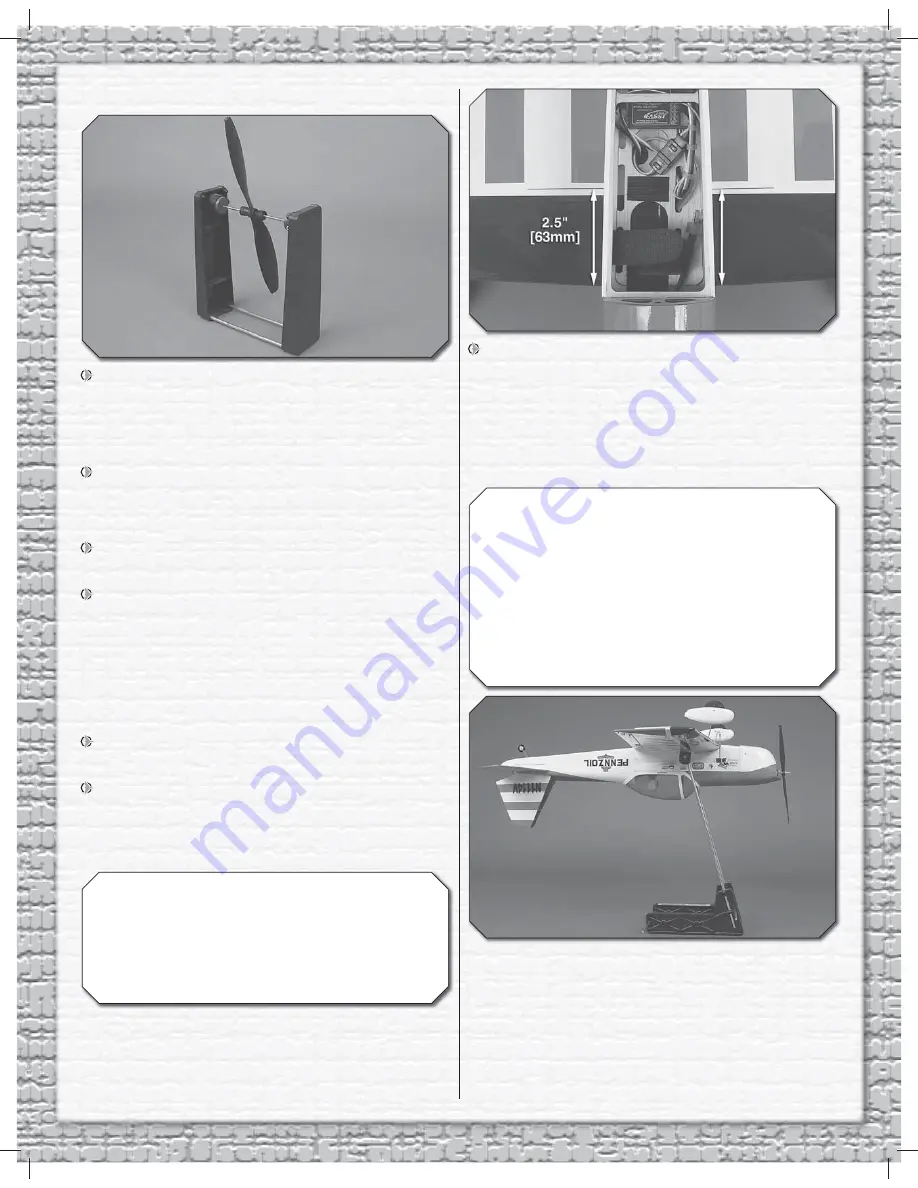
balance the propeller using a Top Flite Precision Magnetic
Prop Balancer (TOPQ5700) or other suitable balancer. Use
a hobby knife or sandpaper to sand the one side of the heavy
blade until you can get the prop to balance.
2. Mount the propeller with the propeller washer and
propeller nut. Tighten the nut with an 8mm or 5/16" wrench.
APPLY THE DECALS
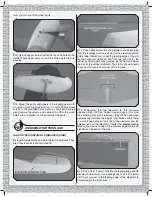
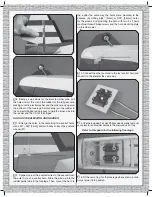
1. Use scissors or a sharp hobby knife to cut out the
decals.
2. Be certain the model is clean and free from oily
fi ngerprints and dust. Prepare a dishpan or small bucket with
a mixture of liquid dish soap and warm water—about one
teaspoon of soap per gallon of water. Submerse the decal
in the soap and water and peel off the paper backing.
Note:
Even though the decals have a “sticky-back” and are not the
water transfer type, submersing them in soap & water allows
accurate positioning and reduces air bubbles underneath.
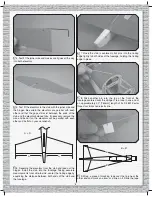
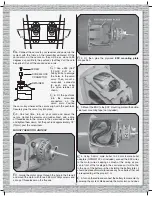
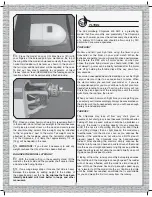
3. Position decal on the model where desired. Holding the
decal down, use a paper towel to wipe most of the water away.
4. Use a piece of soft balsa or something similar to
squeegee remaining water from under the decal. Apply the
rest of the decals the same way.
BALANCE THE MODEL
(C.G.)
More than any other factor, the
C.G.
(balance point)
can have the
greatest
effect on how a model fl ies, and
may determine whether or not your fi rst fl ight will be
successful. If you value this model and wish to enjoy it for
many fl ights,
DO NOT OVERLOOK THIS IMPORTANT
PROCEDURE.
A model that is not properly balanced will
be unstable and possibly unfl yable.
At this stage the model should be completely ready-to-fl y with
all of the systems in place including the motor, propeller, motor
battery, ESC, a pilot (if used) and the complete radio system.
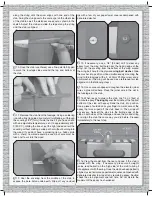
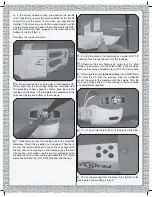
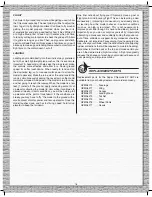
1. If using a Great Planes C.G. Machine to balance the
Chipmunk, set the rulers to 2.5" [63mm]. If not using a C.G.
Machine, use a fi ne-point felt-tip pen to draw short lines
marking the balance point on the top of the wing 2.5" [63mm]
back from the leading edge at the fuselage sides. Place 1/16"
[1.5mm] strips of tape over the marks so you will be able to
feel the balance point with your fi ngers when you turn the
model upside-down.
This is where your model should balance for the fi rst
fl ights. Later, you may wish to experiment by shifting the
C.G. up to 1/4" [6mm] forward or 1/4" [6mm] back to change
the fl ying characteristics. Balancing the Chipmunk at the
forward C.G. location will increase its stability, making
it easier to fl y for beginners but less maneuverable and
aerobatic. Balancing the Chipmunk at the aft C.G. location
will decrease its stability, making it more aerobatic for
advanced pilots. In any case,
start at the recommended
balance point
and never fl y the Chipmunk outside the
recommended range.

