17
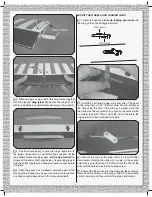
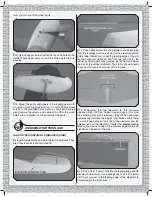
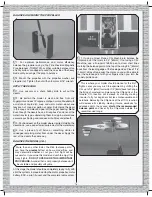
2. Place the model on your C.G. Machine or lift it with
your fi ngers at the balance point you marked on the top of
the wing. When the model is balanced correctly the wing and
horizontal stabilizer will be level as shown in the photo. If
the tail is low additional ballast will be required in the nose.
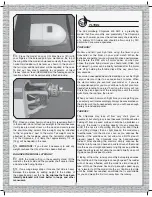
To fi nd out how much, carefully lay segments of Great
Planes “stick-on” lead (GPMQ4485) on the fuselage over the
location where it will be permanently attached inside.
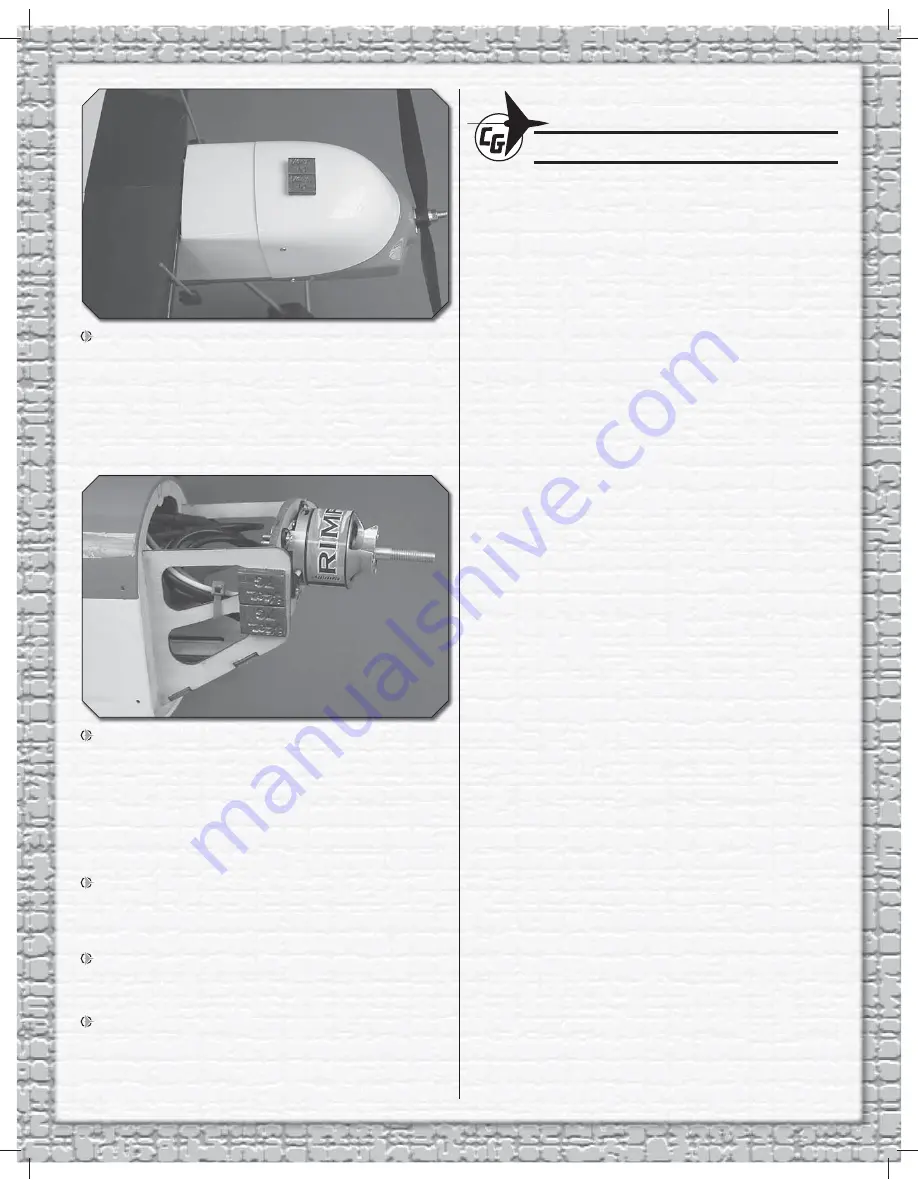
3. Once you know how much weight is required, attach it
to the model—do not attach nose weight to the cowl because
it will place too much stress on the wood and cowl around
the cowl mounting screws. Nose weight may be attached
to the “engine box” next to the motor. Tail weight may be
attached to the fuselage under the horizontal stabilizer.
For the Chipmunk, it is likely that approximately 1/2 oz.
[15 g] will be needed in the nose.
4.
IMPORTANT:
If you found it necessary to add any
weight, recheck the C.G. after it has been attached.
BALANCE THE MODEL LATERALLY
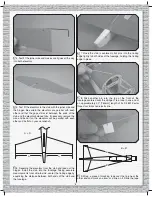
1. With the model sitting in the assembly stand, lift the
model by the tail skid and the propeller shaft several times
and note which wing tip drops.
2. If one wing always drops, it means that side is heavy.
Balance the airplane by adding weight to the bottom of
the opposite wing near the tip.
An airplane that has been
laterally balanced will track better in loops and other
maneuvers.
FLYING
The Carl Goldberg Chipmunk 400 ARF is a great-fl ying
model that fl ies smoothly and predictably. The Chipmunk
does not, however, possess the self-recovery characteristics
of a primary R/C trainer and should be fl own only by R/C
pilots who have some experience.
PREFLIGHT
Monitor and limit your fl ight time using the timer in your
transmitter or the timer on your wrist watch. When the
batteries are getting low you will usually notice a performance
drop before the ESC cuts off motor power, so when you
notice the plane fl ying slower you should land. Often (but
not always!), power can be briefl y restored after the motor
cuts off by holding the throttle stick all the way down for a
few seconds.
To avoid an unexpected dead-stick landing on your fi rst fl ight
set your alarm or timer to a conservative 4 minutes. When
the alarm sounds you can land your model; or, if you are
an experienced pilot, you may continue to fl y but plan for a
dead-stick landing to see just how long the motor will run.
Circle the plane upwind of the landing area until the motor
quits. Note the run time, then land.
When you learn how much fl ight time you are getting you
can adjust your timer accordingly. Always be conservative so
the motor won’t quit unexpectedly and you will have enough
battery to land under power.
TAKEOFF
The Chipmunk may take off from very short grass or
pavement, but short grass is best because it will track better.
Taking off from a paved surface should be no problem as
long as the model is pointing directly into any prevailing
wind. If the nose is not pointing into the wind, and if there
is anything stronger than a slight breeze, the model may
“weathervane” into the wind as soon as you advance the
throttle. If the conditions do not allow for a ROG (rise off
ground) takeoff, the Chipmunk may be hand-launched
instead. After checking the controls, simply advance the
throttle to full power and have an assistant launch the model
into the air at a straight-and-level or slightly nose up attitude.
Keep the wings level, but allow the model to briefl y sink until
it gains enough airspeed to climb.
If taking off from the runway, smoothly but rapidly advance
the throttle until the model gains enough speed. The rudder
will not be very effective until the model is almost ready to
take off. Once the plane has built up enough speed, apply
“up” elevator to lift the model into the air. Continue to climb
until the model has reached an altitude that is comfortable
for you and make the fi rst turn away from the runway.

