9
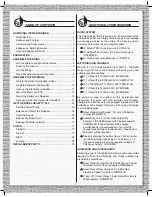
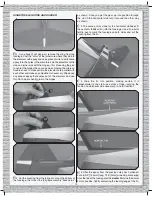
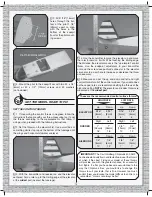
along the string until the arrow aligns with one end of the
stab. Swing the string over to the same spot on the other side
of the stab to see if the distances are equal as shown in the
sketch. Adjust the stab and slide the tape along the string
until the stab is aligned.
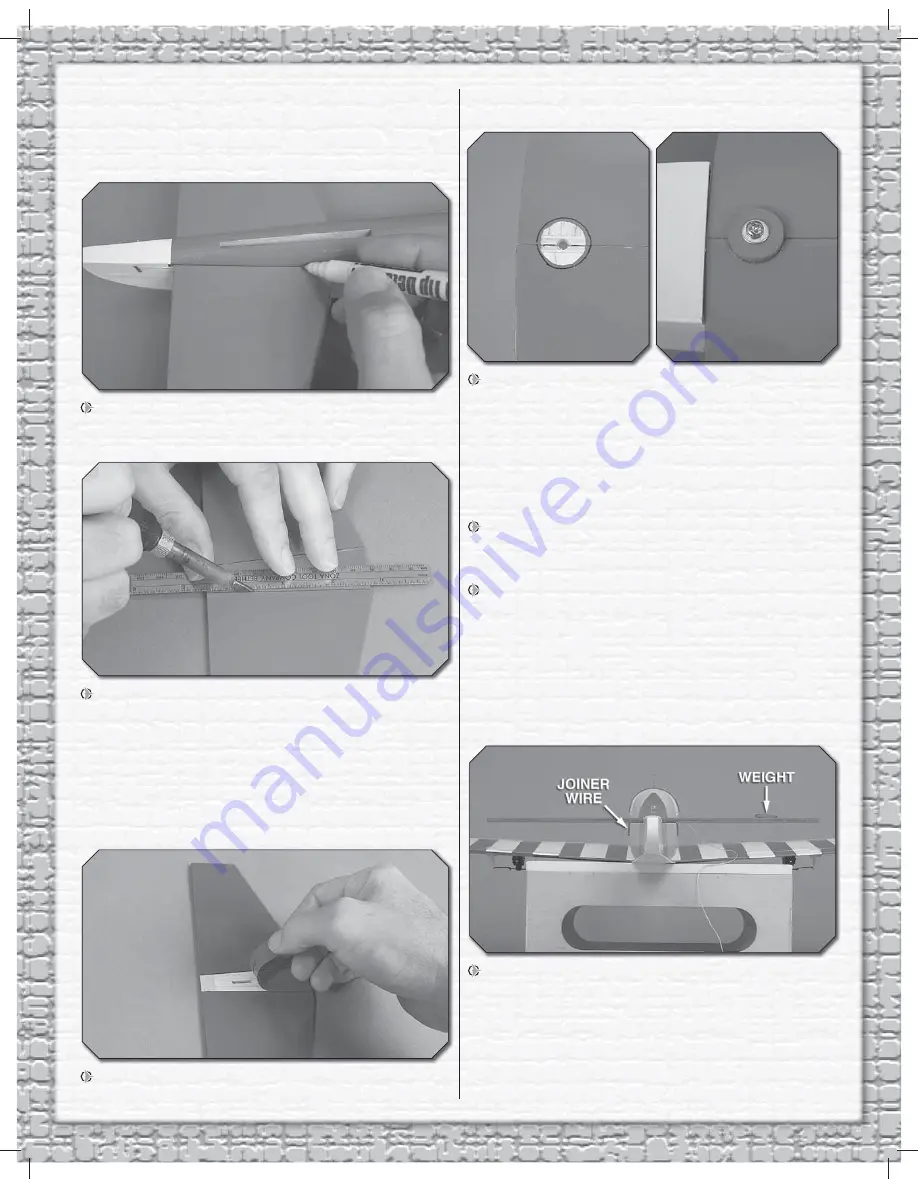
10. Once the stab is centered, use a fi ne-point felt-tip pen
to mark the fuselage sides around the top and bottom of
the stab.
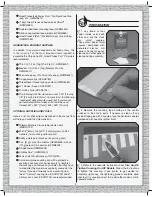
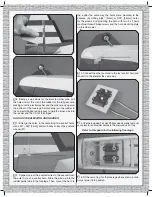
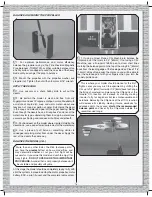
11. Remove the stab from the fuselage. Using a soldering
iron with a fi ne tip guided by a metal straightedge, cut through
the covering 1/32" [1mm] inside the lines. If you have an iron
with an adjustable temperature, set it to approximately 400°
F [200° C]. Gliding the iron at just the right speed will cut the
covering without melting a wide path or without burning into
the wood. If you don’t have a soldering iron, a hobby knife
with a sharp, new blade could be used, but care must be
taken not to cut into the wood.
12. Peel the covering from the middle of the stab to
expose the bare balsa underneath. Wipe off any residual
ink with a few of your paper towel squares dampened with
denatured alcohol.
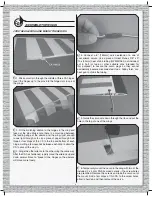
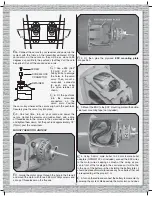
13. If necessary, use a 1/8" [3.2mm] drill to clear any
epoxy from the wing bolt hole near the trailing edge of the
wing. Cut the covering from the bottom of the wing around
the wing bolt hole for the plywood
wing bolt washer
. Glue
the washer into position while simultaneously mounting the
wing to the fuselage with a 3 x 20mm Phillips screw and a
3mm washer. (The wing will be used as a reference for stab
alignment in the following steps.)
14. Use coarse sandpaper to roughen the elevator joiner
wire so glue will adhere. Place the joiner wire in the slot in
the fuselage for the stab.
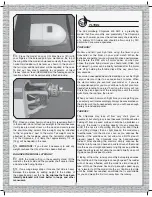
15. When ready to glue in the stab, mix 1/4 oz. [5cc] of
30-minute epoxy.
Thoroughly
coat the middle of the top and
bottom of the stab with epoxy. Slide the stab into position.
Use a piece of cardstock or your fi nger to work some of the
epoxy that was wiped off the stab back in. Then, wipe off
any excess. Reinsert the pins into the trailing edge of the
stab on both sides of the fuselage and use the pin and string
to re-align the stab the same way you did before. Proceed
immediately to the next step.
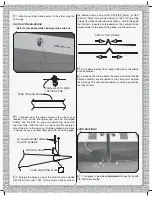
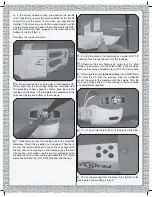
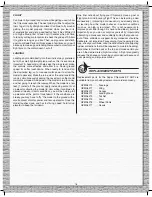
16. View the model from the rear and see if the stab is
parallel with the wing. If necessary, place small weights
(coins, lead ballast) on the “high side” of the stab to bring it
into alignment with the wing. Once the stab has been perfectly
aligned, use a few more paper towel squares dampened with
denatured alcohol to wipe off any remaining epoxy. Double-
check the stab alignment one last time. Do not disturb the
model until the epoxy has hardened.


