19
Wild Stick .40
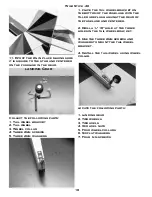
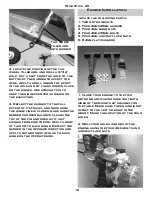
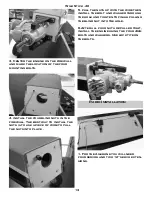
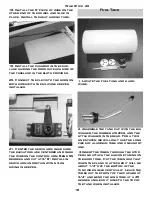
4.Install stopper in tank and tighten
the bolt in the center until stopper is
snug. Don’t over tighten. Clunk
should move freely and vent tube
should be to the top of the tank.
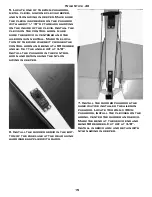
5. Install the tank in the fuselage
with the cap in the hole in the fire-
wall.
6. If necessary for balance , the bat-
tery can be installed under the tank
before it is installed.
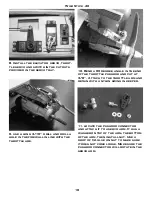
7. Install the receiver and battery (if
necessary) in the area in front of
servo tray and behind tank. use form
around receiver.
Final Setup
The CG should be between 4” and 4-
1/2” behind the leading edge of the
wing.
The control throws should be :
Elevator Low Rate +or- 1”
High Rate All you can get
Ailerons Low Rate +or- 1/2”
High Rate All you can get
Rudder Low Rate +or- 2”
High Rate All you can get
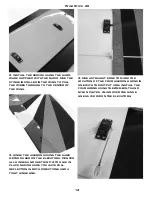
The four aileron setup gives you sev-
eral options. If you want to fly the
plane in a normal setup, just use
three y-connectors and connect all
four aileron servos into the aileron
channel. This will give a normal
aileron setup. Because of the large
size the roll rate will be really
rapid. If you want just flaps and
ailerons you can use two y-connec-
tors and plug the two outside servos
into the aileron channel and the two
inboard into the flap channel.
If you have a computer radio you can
explore several other flight modes.
In the following modes you will need
to plug all four aileron servos into
different channels. Consult you
radio manual for the proper chan-
nels.
(1). Flaperons. in this mode you will
couple the two inboard aileron ser-
vos with the elevator servo. Adjust
the radio so that up elevator causes
both flaps to go down, down eleva-
tor will cause the flaps to go up. This
set up allows very tight loops and
very square corners.

