Eos –Gate Installation and operation manual
All the information provided with this document are property of Carlo Gavazzi Controls SpA
20
7 Eos-Gate configuration
7.1 Configuration steps
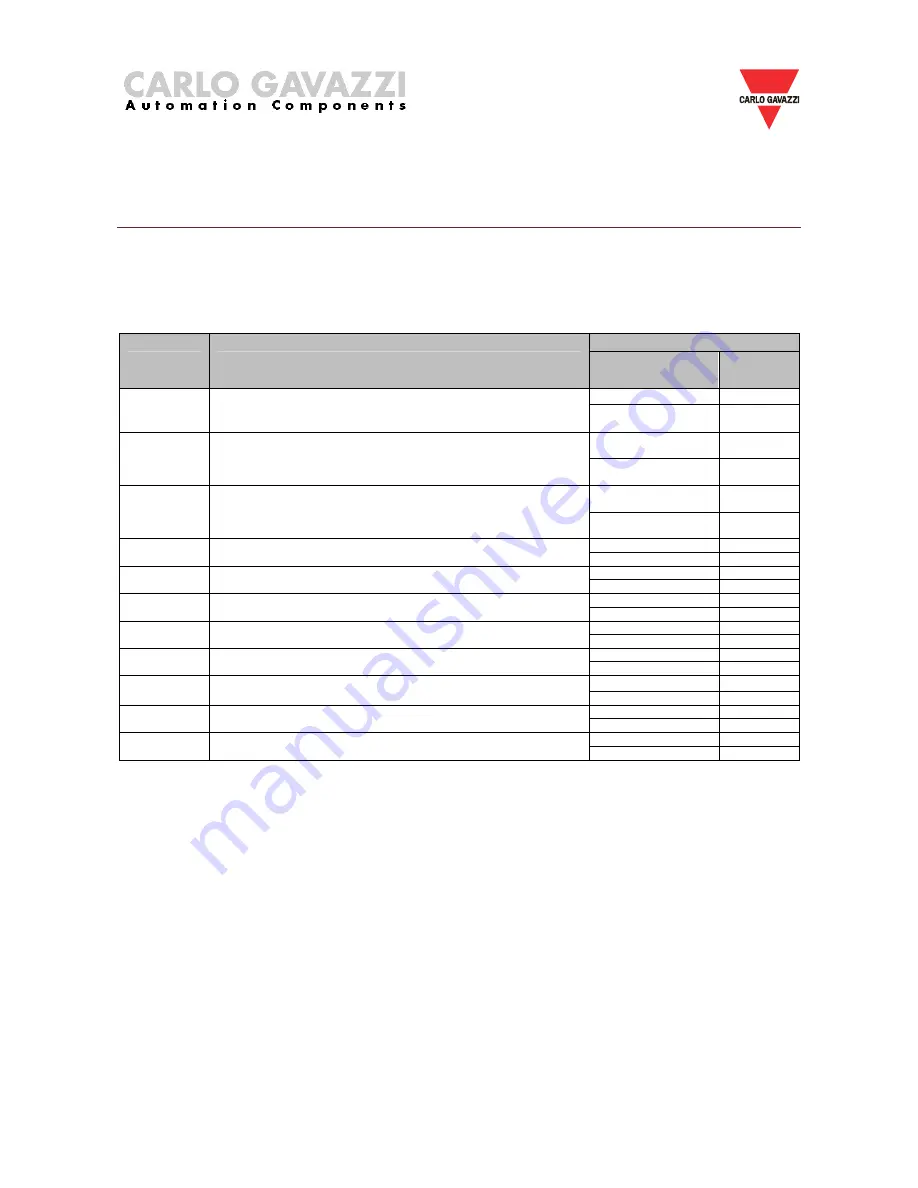
The following table shows the sequence of steps to follow for a complete configuration of an Eos-
Gate based system. It should be considered as a guideline for partial configurations when needed.
Following step
Use case
Description
Condition
Use
case
TCP/IP check OK
A10
A5
Configuring a PC connection to the Eos-Gate through a LAN
TCP/IP check KO for
LAN
A100
Serial port connectivity
OK
A15
A10
Checking RS-485 connectivity for Eos-Array
Serial port connectivity
KO
A110
Serial port connectivity
OK
A20
A15
Checking RS-485 connectivity for the AC meter
Serial port connectivity
KO
A110
Connectivity OK
A30
A20
Checking connectivity to the Fat Spaniel® portal
Connectivity KO
A120
Configuration OK
A40
A30
Configuring the AC meter parameters
Configuration KO
STOP
Configuration OK
A50
A40
Configuring the Eos-Array / Eos-Array Lite parameters
Configuration KO
STOP
Upload OK
A60
A50
Uploading configuration to the Fat Spaniel® Portal
Upload KO
A20
Transmission OK
END
A60
Starting data communication to the Fat Spaniel® Portal
Transmission KO
A20
Check OK
A5
A100
Checking LAN network
Check KO
STOP
Check OK
A10,A15
A110
Checking RS-485 network
Check KO
STOP
Check OK
A20
A120
Checking Fat Spaniel® relevant data
Check KO
STOP


