5–5
T-374
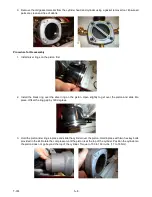
2. Install the remaining seven bracket bolts and then torque to 30 to 35 ft-lbs. (41 to 47 Nm).
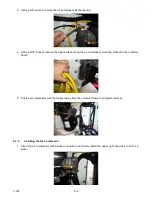
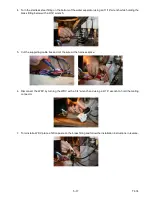
3. Install the discharge line. Tighten with a 5/8” wrench and then torque to 23 in-lbs. (2.6 Nm).
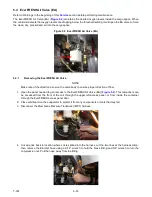
4. Connect the air compressor power connection and wire tie the harness to the drain line and yellow power
cable. Maintain a drip loop on the power line prior to entering the compressor motor.
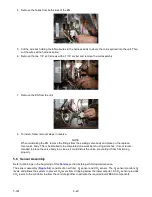
5. Replace the air compressor splash shield. Torque the four bolts to 60 in-lbs. (6.8 Nm).
5.2.5
Air Compressor Minor Rebuild
WARNING
!
Before proceeding with installation, set the ON/OFF switch and circuit breaker to OFF position.
Disconnect power plug from the unit. Follow all local Lockout / Tagout Procedures.
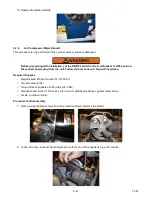
Required Supplies
• Minor Rebuild Kit (part number 18-10185-20)
• Thread Locker, purchase local Loctite
• Torque Wrench capable of 200 in-lbs (22.6 Nm)
• Standard hand tools: 3/16” hex key, 3/4” wrench, phillips screwdriver, gasket removal tool
Summary of Contents for EverFRESH
Page 14: ......
Page 22: ......
Page 30: ......
Page 56: ...T 374 5 26 4 Note the orientation of the check valve 5 Reinstall in reverse order ...
Page 64: ......
Page 66: ......
Page 67: ...8 1 T 374 SECTION 8 SCHEMATICS DIAGRAMS STANDARD UNITS Figure 8 1 Legend Standard Units ...
Page 68: ...T 374 8 2 Figure 8 2 Schematic Standard Units Page 1 ...
Page 69: ...8 3 T 374 Figure 8 3 Schematic Standard Units Page 2 ...
Page 70: ...T 374 8 4 Figure 8 4 Wiring Diagram Standard Units ...
Page 72: ...T 374 9 2 Figure 9 2 Schematic Units with CO2 Injection Page 1 ...
Page 73: ...9 3 T 374 Figure 9 3 Schematic Units with CO2 Injection Page 2 ...
Page 74: ...T 374 9 4 Figure 9 4 Wiring Diagram Units with CO2 Injection ...
Page 99: ......

