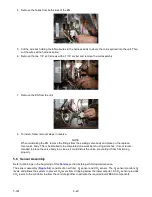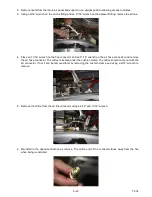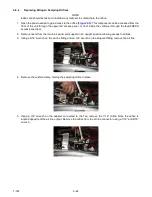
5–13
T-374
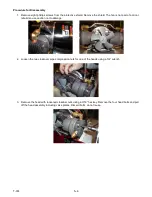
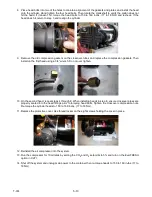
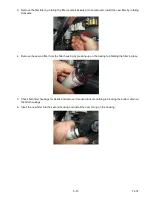
7. Remove the second head and cylinder.
8. Remove the fan by removing the clamp that secures the fan to the shaft.
9. Remove the fan by using a small puller. A new fan is provided with the rebuild kit so discard after removal.
10. Remove the c-clip from the shaft. This is not required for rebuild and can be discarded.
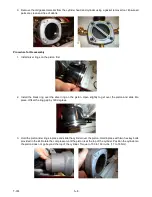
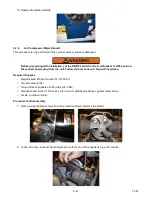
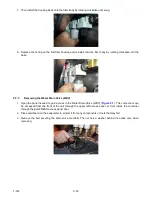
11. Slide the connecting rod removal tool (part # 07-00579-00) behind the connecting rod. Have the angled
edge towards the motor. Rotate the tool so the open slot is parallel to the connecting rod.
12. Remove the connecting rods and piston using a Two Arm Puller and Puller Block.
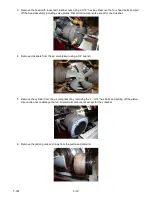
13. Polish the motor shaft with a wire brush or fine sand paper to aid in installing the new connecting rods.
14. Remove the compressor fan cover on the rear of the air compressor and fan.
15. Place the air compressor on a press using a solid block to support the motor shaft.
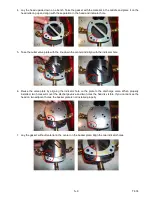
16. Insert the key into the shaft and place a lubricant on the shaft. Place the crankshafts on the motor shaft,
aligning the keyway with the crankshaft. Pistons need to be opposite each other and at a 90 degree position
of the base.
17. Insert the gauge tool over the motor shaft and slowly press the press until the gauge is flush with the top of
the motor shaft.
Procedure for Reassembly
1. Remove the air compressor from the press and replace the rear fan and cover.
2. Refer to Air Compressor Minor Rebuild
5.3 Filter Assembly
Refer to Warnings in the beginning of this
section before performing maintenance.
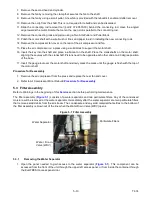
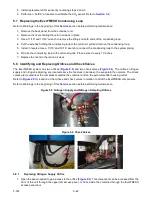
The filter assembly (
) consists of a water separator and two particulate filters. Any of the condensed
moisture will be removed at the water separator. Immediately after the water separator are two particulate filters
that removes solid debris from the air stream. The condensate and any solid material that settles to the bottom of
the filter assembly is blown out of the line when the Water Drain Valve (WDV) opens.
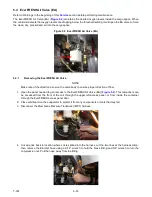
Figure 5.1 Filter Assembly
5.3.1
Removing the Water Separator
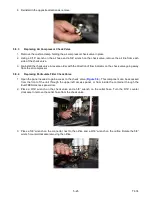
1. Open the panel needed to gain access to the water separator (
). This component can be
accessed from the front of the unit through the upper left access panel, or from inside the container through
the EverFRESH access panel door.
Water Separator
Particulate Filters
Water Drain
Valve (WDV)
Summary of Contents for EverFRESH
Page 14: ......
Page 22: ......
Page 30: ......
Page 56: ...T 374 5 26 4 Note the orientation of the check valve 5 Reinstall in reverse order ...
Page 64: ......
Page 66: ......
Page 67: ...8 1 T 374 SECTION 8 SCHEMATICS DIAGRAMS STANDARD UNITS Figure 8 1 Legend Standard Units ...
Page 68: ...T 374 8 2 Figure 8 2 Schematic Standard Units Page 1 ...
Page 69: ...8 3 T 374 Figure 8 3 Schematic Standard Units Page 2 ...
Page 70: ...T 374 8 4 Figure 8 4 Wiring Diagram Standard Units ...
Page 72: ...T 374 9 2 Figure 9 2 Schematic Units with CO2 Injection Page 1 ...
Page 73: ...9 3 T 374 Figure 9 3 Schematic Units with CO2 Injection Page 2 ...
Page 74: ...T 374 9 4 Figure 9 4 Wiring Diagram Units with CO2 Injection ...
Page 99: ......

