5–17
T-374
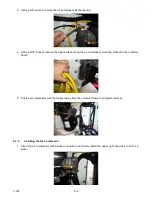
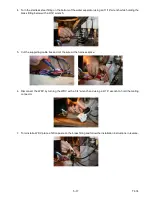
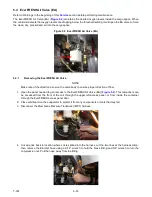
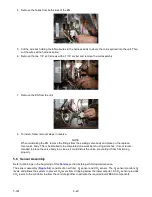
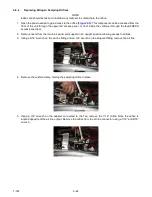
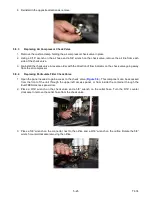
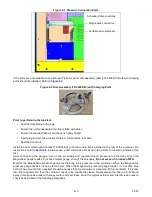
4. Turn the stainless steel fitting on the bottom of the water separator using an 11/16” wrench while holding the
brass fitting below with a 9/16” wrench.
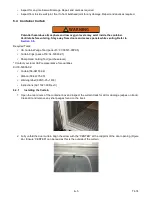
5. Cut the supporting cable ties and cut the wire at the harness splice.
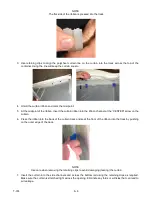
6. Disconnect the WDV by turning the WDV with a 3/4” wrench and using a 9/16” wrench to hold the mating
connector.
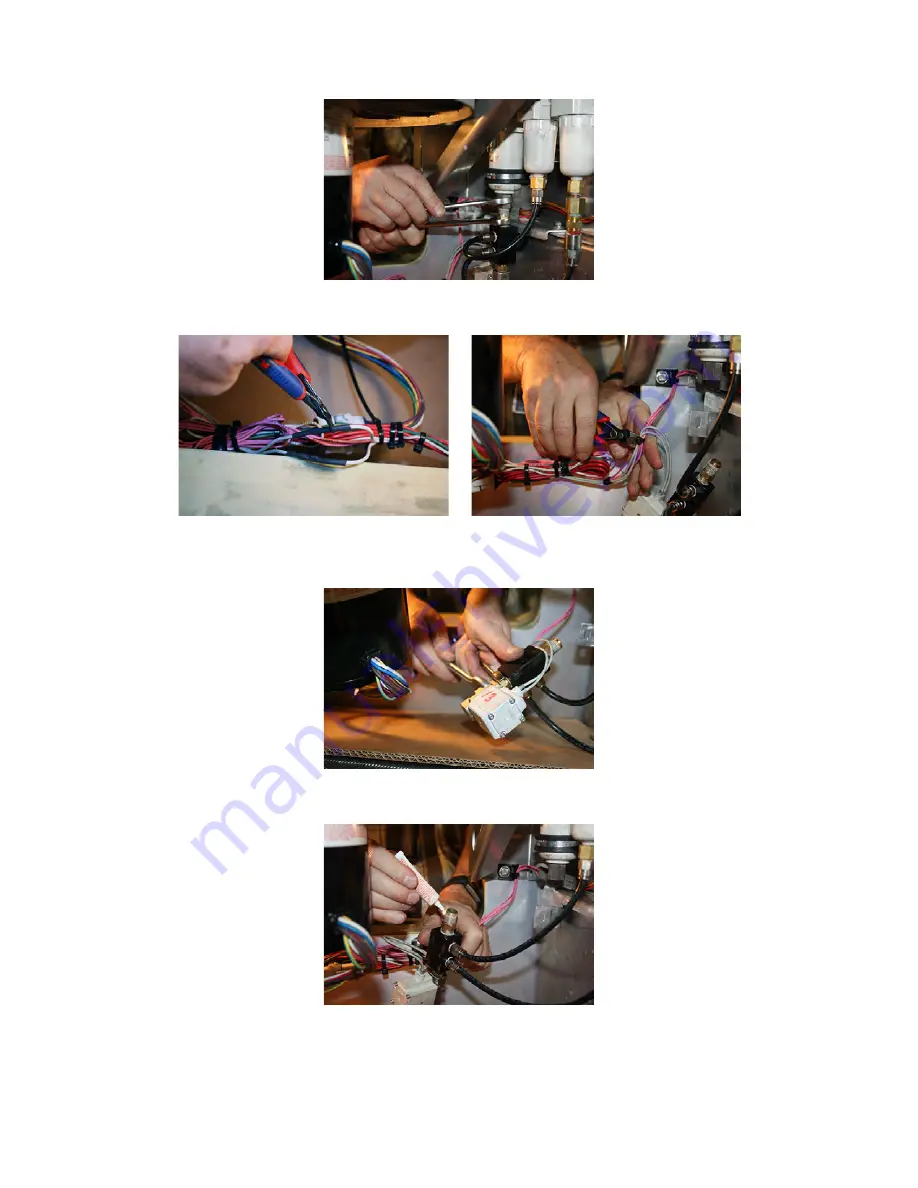
7. To reinstall a WDV, place a Teflon paste on the brass fitting and follow the installation instructions in reverse.
Summary of Contents for EverFRESH
Page 14: ......
Page 22: ......
Page 30: ......
Page 56: ...T 374 5 26 4 Note the orientation of the check valve 5 Reinstall in reverse order ...
Page 64: ......
Page 66: ......
Page 67: ...8 1 T 374 SECTION 8 SCHEMATICS DIAGRAMS STANDARD UNITS Figure 8 1 Legend Standard Units ...
Page 68: ...T 374 8 2 Figure 8 2 Schematic Standard Units Page 1 ...
Page 69: ...8 3 T 374 Figure 8 3 Schematic Standard Units Page 2 ...
Page 70: ...T 374 8 4 Figure 8 4 Wiring Diagram Standard Units ...
Page 72: ...T 374 9 2 Figure 9 2 Schematic Units with CO2 Injection Page 1 ...
Page 73: ...9 3 T 374 Figure 9 3 Schematic Units with CO2 Injection Page 2 ...
Page 74: ...T 374 9 4 Figure 9 4 Wiring Diagram Units with CO2 Injection ...
Page 99: ......


